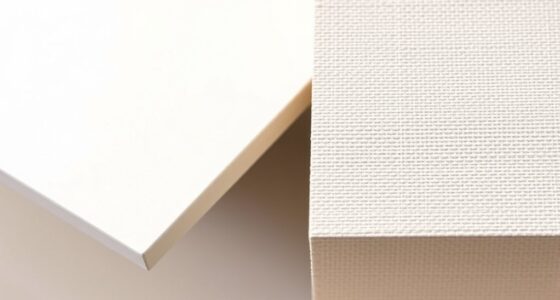
The step everyone skips is thoroughly preparing the surface and applying the right amount of adhesive evenly. You might rush this part, causing air pockets that form bubbles. Start by cleaning and smoothing the surface, then spread a thin, consistent layer of adhesive and use a squeegee from the center outward. If you skip these steps, bubbles are more likely to appear. Want to master every detail? There’s more to learn for flawless mounting.
Key Takeaways
- Properly prepare and clean both the artwork and mounting surface before applying adhesive.
- Use a thin, even layer of adhesive to prevent air pockets during mounting.
- Start mounting from the center and work outward with steady pressure to push out air.
- Ensure the workspace is dust-free to avoid surface imperfections causing bubbles.
- Carefully smooth out air bubbles as you go, puncturing persistent ones if necessary.
Art3d Adhesive Tile Setting Mat, Double-Sided Tape Sheet for Crafts, Arts, DIY Projects, 12in. X 360in. Damage-Free, Residue-Free
Advantages: Strong adhesion, heat and water resistant, residue-free and damage-free
As an affiliate, we earn on qualifying purchases.
As an affiliate, we earn on qualifying purchases.
Why Bubbles Appear When Mounting Art and How to Prevent Them

Bubbles often appear when mounting art because air gets trapped between the artwork and the mounting surface. In gallery framing, choosing the right adhesive is essential. A poor adhesive selection can leave pockets of air behind, causing bubbles. To prevent this, opt for adhesives specifically designed for art mounting, which spread evenly and bond smoothly. Applying the adhesive in a thin, consistent layer ensures fewer air pockets. When mounting, press the artwork firmly against the surface, starting from the center and working outward to push out trapped air. Proper adhesive selection and careful application help you achieve a smooth, bubble-free finish, preserving the integrity and appearance of your mounted art. This attention to detail makes all the difference in professional-looking gallery framing. Additionally, understanding the regional flavors of coffee and tea can inspire unique artistic themes in your mounted displays, enhancing the digital content experience for viewers.
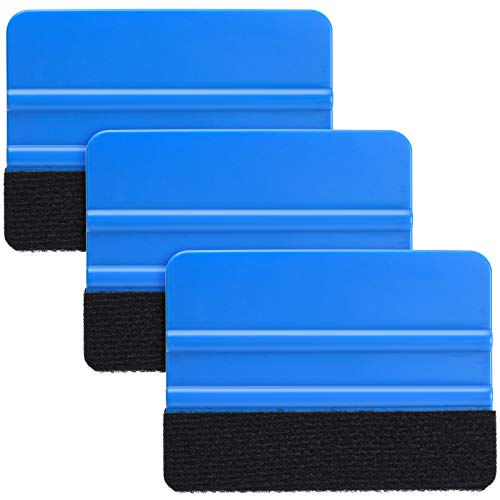
Durable Black Felt Edge Vinyl Squeegee Tool 4-Inch, Car Vinyl Film Wrapping Decal Window Tint Work, Professional Scratch Free Squeegee (Pack of 3)
✅ EXCELLENT CUSTOMER SERVICE: The product provides Vinyl Squeegee Tool. Our Vinyl Squeegee Tool is always produced with…
As an affiliate, we earn on qualifying purchases.
As an affiliate, we earn on qualifying purchases.
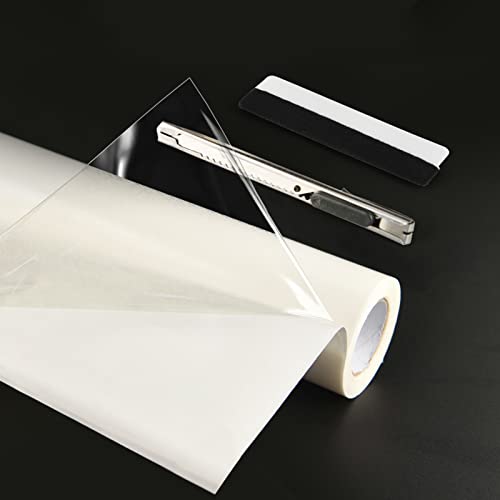
Tools for Bubble-Free Art Mounting

Using the right tools can make a significant difference in achieving a bubble-free art mount. The proper tools guarantee smooth application, crucial for art preservation and effective mounting adhesives. Essential tools include:
- Quality squeegee or roller to press out air bubbles
- Precision craft knives for trimming edges
- Clean microfiber cloths for dust removal
- Ruler or straightedge for accurate positioning
- Acid-free mounting adhesives for long-term preservation
These tools help you control the mounting process, minimizing bubbles and ensuring a seamless finish. Investing in high-quality, dedicated tools improves your results and extends the life of your artwork. Remember, precision and proper application are key to achieving a professional, bubble-free mount. Additionally, a high refresh rate can enhance the visual experience when displaying artwork, ensuring that details are captured effectively. With the right tools, you’re well on your way to professional art preservation. Additionally, understanding fact-checking and media literacy can enhance your decision-making process when selecting materials and techniques, ensuring the best outcomes for your projects.

PHS Canvas Offset Clips for Picture Framing – 60 Piece Variety Pack (1/8", 1/4", 1/2") with Screws – Picture Frame Hardware, Frame Clips for Securing Art – Picture Framing Tools
Package Contents: Complete set of 60 canvas clips for picture framing. Includes 20 pieces each in three sizes…
As an affiliate, we earn on qualifying purchases.
As an affiliate, we earn on qualifying purchases.
The Key Step for Achieving a Smooth, Bubble-Free Finish

Achieving a smooth, bubble-free finish hinges on mastering the technique of gradual, even pressure application during mounting. Start with proper surface preparation; make sure your surface is clean, dust-free, and smooth to prevent imperfections. Choosing the right adhesive is vital—select one with good initial tack and flexibility to avoid bubbles and wrinkles. Before applying, test the adhesive on a small area to gauge response. When mounting, work from the center outward, gently pressing to push out air and excess adhesive. Apply steady, even pressure with a clean squeegee or roller, avoiding sudden movements that can trap air. This combination of careful surface preparation and thoughtful adhesive selection sets the foundation for a flawless, bubble-free finish. Additionally, understanding filtration/suction basics can help enhance the mounting process by ensuring that any dust or debris is effectively removed before application.

1 Roll ¾” X 6 FT Super Glue Pre-Cut Double Sided Adhesive Foam Mounting Tape Acid Free
Superior Adhesion: Pre-cut double-sided foam tape ensures strong, long-lasting bond on various surfaces
As an affiliate, we earn on qualifying purchases.
As an affiliate, we earn on qualifying purchases.
Step-by-Step Guide to Mounting Art Without Bubbles

To mount your art without bubbles, follow a clear, step-by-step process that guarantees a smooth, even finish. Start by preparing your workspace, making certain a dust-free environment. Next, gather your materials: a ruler, level, adhesive, squeegee, and cleaning cloth.
Ensure a dust-free space, gather your tools, and follow each step carefully for a bubble-free art mount.
- Clean your artwork and mounting surface thoroughly, as a clean surface is crucial for optimal adhesion. Regularly checking and cleaning surfaces can also enhance air purification efficiency in your workspace if you have an air purifier running. Additionally, using landscaping techniques to create a serene workspace can further improve focus and reduce distractions.
- Use painter’s tape to position your art accurately.
- Apply adhesive evenly, starting from the center outward.
- Use a squeegee to smooth out air pockets and excess adhesive.
- Check with a level to ensure proper alignment, and consider using specialized car protection products to ensure your art remains intact over time.
Troubleshooting Common Bubbles and Getting a Perfect Finish

Sure! Here’s the revised content with the addition:
—
Even with careful mounting, bubbles can still appear, disrupting the smooth finish you’re aiming for. To troubleshoot, first check your surface preparation—ensure the surface is clean and dust-free. Next, evaluate your adhesive selection; using the right type for your material prevents trapped air. If bubbles form, gently lift the artwork and reapply, smoothing from the center outward. For persistent bubbles, use a pin to puncture and release trapped air, then press flat. Always work in a dust-free environment for best results, as proper conditions enhance the overall quality of your project. Additionally, maintaining a consistent skincare routine can lead to fewer issues with skin texture, similar to ensuring a smooth surface before mounting. A well-prepped surface can significantly improve adhesive performance, ensuring a flawless finish. Essential oils, such as eucalyptus oil, can also promote a calming atmosphere, helping you focus on the task at hand. Here’s a quick guide:
| Issue | Cause | Solution |
|---|---|---|
| Small bubbles | Surface debris | Clean surface thoroughly |
| Large bubbles | Poor adhesive choice | Switch to suitable adhesive |
| Bubbles after drying | Trapped air during application | Puncture and smooth |
| Uneven finish | Insufficient surface prep | Properly prep before mounting |
Understanding market trends is crucial, especially when considering Bitcoin’s volatility, which can affect various industries, including art and mounting techniques.
—
Let me know if you need any further adjustments!
Frequently Asked Questions
Can Mounting Techniques Vary Based on Different Art Materials?
Yes, your mounting techniques can vary based on different art materials. You need to take into account material compatibility to avoid damage or warping, and choose the right adhesive selection for each surface. For example, delicate paper might require a gentle adhesive, while heavier canvas needs a stronger one. Adjust your approach accordingly to ensure a smooth, bubble-free mount that preserves your artwork’s integrity and appearance.
How Long Does the Mounting Process Typically Take?
The mounting process typically takes about 1 to 3 hours, depending on the size and materials used. Your mounting timeline includes preparing the surface, applying adhesive, and carefully placing your artwork. Keep in mind the drying duration, which can take anywhere from a few hours to overnight, especially if you’re using thicker adhesives or heavier materials. Patience guarantees a smooth, bubble-free finish and a durable mount.
What Are the Best Storage Conditions After Mounting?
After mounting, you should store your artwork in a cool, dry place with stable temperature and humidity. Keep it away from direct sunlight, which can harm the mounting surface and fade colors. Use proper storage with acid-free materials, especially if you used different adhesive types. Avoid stacking heavy objects on top to prevent warping or damage. This guarantees your mounted piece stays pristine and maintains its integrity over time.
Is Special Preparation Needed for Delicate or Fragile Artworks?
Yes, you should prepare carefully for fragile or delicate artworks. Focus on fragile preservation by using proper supports and minimal handling. Use gloves to prevent damage and guarantee delicate handling during mounting. Avoid excessive pressure or adhesives that could harm the piece. Properly padding edges and employing gentle tools will help protect the artwork’s integrity, making sure it stays safe and retains its value over time.
Can DIY Mounting Damage Valuable or Older Art Pieces?
Yes, DIY mounting can damage valuable or older art if you’re not careful. For example, using improper adhesive safety might cause staining or deterioration over time. You might also inadvertently alter the framing aesthetics, reducing its value. Without proper techniques, you risk applying too much pressure or using unsuitable materials, which can harm delicate surfaces. Always prioritize professional advice or proper materials to protect your artwork’s integrity.
Conclusion
By mastering the key step that many skip, you turn mounting from a dreaded ordeal into a seamless art. Think of it as your secret weapon—eliminating bubbles and revealing your masterpiece’s true beauty. When you follow the right tools and techniques, you hold the power to create a flawless finish, like a painter perfecting each stroke. So, don’t let bubbles steal the show—take control and let your art shine, free and clear.