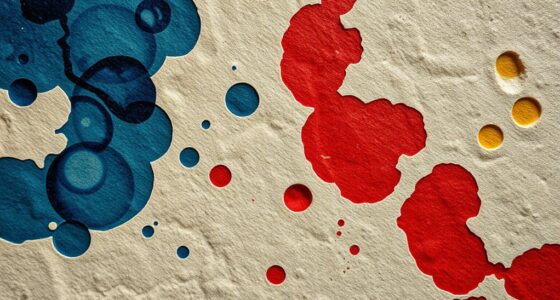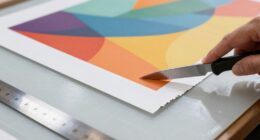
Relief printmaking, like woodcut and linocut, involves carving away non-printing areas to create a design. You apply ink to the raised, uncarved surface using a brayer or roller, then press paper onto the inked block with a baren or printing press. The deeper the cuts, the lighter the print, while shallow cuts produce darker areas. Mastering carving, inking, and printing techniques will help you produce bold, textured images that capture your artistic vision. Continued practice reveals even more exciting possibilities.
Key Takeaways
- Use sharp gouges and V-tools to carve designs into wood or linoleum, emphasizing contrast with deeper or shallower cuts.
- Apply ink evenly to raised surfaces with a brayer, ensuring smooth, consistent coverage for bold prints.
- Carve away areas intended to remain white or unprinted, focusing on contrast and detail.
- Use a baren or printing press to apply steady pressure, transferring ink from the relief surface to paper.
- The final print’s texture and contrast depend on carving techniques and mastery of ink application.
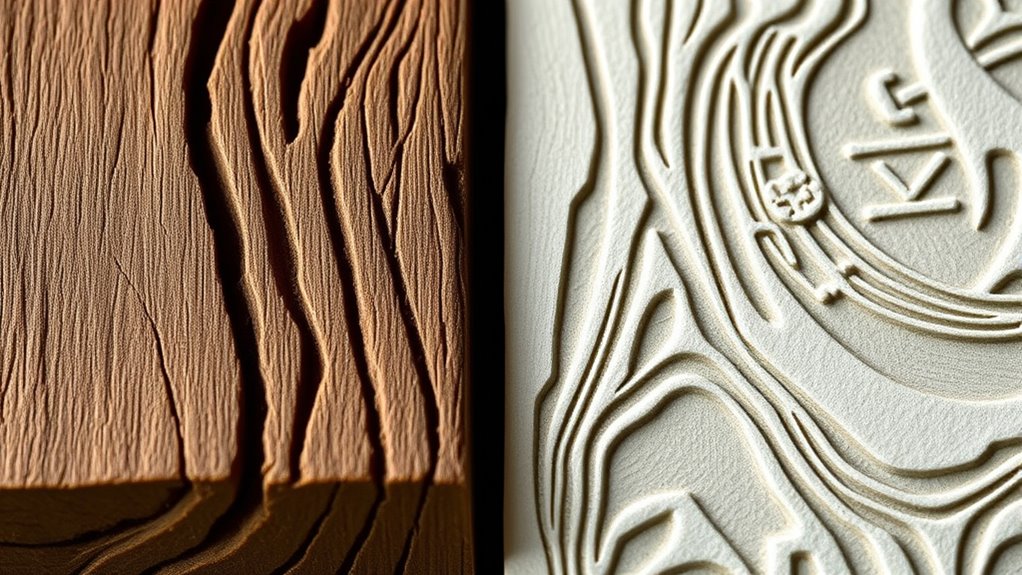
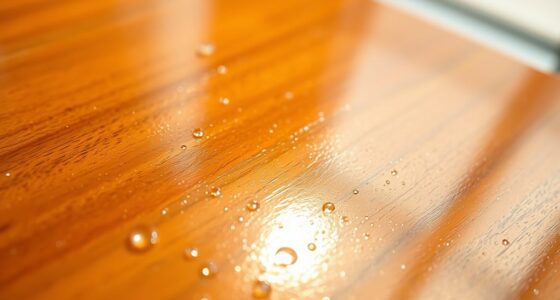
Have you ever wondered how artists create bold, textured images with just ink and carved surfaces? Relief printmaking, especially through woodcut and linocut techniques, relies on carefully applying ink to raised areas of a carved block. To achieve striking prints, you need to master ink application, which involves spreading a thin, even layer of ink onto the surface of your block. Using a brayer or roller, you roll out your ink until it’s smooth and consistent. Then, you gently roll the ink onto the raised surface, making sure not to press too hard or leave uneven spots. The goal is to create a uniform layer that will transfer cleanly onto paper, highlighting the textured qualities of your carving.
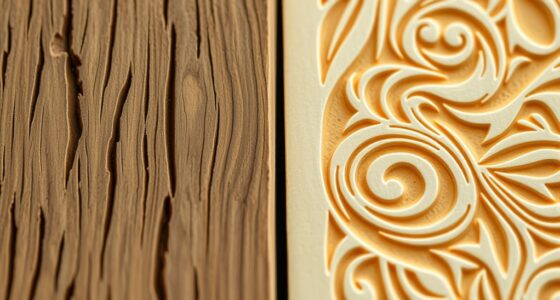
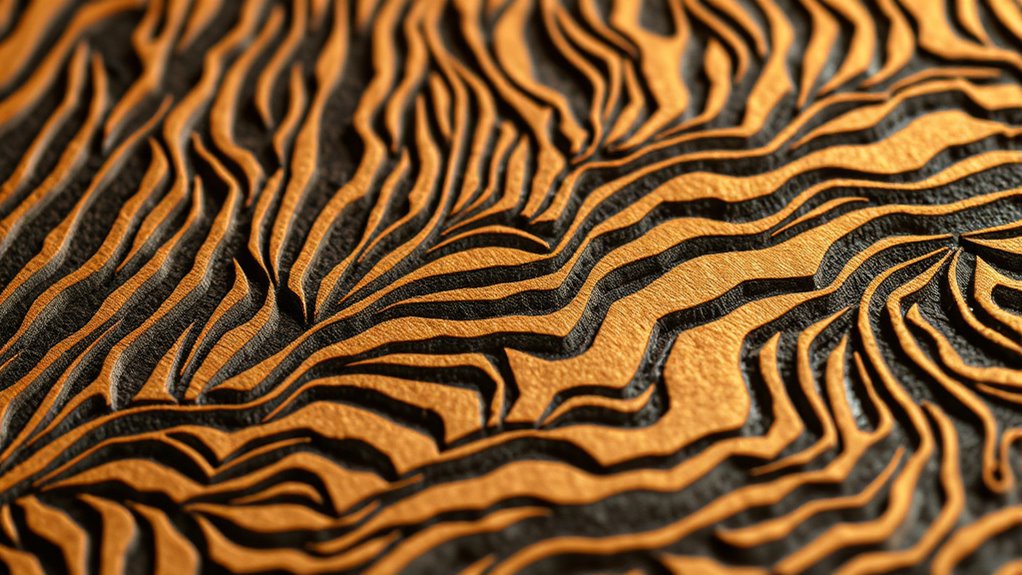
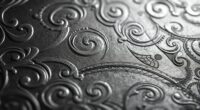
Carving tools are essential in shaping your design and determining the final look of your print. Whether you’re working with wood or linoleum, you’ll use gouges, V-tools, and U-tools to carve away the areas you want to remain white or unprinted. With woodcut, you might use larger, sturdier tools for removing big sections, while finer detail requires small, precise gouges. Linocut carving tools tend to be more flexible, allowing for smooth, controlled cuts that produce sharp lines. As you carve, think about the contrast you want to create; deeper cuts result in lighter areas in the print, while shallow cuts hold more ink and appear darker.
When you start carving, keep your tools sharp and steady—dull tools can slip and ruin your design. Use your non-dominant hand to guide your carving, keeping your fingers safely away from the blades. Follow your design carefully, removing only the areas that need to be white or unprinted. This process requires patience and attention to detail, but the reward is a block that vividly captures your artistic vision. Once you finish carving, it’s time for ink application. Carefully roll the ink onto your block, ensuring even coverage. Press your paper onto the inked surface using a baren or a printing press, applying steady, even pressure. Lift the paper to reveal your print, and admire the bold textures and striking contrasts that relief printmaking can produce. With practice, you’ll be able to create powerful, textured images that showcase your carving skills and ink mastery.
Top picks for "relief printmak woodcut"
Open Amazon search results for this keyword.
As an affiliate, we earn on qualifying purchases.
Frequently Asked Questions
What Are the Best Tools for Beginner Relief Printmakers?
For beginner relief printmakers, start with basic tools like a Speedball carving set, which includes gouges of various sizes. Always prioritize printmaking safety by wearing gloves and using sharp tools carefully. These tools are perfect for beginner project ideas like simple designs or stamps. With proper safety precautions, you’ll find carving easy and enjoyable, helping you develop your skills quickly while exploring the creative possibilities of relief printmaking.
How Do I Choose Between Woodcut and Linocut?
You should choose between woodcut and linocut based on grain texture and carving difficulty. If you prefer a textured, traditional look and don’t mind more effort, go for woodcut, which has a distinct grain that adds character. If you want easier carving with smoother surfaces, linocut is better, as it’s softer and simpler to work with. Consider your skill level and desired aesthetic to make the best choice.
What Types of Ink Work Best for Relief Prints?
You should choose oil-based inks for relief prints because they offer better ink durability and color matching. These inks adhere well to the raised surfaces and produce vibrant, lasting colors, ideal for detailed work. Water-based inks are easier to clean but tend to lack the durability and rich hues of oil-based options. For best results, test different inks on your chosen paper to see which provides the desired color intensity and longevity.
How Can I Prevent Carving Mistakes During Printmaking?
To prevent carving mistakes during printmaking, focus on carving safety and careful planning. Always carve away from your body to avoid accidents, and use sharp tools properly. Before carving, secure your block to guarantee print alignment, preventing shifts that cause mistakes. Take your time, and double-check your design and layout. Practicing on scrap material first helps build confidence and reduces errors on your final piece.
What Are Common Troubleshooting Tips for Print Quality Issues?
When troubleshooting print quality issues, start by checking your ink consistency—make sure it’s not too thick or thin—and adjust as needed. Next, evaluate your paper selection; choose a smooth, compatible surface for clearer details. Make certain even ink application, proper pressure, and clean tools to prevent smudges or uneven prints. By maintaining consistent ink and selecting the right paper, you’ll achieve cleaner, sharper, and more professional results.
Conclusion
As you carve into wood or linoleum, remember you’re shaping more than just a print—you’re carving out your voice. Imagine each cut as a step toward uncovering hidden stories, much like an artist unearthing treasures beneath the surface. Relief printmaking transforms simple materials into powerful expressions, reminding you that even the smallest detail can leave a lasting impression. Keep practicing, and soon your art will echo your unique voice across every print you create.