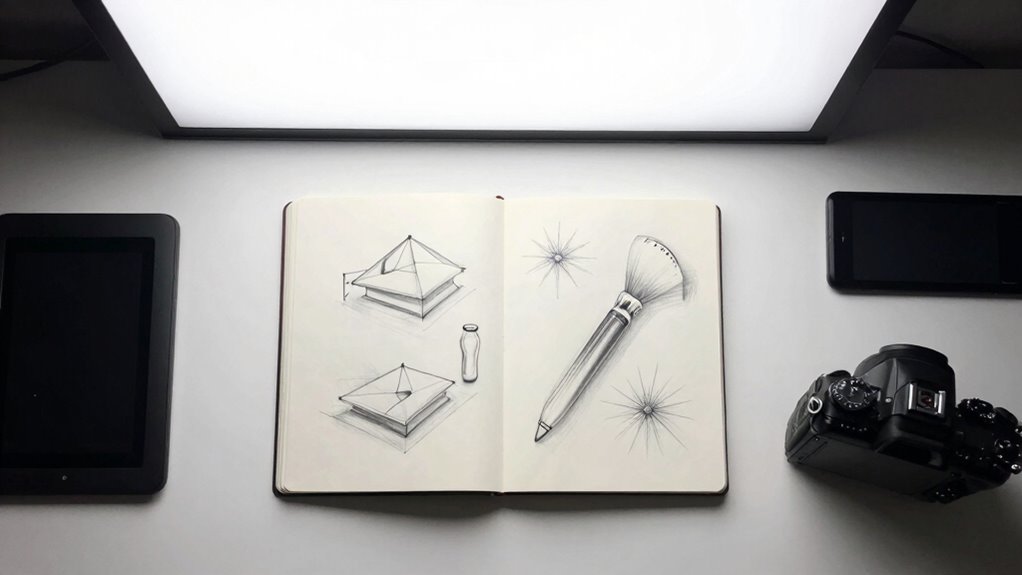

To digitize your sketchbook without shadow lines, make certain your workspace is well-lit with diffused, even lighting, avoiding sharp angles that cast shadows. Secure your pages flat using clips or weights, and keep your device directly above the sketches. Use a high-quality scanner or camera set to high resolution, and preview your scans to adjust brightness and contrast. Proper setup reduces shadows and glare—keep exploring for more tips to perfect your digital reproductions.
Key Takeaways
- Use a flatbed scanner with high resolution (300-600 DPI) for consistent, shadow-free images.
- Employ diffused, even lighting from multiple angles to minimize shadows during the scanning process.
- Keep sketchbook pages flat using clips, weights, or a weighted board to prevent warping and shadows.
- Adjust scanner settings and preview scans to detect and correct any shadow or color inconsistencies before finalizing.
- Apply post-processing tools like brightness, contrast, and shadow removal to clean up any residual shadows or imperfections.

Epson – Perfection V39 II – Color Photo, Tax Receipt & Document Flatbed Scanner – 4800 dpi Optical Resolution – High-Rise, Removable Lid – Scan to Cloud – USB Power – Image Scanning – Black
CLEAR, DETAILED PHOTO SCANS – Achieve amazing image clarity and detail with a 4800 dpi optical resolution, perfect…
As an affiliate, we earn on qualifying purchases.
As an affiliate, we earn on qualifying purchases.
How to Prepare Your Sketches and Workspace for Digitizing
Sure! Here’s the revised content following your directions:
—
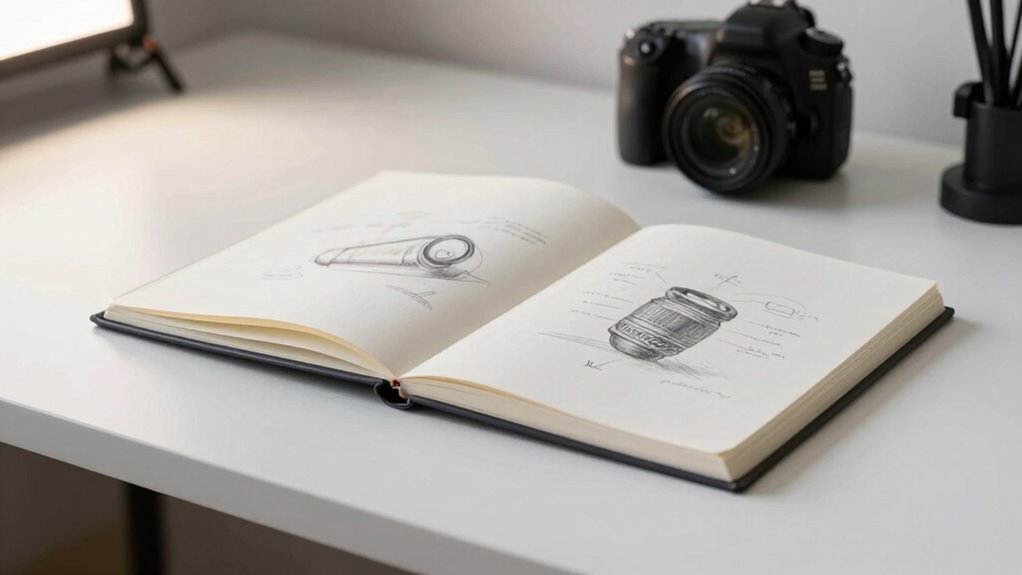
Before you start digitizing your sketches, it’s important to prepare both your sketches and workspace to guarantee the best results. First, consider the paper textures of your sketches; smoother papers like bristol or vellum produce cleaner scans, while rougher textures may require extra care to avoid shadows. If you’re working with different sketchbook types, like spiral-bound or stitched books, gently flatten the pages to prevent shadows and distortions. Remove any smudges or loose debris that could interfere with the scan. Choosing a well-lit, clutter-free workspace with even lighting is crucial, as proper lighting conditions can significantly reduce shadows and glare. Use a flat, stable surface to keep your sketches steady. Additionally, incorporating elements from coffee and tea culture can inspire unique artistic themes that enhance your sketches. Ensuring that your workspace is equipped with safety features can further enhance your focus and comfort. Proper preparation minimizes shadows and enhances scan clarity, making the digitization process smoother and more professional. Additionally, exploring content formats can help diversify the presentation of your digitized sketches. To further enhance your sketches, consider using proper diet for your creativity, as certain foods can boost brain function.
—
Let me know if you need any further modifications!

2-Pack LED Video Light Kit, NiceVeedi Studio Light, 2800-6500K Dimmable Photography Lighting Kit with Tripod Stand&Phone Holder, 73" Stream Light for Video Recording, Game Streaming, YouTube
【MULTIPLE COLOR TEMPERATURE & ADJUSTABLE BRIGHTNESS】There are 3 Color temperatures (2800K, 4800K & 6500K) which offer different lighting…
As an affiliate, we earn on qualifying purchases.
As an affiliate, we earn on qualifying purchases.
Choosing the Best Equipment and Settings for Clear Scans
To achieve crisp, shadow-free scans, selecting the right equipment and adjusting your settings is essential. Use a high-quality scanner with adjustable resolution—300 to 600 DPI works well for most sketches. Make certain your scanner supports color calibration so you can accurately reproduce hues without color distortion. When scanning, consider the paper texture; smooth, flat paper reduces shadows and reflections, while textured paper may require specific settings to avoid glare. Choose a scanner with a flatbed surface for even pressure and consistent results. Adjust the color calibration settings to match your sketchbook’s original tones, which helps prevent unwanted shadows or color shifts. Finally, preview your scan and tweak settings as needed, ensuring your digital copy remains true to the original artwork. Additionally, consider using a scanner with high contrast ratios to enhance the clarity of your scanned images.

3 Pcs Book Page Holder, 4.72" Widened Transparent Page Holder for Books, Notebooks – Non-Slip Hands, Free Reading for Home, Office, School, Portable & Lightweight Bookmark Clip
Multi Colored: You will receive 3 pcs of clear transparent book clips, differences are transparent blue, transparent green…
As an affiliate, we earn on qualifying purchases.
As an affiliate, we earn on qualifying purchases.
Lighting and Positioning Tips to Avoid Shadows
To avoid shadows when digitizing your sketches, use soft, even lighting that reduces harsh lines. Make certain you position your sketchbook flat and directly under the light source, avoiding angles that cast shadows. Keep the light source as diffuse as possible to ensure consistent, shadow-free images. Additionally, consider using a lighting setup similar to what cyclists use for visibility, as this can enhance clarity and reduce unwanted shadows. Incorporating eco-friendly practices in your workspace can also help create a more sustainable environment for your art. Using high-quality car protection can further enhance your creative environment by ensuring your workspace remains free from dust and damage. Maintaining good indoor air quality is also essential, as it can influence your overall comfort and focus while working. When selecting lighting, be mindful of regulatory considerations for energy use, as they can impact both your workspace and environmental footprint.
Utilize Soft, Even Lighting
Lighting plays a crucial role in capturing clean, shadow-free scans of your sketchbook pages. Use soft, even lighting to minimize harsh shadows and reflections that can distort your work. Diffused light sources, like softboxes or indirect natural light, help achieve this. Consistent lighting also aids in color calibration, ensuring your digital copy accurately reflects your original colors. Be mindful of paper texture, as uneven lighting can emphasize bumps or fibers, disrupting the clarity of your scan. To visualize this, consider the table below:
| Light Type | Effect on Shadows | Best Use Case |
|---|---|---|
| Softbox | Minimize shadows | Studio setups for detailed art |
| Natural Light | Even, consistent light | Daylight for true color |
| Diffused LED | Reduces glare, shadows | Quick, portable solutions |
Utilizing smart furniture can also enhance your workspace, making it more efficient for digitizing your sketches. Using soft, even lighting makes your digitized sketches look professional and true to life.
Position Sketchbooks Correctly
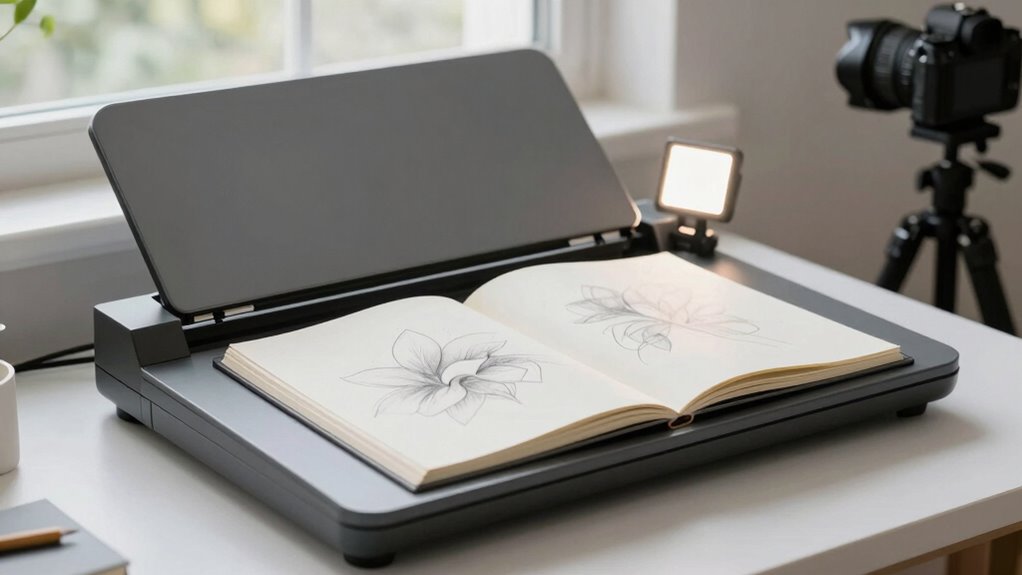
Properly positioning your sketchbook is essential to prevent shadows and guarantee a clear scan. Start by placing the sketchbook flat on a smooth surface, ensuring proper paper placement so the entire page is within the scanner or camera frame. Keep the sketchbook orientation consistent—either always open in the same direction or aligned to your scanning setup—to avoid distortions. Use clips or weights to keep pages flat, preventing warping or curling that can cause uneven shadows. Avoid placing the sketchbook at an angle, as this can cast unwanted shadows or distort the image. A stable, well-aligned position ensures even lighting and minimizes the chances of shadow lines, resulting in a cleaner, more professional-looking digital copy. Additionally, consider using natural light or halal-friendly cooking ideas to illuminate your workspace, as this can enhance the overall quality of your scan.
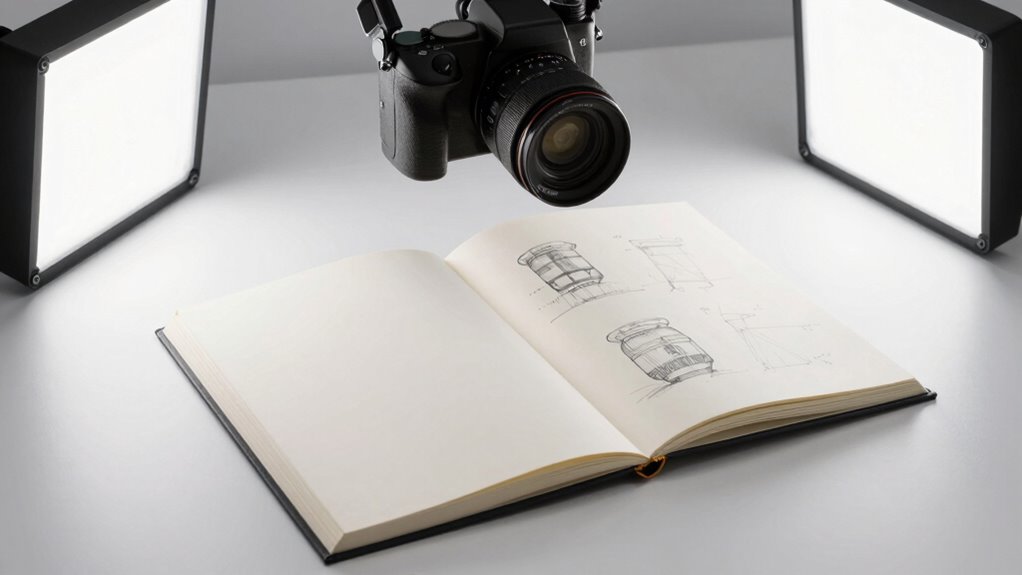
Minimize Light Source Angles
Adjusting your light source angles is essential because uneven lighting can create harsh shadows on your sketchbook pages. To achieve shadow elimination, position your lights so that the lighting angles are as direct and evenly distributed as possible. Avoid placing lights directly above or at sharp angles, which can cast unwanted shadows. Instead, use diffused lighting from multiple sources at shallow angles to reduce contrast and soften shadows. Experiment with the placement until you find the ideal setup where shadows are minimized, and the pages are uniformly lit. This technique ensures your sketches are captured clearly, with minimal shadow lines, making the digitization process smoother and more professional. Proper lighting angles are key to a shadow-free, high-quality digital copy.

GIMP 2025 Photo Editor USB – Compatible with Windows – Full Image Editing Software – Open Source Alternative to Photoshop – Includes PDF Guide
Professional image editing software for Windows and macOS, preloaded on a convenient USB drive with no internet required…
As an affiliate, we earn on qualifying purchases.
As an affiliate, we earn on qualifying purchases.
Why Shadows Appear When Digitizing and How to Recognize Them

Shadows often appear when digitizing sketchbooks because uneven lighting or surfaces cause parts of your artwork to block light sources, creating unwanted dark areas in the digital image. This shadow distortion makes details harder to see and diminishes your artwork’s clarity. Recognizing these shadows involves noticing irregular dark patches, inconsistent shading, and distorted lines. They often result from light reflection off surfaces or the angle of your light source, which amplifies shadows. To avoid frustration, watch for:
- Dark, uneven patches disrupting your artwork’s clarity
- Unnatural lines caused by shadow distortion
- Glare or reflections altering the true image
- Shadows shifting with light source changes
- Areas where light reflection creates bright spots or dark patches
Understanding these signs helps you identify and correct shadow issues early, leading to cleaner, more accurate digital reproductions. Additionally, using synthetic lubricants can optimize your workflow by ensuring your equipment operates smoothly during the digitization process. To improve your digitization results, consider implementing effective soundproofing techniques that minimize ambient noise, allowing for better focus and concentration.
Post-Processing Techniques to Remove Shadows and Enhance Your Artwork
You can remove shadows and improve your artwork by using shadow removal tools in your editing software. Adjusting brightness and contrast helps to further minimize unwanted lines and make your sketches pop. These techniques give your digital images a clean, professional look with minimal effort. Additionally, understanding dream symbolism can enhance your communication about art styles and techniques, making it easier to connect with others in the creative community. Incorporating woodworking education into your artistic process can also provide valuable insights into materials and techniques that enhance your craft. Furthermore, exploring shipwreck preservation methods can inspire innovative approaches to preserving the integrity of your artwork in the digital realm. A well-tuned flywheel performance can similarly optimize your creative workflow, allowing for smoother transitions and enhanced productivity.
Shadow Removal Tools
When shadows appear on your scanned sketches, digital tools can help you eliminate them quickly and effectively. Shadow removal tools allow you to refine your artwork by addressing unwanted shadows and imperfections. Use color correction features to balance tones and restore vibrancy, making your sketches look natural and lively. Adjusting for paper texture helps smooth out uneven shadows caused by varied paper surfaces, giving a cleaner finish.
- Feel confident as your artwork transforms seamlessly
- Experience satisfaction when shadows disappear effortlessly
- Enjoy the clarity of crisp, shadow-free lines
- Achieve professional-quality results with ease
- Preserve the original detail and character of your sketches
Brightness and Contrast Adjustments
Adjusting brightness and contrast is a straightforward way to further refine your scanned sketches after removing shadows. Proper tweaks can make your artwork pop and improve overall clarity. When adjusting, keep in mind that image resolution affects how detailed your edits appear—higher resolution means cleaner adjustments. Color calibration is also essential; it ensures your colors stay true to the original, preventing unnatural hues. Use editing software to fine-tune these settings for best results. To help visualize, here’s a quick comparison:
| Brightness & Contrast | Effects on Artwork |
|---|---|
| Increased Brightness | Lightens shadows, reveals details |
| Decreased Contrast | Softens harsh lines, smooths tones |
| Proper Calibration | Preserves original colors |
This approach guarantees your sketches look sharp and true to life.
Common Mistakes When Digitizing Sketches and How to Avoid Them

One common mistake when digitizing sketches is neglecting proper lighting, which often results in shadows and uneven tones on the scan. This can ruin color accuracy and obscure the paper texture, making your artwork look flat or distorted. To avoid these issues, pay attention to these pitfalls:
- Using harsh, direct light that creates shadows and highlights paper texture.
- Overlooking the importance of consistent lighting to preserve color fidelity.
- Scanning without checking the paper’s surface, risking loss of detail.
- Rushing the process, leading to misaligned images and shadows.
- Ignoring the need for calibration, which affects overall color accuracy.
Additionally, ensuring a comfortable scanning environment can help mitigate distractions that lead to mistakes during the digitization process.
Frequently Asked Questions
What Types of Paper Are Best for Scanning Sketches?
You should choose smooth, lightweight paper like bristol or vellum for scanning sketches, as their minimal texture helps prevent shadow lines. Avoid heavily textured or thick paper that can create shadows or uneven scans. Consider sketchbook binding—flat or spiral-bound books make it easier to scan pages fully open without distortions. Selecting the right paper texture and binding method ensures clear, shadow-free digital reproductions of your artwork.
How Do Different Scanner Types Affect Shadow Removal?
Different scanner types influence shadow removal through calibration and shadow masking. Flatbed scanners often produce minimal shadows, especially when calibrated properly, ensuring cleaner images. Overhead or drum scanners, with precise calibration, reduce shadows further by capturing more even lighting. Shadow masking techniques can be applied during scanning or in post-processing to eliminate remaining shadows. Choosing the right scanner and calibrating it correctly helps you achieve clear, shadow-free digitized sketches.
Can Smartphone Apps Effectively Digitize Sketches Without Shadows?
Yes, smartphone apps can effectively digitize sketches without shadows if you use your mobile camera properly. Guarantee good lighting and hold your phone steady to improve image resolution. Many apps have features like edge detection and shadow correction, which help produce clear, shadow-free digital copies. Adjusting focus and brightness settings also enhances the quality, making your sketches look sharp and true to the original, even without specialized equipment.
How Does Sketch Thickness Influence Shadow Formation During Scanning?
Thicker sketches with bold line weights tend to produce more noticeable shadow lines during scanning, especially if your lighting isn’t diffuse. However, if you focus on capturing sketch texture with lighter lines and varied line weights, you’ll minimize shadows. Using diffuse, even lighting helps prevent shadow formation regardless of sketch thickness. So, adjusting line weight and controlling lighting lets you achieve clear, shadow-free digital copies, even with diverse sketch textures.
Are There Specific Editing Software Recommended for Shadow Correction?
You should try software like Adobe Photoshop or GIMP for shadow elimination and color correction. These programs offer advanced tools to refine your scans, allowing you to easily remove shadows and enhance colors for a cleaner look. Use the clone stamp or healing brush to fix shadows, and adjust levels or curves to achieve accurate color correction. Both are user-friendly and powerful, making them ideal for digitizing sketchbooks smoothly.
Conclusion
Now that you know how to prevent shadow lines, you’re ready to digitize your sketches like a modern artist, not a cave dweller with a torch. Remember, patience and attention to detail are your best tools—think of it as crafting a Mona Lisa in your digital atelier. Keep practicing, avoid rushing, and you’ll capture your artwork in its true light, turning your sketchbook into a timeless masterpiece for the ages.