To diagnose emulsion problems, check the surface feel and appearance. Is it tacky, soft, or easily marred? Or does it feel rough, brittle, or crack? Perform tests like solvent resistance or adhesion. If your coating remains sticky or uneven, it’s likely undercured; if it’s rough or cracks, it’s overcured. Understanding these signs helps you apply the right fixes and avoid future issues—more details can help you troubleshoot effectively.
Key Takeaways
- Check surface feel: tacky or soft indicates undercure; brittle or cracked suggests overcure.
- Conduct solvent resistance tests: smudging implies undercure; resistance points to overcure.
- Observe visual cues: dull, uneven surface for undercure; cracked or cloudy surface for overcure.
- Perform adhesion and scratch tests: poor peelability hints at undercure; hardness and brittleness indicate overcure.
- Monitor environmental conditions and application methods to identify potential causes of cure issues.

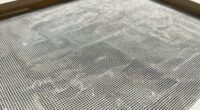
Speedball Art Products Diazo Photo Emulsion Kit for Screen Printing Frames
Photo emulsion is best for creating detailed or photographic type stencils for screen printing.
As an affiliate, we earn on qualifying purchases.
As an affiliate, we earn on qualifying purchases.
What Causes Undercure in Emulsion Coatings?

What Causes Undercure in Emulsion Coatings?
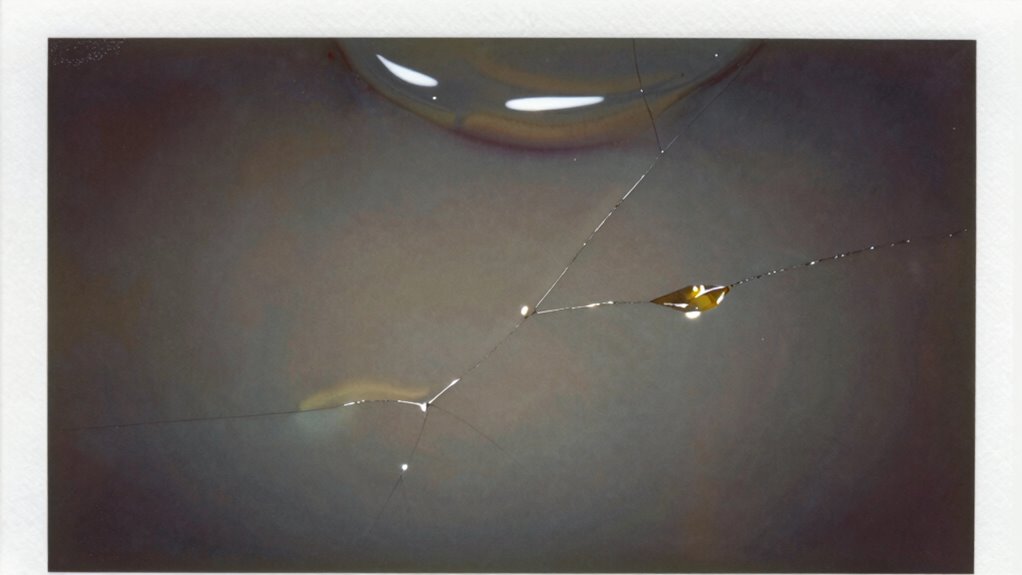
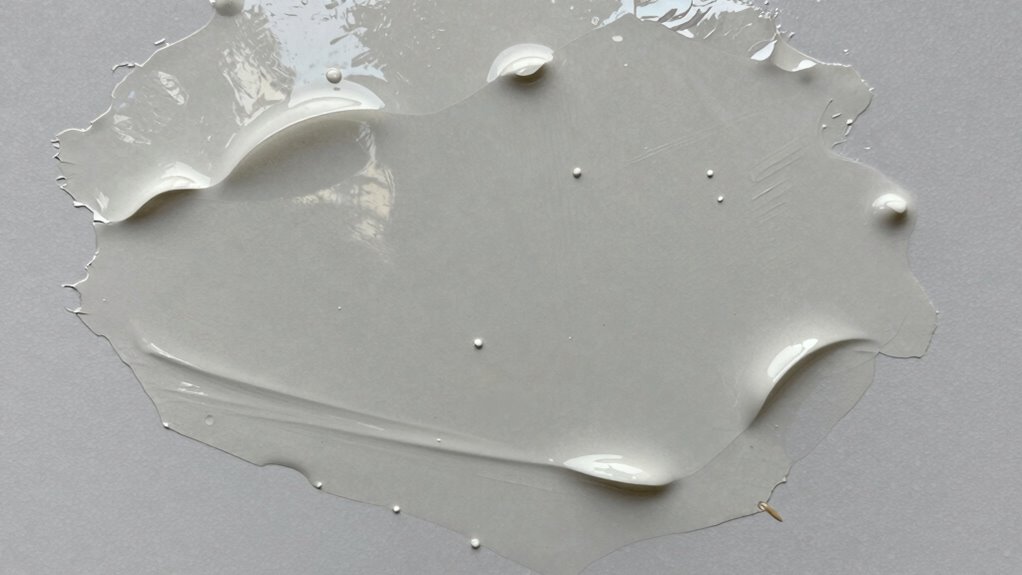
Undercure in emulsion coatings occurs when the film doesn’t fully dry or cure properly, leading to a weak and tacky surface. This problem often results from disrupted chemical interactions during the curing process. Environmental factors play a significant role—excessive humidity slows evaporation, while low temperatures delay chemical reactions essential for curing. Poor ventilation can trap moisture, further hindering proper film formation. Additionally, using the wrong formulation or applying too thick a layer can prevent chemicals from interacting correctly, causing undercure. You need to control environmental conditions carefully and select appropriate formulations to guarantee proper chemical interactions. If these factors aren’t managed, the coating remains undercured, compromising durability and appearance. Furthermore, maintaining optimal lighting control can also influence the curing process, ensuring that environmental conditions are favorable for proper film formation. Understanding regional flavors is essential in adapting your approach to improve curing efficiency and overall coating performance.

CGOLDENWALL Cross Hatch Adhesion Tester Cross-Cut Tester Kit Multi-blades with 1mm/2mm/3mm Blades Cutter Spacing: 1 +0.01mm, 2+0.01mm, 3+0.01mm with Plastic Packing Box
Multi-blade cutter spacing: 1 +0.01mm, 2+0.01mm, 3+0.01mm
As an affiliate, we earn on qualifying purchases.
As an affiliate, we earn on qualifying purchases.
How Can You Tell if Your Coating Is Undercured?
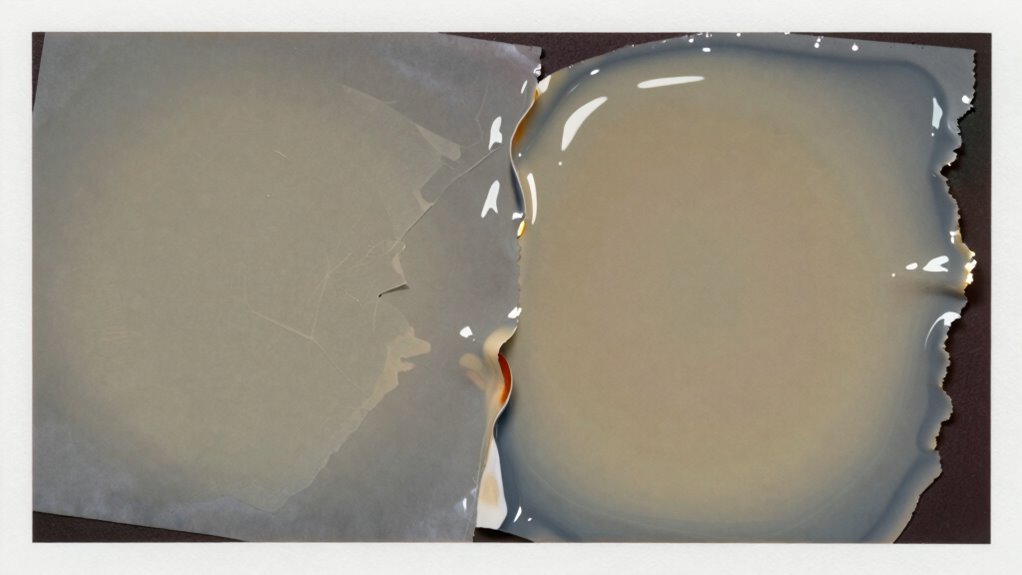
How can you tell if your coating hasn’t fully cured? When a coating is undercured, the chemical reactions that solidify it remain incomplete, often caused by insufficient curing agents or improper curing conditions. You might notice that the surface feels soft or tacky, indicating the film hasn’t fully hardened. Additionally, the coating may be easily marred or smudged, and it might not resist chemicals or solvents as expected. A visual clue is a dull or uneven appearance, and it may peel or lift easily. Testing for flexibility or adhesion can also reveal undercuring, as incomplete chemical reactions weaken the coating’s integrity. Recognizing these signs helps you identify an undercured coating before further issues develop. Moreover, understanding natural filtration systems can improve your overall coating application process by ensuring optimal environmental conditions.

Hydrion QT-40 Quaternary SANITIZER Solution Test Tape for Testing 0-500 ppm Ranges – QUAT Tape & Color Chart – Tests Quaternary Ammonium Sanitizer Solutions in Restaurants, Bars, Daycare – 15 Ft Roll
Provides a simple, reliable, and economical means to measure the concentration of Quaternary Sanitizers, particularly multi-quat broad range…
As an affiliate, we earn on qualifying purchases.
As an affiliate, we earn on qualifying purchases.
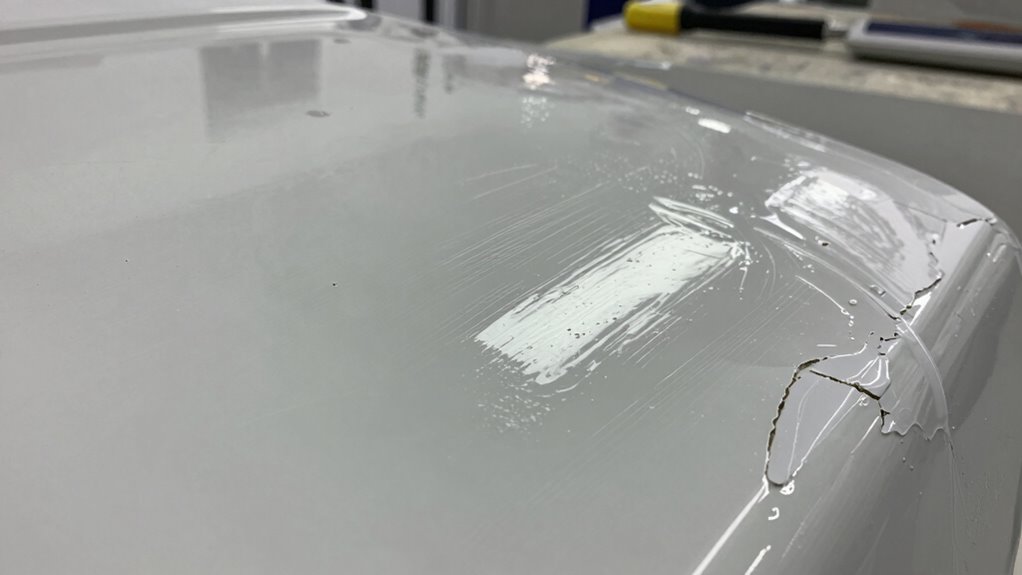
How Do You Recognize an Overcured Coating?
When your coating becomes overcured, you’ll notice changes in its surface texture, making it feel rough or brittle. Color and gloss may also vary, with some areas appearing duller or darker than others. Keep an eye out for these signs to avoid further damage and guarantee a quality finish. Additionally, understanding the relationship between art and preservation can offer insights into maintaining the integrity of your coatings.
Changes in Surface Texture
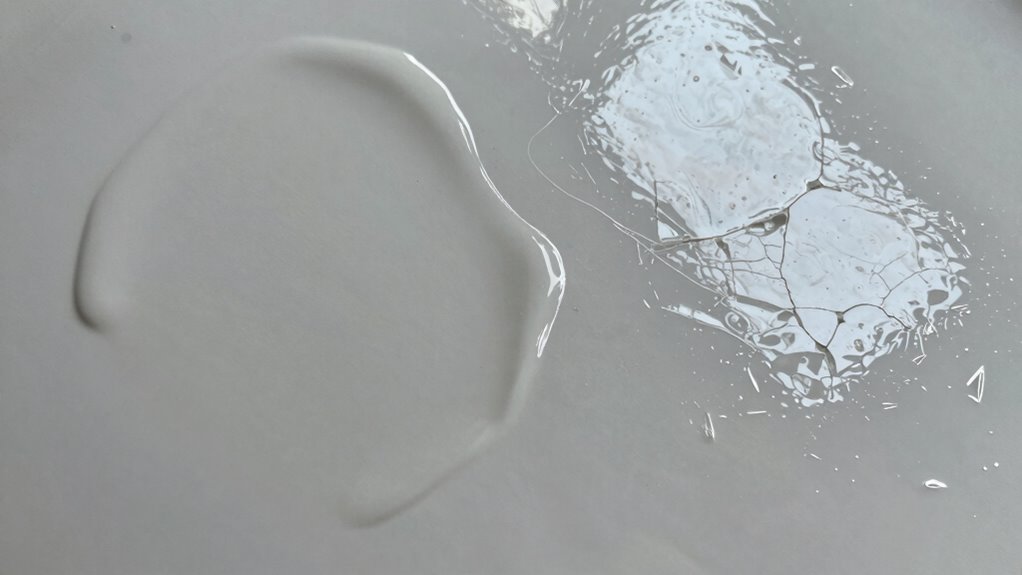
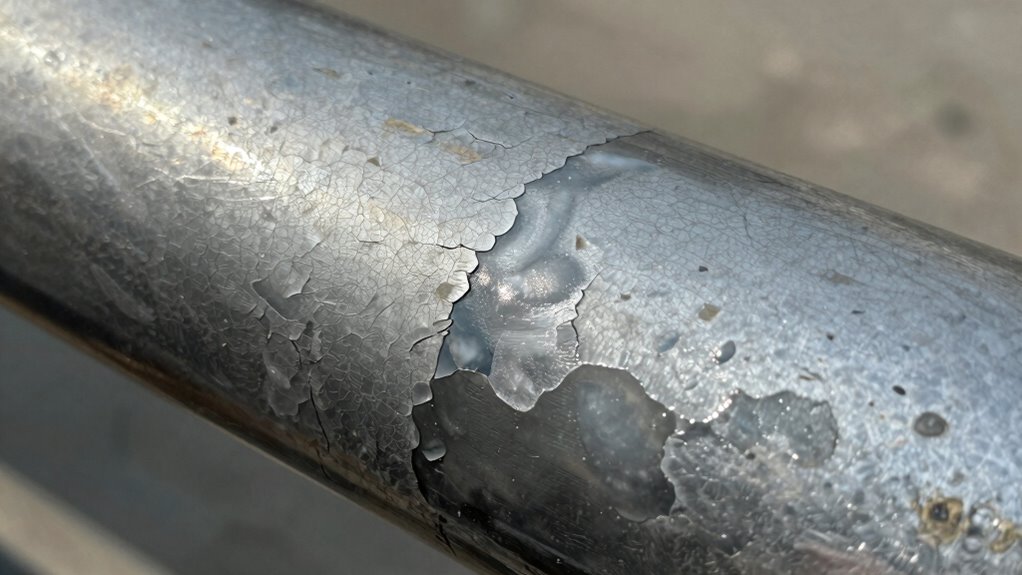
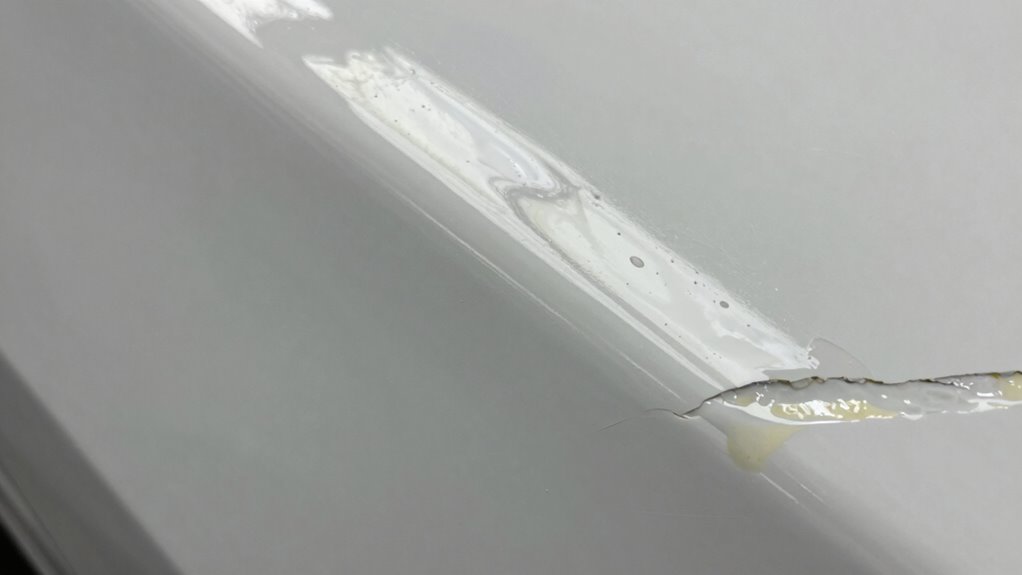
Overcured coatings often develop a noticeably rough or uneven surface texture, making them easy to spot upon close inspection. You’ll notice surface imperfections such as tiny cracks, flaking, or a hardened, brittle feel. Texture variations become apparent, with areas appearing rougher or more granular than intended. To identify overcuring, look for:
- Excessively rough or gritty surface finish
- Small cracks or crazing forming across the coating
- Flaking or peeling at edges
- Uneven texture with noticeable bumps or ridges
These signs indicate the coating has undergone too much curing, leading to undesirable surface imperfections. Recognizing these texture variations helps you determine if the coating is overcured, allowing for proper corrective action. Additionally, understanding proper curing techniques can help prevent these issues in future applications.
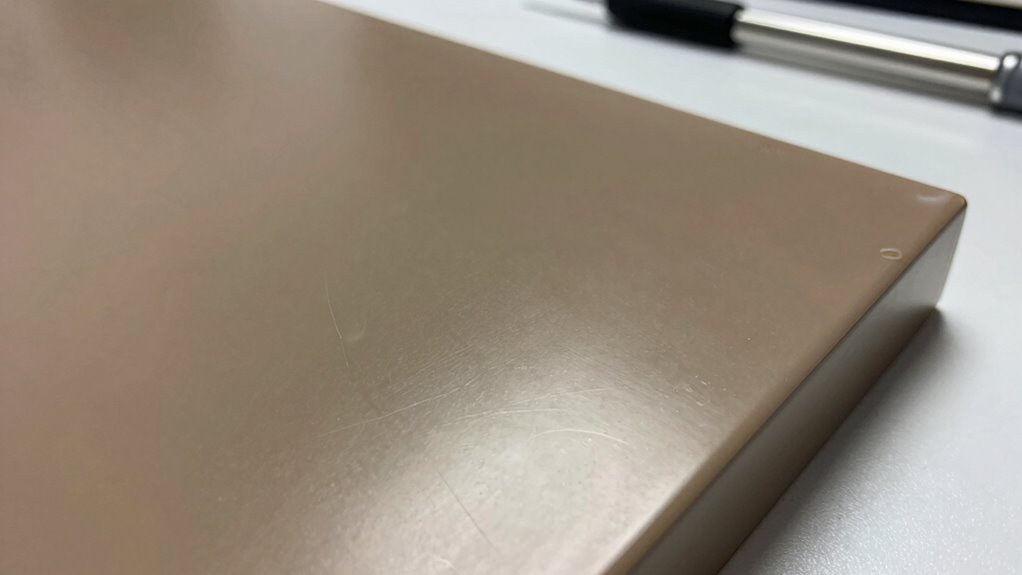
Color and Gloss Variations
Color and gloss changes often signal that a coating has been overcured. Overcured coatings typically exhibit uneven or dull color, losing their original color consistency. Gloss retention diminishes as the surface becomes overly hardened, resulting in a matte or cloudy appearance. These variations can indicate excessive curing, which may compromise the finish’s durability. To better understand, consider this:
| Aspect | Overcure Indicator |
|---|---|
| Color consistency | Uneven or faded hues |
| Gloss retention | Loss of shine, dull surface |
Recognizing these signs helps prevent compromising the coating’s integrity. Consistent color and maintained gloss are essential for a professional finish. Overcuring can lead to cracking or peeling over time, so monitor these visual cues carefully.
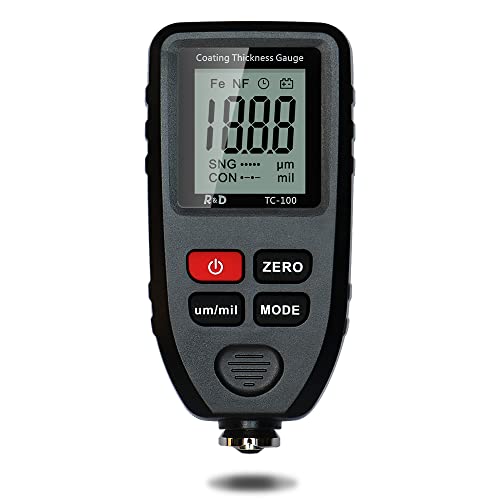
Car Coating Thickness Meter for Used Car Buyers, Paint Mil Thickness Meter Gauge Check The Car’s Original Coating Auto Car Paint Meter
Auto-Detection for Steel and Aluminum Coatings:This Coating Thickness Gauge utilizes advanced dual technology to automatically recognize ferrous and…
As an affiliate, we earn on qualifying purchases.
As an affiliate, we earn on qualifying purchases.
Tests to Differentiate Between Undercure and Overcure
To determine whether a coating is undercured or overcured, you can perform specific tests that reveal the material’s curing state. Understanding emulsion chemistry and the role of curing agents helps interpret results accurately. Here are four tests you can try:
- Solvent Resistance Test: Gently rub the surface with a solvent like alcohol. Undercured coatings may smudge or dissolve easily, while overcured ones resist solvent action.
- Scratch Test: Lightly scratch the surface. Undercured coatings are softer and may gouge or peel, whereas overcured ones are harder and more brittle.
- Adhesion Test: Use tape to peel the coating. Poor adhesion suggests undercuring, while overcuring often results in brittleness.
- Visual Inspection: Look for gloss and color consistency. Overcured coatings may appear dull or cracked, while undercured ones look tacky or uneven.
Troubleshooting Tips for Cure Problems in Coatings
When you notice cure problems in your coatings, start by evaluating whether the cure level is too high or too low. You can then adjust your application techniques, such as curing time or temperature, to improve results. Making these tweaks helps guarantee your coating cures properly and performs as intended. Additionally, understanding debt management strategies can help you allocate resources effectively for better quality materials and processes. Furthermore, using the right performance parts can enhance the durability and efficiency of your coatings. Investing in luxury lifestyle products can also provide better tools and equipment that contribute to optimal curing conditions.
Identifying Cure Level Issues
Cure level issues in coatings can profoundly impact their performance and appearance, making it essential to accurately identify the root cause. To diagnose, consider how chemical interactions and environmental factors influence curing. First, check for inconsistent curing across the surface, which may signal uneven chemical reactions. Second, examine environmental conditions like temperature and humidity, as these can hinder proper curing. Third, perform a cross-hatch adhesion test; poor adhesion often indicates undercure. Fourth, inspect for tackiness or soft spots, common signs of overcure or incomplete chemical reactions. By understanding how environmental factors and chemical interactions affect curing, you can better pinpoint whether your coating is undercured or overcured, ensuring you take appropriate corrective actions.
Adjusting Application Techniques
Adjusting your application techniques is often the key to resolving cure problems in coatings. Ensuring application consistency helps deliver an even layer, preventing issues like undercure or overcure. Check your equipment calibration regularly to maintain proper coating thickness and uniformity. Properly calibrated equipment ensures the right amount of material is applied, reducing the risk of cure inconsistencies. Pay attention to your spray guns or rollers; inconsistent application can lead to uneven curing. Adjust your technique as needed—smooth, steady passes promote uniform coverage. If problems persist, verify your environmental conditions, but don’t overlook the importance of precise equipment calibration and maintaining consistent application methods. Fine-tuning these factors can considerably improve cure quality and overall finish. Additionally, understanding safety tips for tools is crucial to ensure a safe and effective working environment when applying coatings.
Repair Strategies for Undercured and Overcured Coatings
Undercured and overcured coatings present unique challenges that require tailored repair strategies to restore their integrity. For undercured coatings, focus on proper application techniques and selecting the right curing agent to promote complete curing. Overcured coatings, on the other hand, often need careful removal before reapplication. To effectively repair:
- Assess the extent of cure issues accurately.
- For undercured areas, lightly sand and clean the surface before applying a fresh layer with improved application techniques.
- Choose a curing agent suited to the existing coating to guarantee proper crosslinking.
- For overcured surfaces, remove the damaged layer completely, then reapply with correct curing protocols.
Adjusting application techniques and curing agent selection is essential for durable, high-quality repairs, ensuring long-term performance of the coating.
Preventing Cure Issues: Best Practices
To prevent cure issues in coatings, it’s essential to follow proper surface preparation, mixing, and application procedures from the start. Paying attention to environmental factors like temperature, humidity, and airflow helps guarantee ideal curing conditions. Understanding air fryer cooking techniques can also enhance your approach to achieving optimal results. Additionally, using airless spray techniques can improve application efficiency and consistency. Adjust your formulation when necessary, such as modifying solvent levels or adding accelerators or retarders, to match environmental conditions. This proactive approach minimizes risks of undercure or overcure. Furthermore, understanding ethical consumer choices can play a role in selecting the right materials and processes that align with your values. A focus on utilitarianism can guide decisions that balance performance with environmental impact. Maintaining indoor air quality is crucial, as contaminants can hinder the curing process. Visualize the process with the table below, which illustrates key elements influencing cure quality:
| Element | Impact on Cure |
|---|---|
| Temperature | Affects drying rate and film formation |
| Humidity | Can cause improper film coalescence |
| Airflow | Promotes even drying |
| Formulation adjustments | Tailors coating to conditions |
| Surface prep | Ensures proper adhesion |
When to Seek Professional Help for Emulsion Cure Problems
While following best practices can resolve many cure issues, some problems require expert intervention. If you notice persistent emulsion cure problems despite adjusting curing agents or environmental factors, it’s time to consult a professional. You should seek help if:
- The coating remains tacky long after expected cure times.
- Environmental factors, such as humidity or temperature fluctuations, consistently interfere with curing.
- The surface shows signs of uneven or inconsistent curing despite proper application.
- Changes in curing agents or environmental conditions don’t improve the cure process.
Professionals can evaluate complex interactions between environmental factors and curing agents, identify underlying issues, and recommend advanced solutions. Understanding the nuances of neural interfaces can also help optimize the processes involved. Recognizing when expert help is needed ensures your project’s long-term durability and quality. Additionally, understanding the role of anti-fatigue mats in maintaining a stable work environment can also contribute to improved curing conditions. Engaging with support networks for new fathers can provide insights into effective problem-solving strategies for various challenges.
Summary: Diagnosing and Fixing Coating Cure Problems
Diagnosing and fixing coating cure problems requires a systematic approach to identify the root causes and implement effective solutions. Start by evaluating surface preparation; if surfaces aren’t properly cleaned or roughened, adhesion issues can cause curing problems. Next, analyze environmental controls—temperature, humidity, and airflow considerably impact curing. Poor environmental conditions can lead to undercure or overcure, so verify the workspace is within recommended parameters. Check for contamination or moisture that might interfere with curing chemistry. If issues persist, consider adjusting application techniques or the formulation. Proper surface preparation combined with ideal environmental controls helps achieve a complete cure. Regular inspections and testing allow you to catch problems early and apply targeted fixes, ensuring a durable, high-quality coating finish.
Frequently Asked Questions
Can Environmental Conditions Affect Emulsion Curing Times?
Environmental factors definitely impact emulsion curing times, causing curing variability. When humidity, temperature, or airflow change, they can speed up or slow down the curing process. For example, high humidity may extend curing time, while heat can accelerate it. You should monitor these conditions closely and adjust your curing environment accordingly to guarantee consistent results. Proper control helps prevent issues like undercure or overcure caused by fluctuating environmental factors.
Are There Specific Tools to Measure Cure Levels Accurately?
Yes, you can use tools like spectrophotometer testing and gel time analysis to measure cure levels accurately. Spectrophotometers help you assess the extent of cure by measuring light absorption, while gel time analysis determines how long it takes for the emulsion to reach a gel point. These tools give you precise, objective data, allowing you to diagnose curing issues and optimize your process effectively.
How Do Different Additives Influence Emulsion Cure?
Oh, the magic of additives—those tiny troublemakers! They can dramatically influence emulsion cure, either speeding it up or slowing it down, thanks to additive interactions. Curing agents, when paired with other additives, might create a symphony or a disaster. You need to understand how each additive interacts within the system, ensuring you don’t unintentionally sabotage your cure process. Think of it as a chemistry dance—knowing your partners is key!
What Are the Long-Term Effects of Improper Curing?
Improper curing can compromise chemical stability, leading to deterioration over time. You might notice reduced surface adhesion, causing the coating to peel or flake. Long-term, these issues weaken the material’s durability and resistance to environmental factors. If you don’t cure properly, it jeopardizes the emulsion’s integrity, increasing the risk of failure and costly repairs. Ensuring correct curing promotes lasting chemical stability and strong surface adhesion, extending your project’s lifespan.
Is It Safe to Recoat Over an Undercured or Overcured Layer?
Coincidences happen, but when it comes to recoat safety, you shouldn’t take chances with an undercured or overcured layer. Recoating over an undercured surface risks poor adhesion and peeling, while overcure can cause cracking or bubbling. Always perform a curing assessment first. If unsure, it’s best to wait until the previous layer fully cures, ensuring best results and long-term durability for your project.
Conclusion
Just like a master chef perfects each dish, you can troubleshoot your emulsion coatings with patience and precision. Recognize the signs, perform the right tests, and apply the appropriate fixes. By understanding the dance between undercure and overcure, you’ll keep your finishes smooth and flawless. Remember, every coating tells a story—your skill guarantees it’s a tale of success, not struggle, guiding your projects like a compass through the storms of uncertainty.