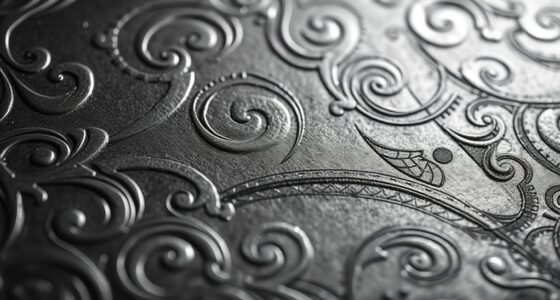

Your mesh count affects how detailed and smooth your model appears. If your fine features keep filling in or look distorted, it’s often because your mesh is too dense in some areas or improperly optimized, causing issues like shading problems or deformation. Balancing mesh count is essential for clear, sharp details without slowing down your software. Keep exploring to find out how to manage mesh complexity effectively and achieve better results.
Key Takeaways
- Higher mesh count allows for more detailed surface features, preventing details from “filling in” or appearing flat.
- Increasing mesh density enhances the resolution, keeping fine details sharp rather than blending into smoother surfaces.
- Low mesh count models tend to smooth out details due to fewer polygons, causing the “filling in” effect.
- Proper mesh topology and balance between detail and polygon count maintain clarity of intricate features.
- Adjusting texture resolution and lighting can also help preserve detailed surface appearance without increasing mesh complexity.

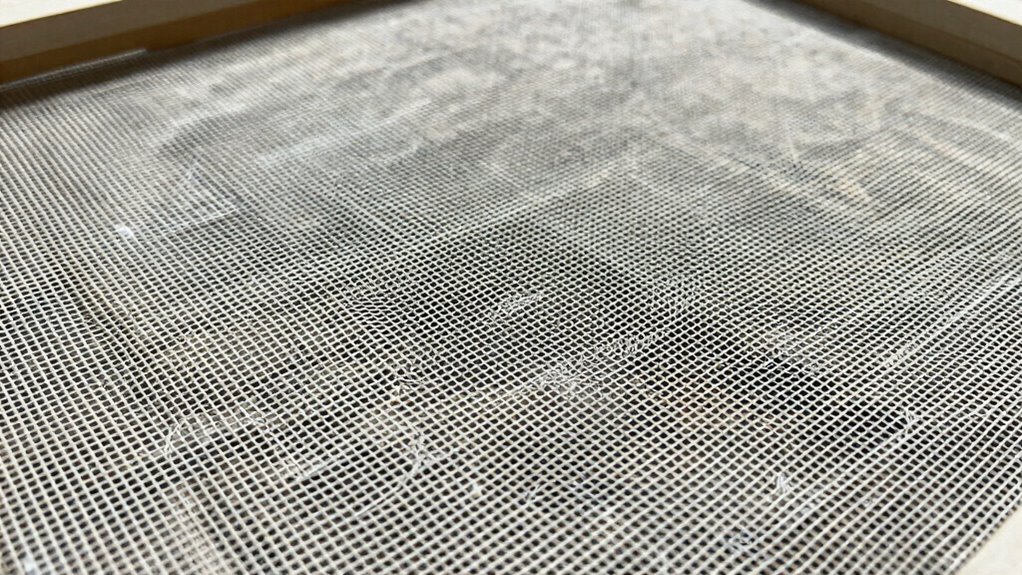
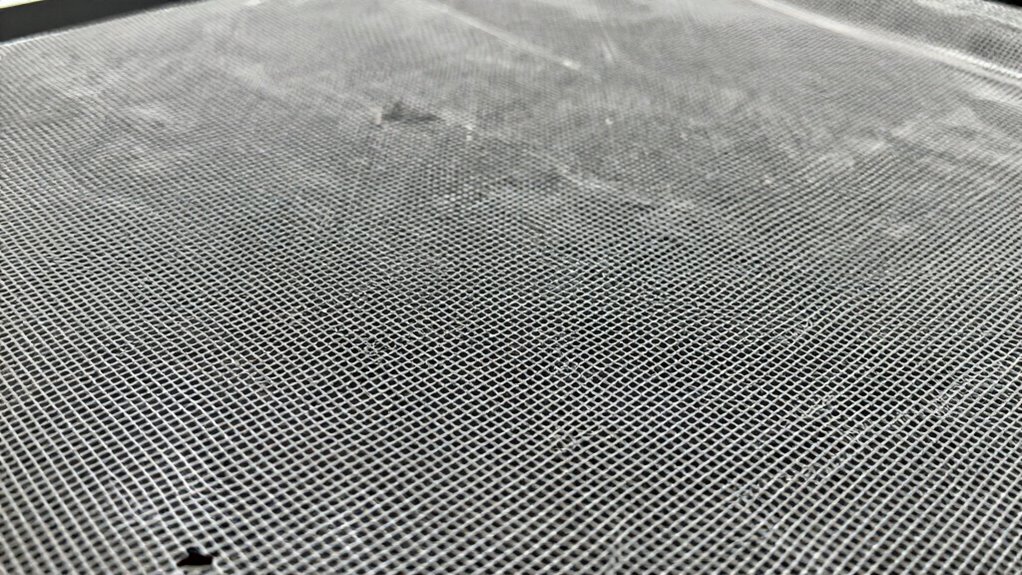
Hasegawa Photo Etch Modeling Mesh 23 Hexagon Shape Medium Size for Duct Improvements
As an affiliate, we earn on qualifying purchases.
As an affiliate, we earn on qualifying purchases.
What Is Mesh Count and Why Is It Important?
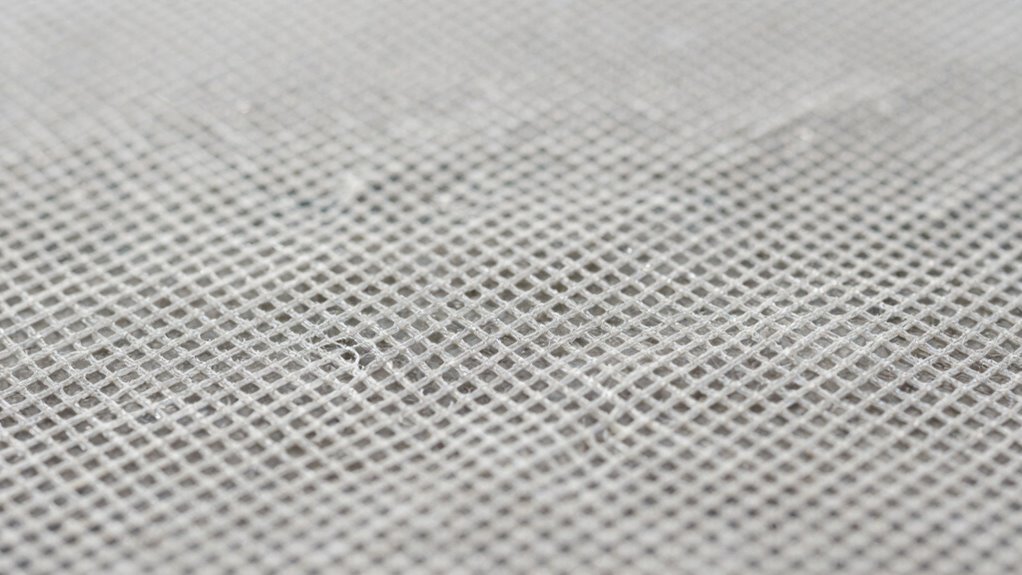
Have you ever wondered how the size of a mesh screen affects its performance? It’s similar with mesh count in 3D modeling. Mesh count refers to the number of polygons, often in a specific area, shaping how detailed your model becomes. Mesh topology influences how polygons flow across the surface, impacting deformation and animation. A good mesh flow ensures clean, efficient geometry, making details easier to add or adjust. Higher mesh count means more polygons, which can capture intricate features but may slow down your software. On the other hand, a well-optimized mesh uses the right count and topology to balance detail and performance. Understanding mesh count helps you create models that are both detailed and manageable, essential for efficient 3D workflows. In the realm of digital content creation, knowing how to optimize mesh count can significantly enhance your projects.

10 Pieces Metal DIY Model Tool Sets Tab Edge Cylinder Cone Shape Bending Assist Tools and Nozzle Pliers Flat Nose Pliers Needle Nose for 3D Metal Jigsaw Puzzles Assembly
Practical metal model tools: you will get a set of 10 pieces metal model bending tools, including 1…
As an affiliate, we earn on qualifying purchases.
As an affiliate, we earn on qualifying purchases.
How Mesh Count Affects Model Detail and Smoothness

Higher mesh count directly increases your model’s detail and smoothness because more polygons provide finer surface resolution. With increased polygons, your texture resolution improves, allowing for sharper, more detailed textures. Conversely, a low mesh count can lead to visible polygon edges and a blocky appearance. Be mindful of polygon reduction techniques, which decrease mesh complexity but can compromise detail. Here’s a comparison:
| Mesh Count | Detail Level | Texture Resolution |
|---|---|---|
| Low | Basic, blocky | Less detailed |
| Medium | Balanced | Moderate |
| High | Highly detailed | Sharp |
| Very High | Ultra-fine | Very sharp |
| Excessive | Diminishing returns | Overly detailed |
Adjusting mesh count impacts the balance between smoothness and performance, shaping your model’s final look.
high polygon count 3D modeling software
As an affiliate, we earn on qualifying purchases.
As an affiliate, we earn on qualifying purchases.
Balancing Mesh Count and Performance in Your Projects

To guarantee your project runs smoothly, you need to optimize mesh density for the right balance between detail and performance. Managing rendering efficiency involves adjusting your mesh count to prevent slowdowns without sacrificing quality. By fine-tuning these aspects, you can create models that look great and perform well. Understanding mesh density optimization can also enhance your overall project workflow and efficiency.
Optimizing Mesh Density
How can you guarantee your models look detailed without sacrificing performance? The key is optimizing mesh density. Start by analyzing which areas need high detail for effective texture mapping and material application, then reduce mesh complexity in less visible zones. This approach keeps your model efficient while maintaining visual quality. Use adaptive subdivision techniques to add detail only where necessary, avoiding unnecessary polygons that can bog down rendering speeds. Balance is essential: too dense, and your project slows down; too sparse, and details suffer. Regularly test your model’s performance, and adjust mesh density accordingly. Remember, well-placed detail enhances realism, but overloading your mesh can hinder interactivity and rendering. Aim for a smart balance that supports both visual fidelity and performance.
Managing Rendering Efficiency
Managing rendering efficiency involves balancing mesh count with visual quality. Using creative lighting techniques can highlight details without increasing mesh complexity. Texture mapping plays a crucial role in enhancing realism while keeping the mesh lightweight. To optimize, consider this table:
| Mesh Complexity | Lighting & Textures | Performance Impact |
|---|---|---|
| High | Advanced lighting | Slower rendering |
| Medium | Basic lighting | Moderate speed |
| Low | Minimal textures | Fastest rendering |
Additionally, understanding color accuracy in your models can further enhance the visual appeal without a significant increase in mesh complexity.
mesh topology editing tools
As an affiliate, we earn on qualifying purchases.
As an affiliate, we earn on qualifying purchases.
Choosing the Right Mesh Count: Low, Medium, or High?

Choosing the right mesh count depends on your specific project needs, as each option offers different benefits and challenges. Low mesh counts provide lower mesh resolution and polygon density, making them ideal for quick edits or low-detail models. Medium mesh counts strike a balance, offering better detail without sacrificing performance. High mesh counts deliver the finest mesh resolution and maximum polygon density, perfect for detailed textures and high-quality renders. When selecting, consider how much detail your project requires and the level of performance you need to maintain. A higher mesh count can fill in finer details more effectively but may slow your workflow. Conversely, a lower count speeds things up but sacrifices some detail. Match your choice to your project’s complexity and desired visual quality.
Common Mesh Count Problems and How to Fix Them
Incorrect mesh settings and improper file preparation are common issues that can cause problems with your mesh count. These mistakes often lead to uneven stitching or wasted material. Fixing them requires careful adjustment of your settings and ensuring your files are properly prepared before starting. Additionally, understanding extension cord standards can help ensure that your tools operate safely and efficiently, reducing the risk of power-related issues during your projects.
Incorrect Mesh Settings
When mesh settings are off, it can lead to problems like distorted textures, uneven surface details, or unnecessarily high polygon counts that slow down your workflow. Incorrect settings often stem from poor mesh topology or improper UV mapping, which can cause shading issues or texture stretching. To fix these, guarantee your mesh topology is clean, with evenly spaced quads and minimal n-gons. Double-check your UV mapping to prevent overlaps and stretching that distort details. Additionally, verify that your subdivision levels and smoothing groups are correctly applied to maintain consistent detail. Misaligned or overly dense meshes can also cause problems; simplifying these areas will improve both visual quality and performance. Understanding regional flavors in textures can also enhance your overall design approach.
- Poor topology creating shading artifacts
- Overlapping UV islands causing texture distortion
- Excessive polygon density slowing rendering
Improper File Preparation
Proper file preparation is essential to guarantee your mesh counts are optimized before finalizing a project. Poor file organization can lead to missing or duplicated details, causing unwanted mesh fill-ins. Make sure your files are clean and well-structured, with separate layers or groups for different details. This helps software compatibility, ensuring your 3D program reads the file correctly without errors. Avoid unnecessary geometry and unnecessary file complexity, which can increase mesh count issues. When preparing files, double-check that all elements are properly named and organized, reducing confusion later. Properly prepared files minimize errors, streamline workflow, and prevent details from filling in unintentionally. Taking the time to organize your files now saves you time fixing issues during the mesh count process.
Tips for Managing Mesh Count During Modeling and Texturing

Managing mesh count effectively is essential for optimizing your model’s performance and visual quality. Too many polygons can slow down rendering and increase shader complexity, while too few may compromise detail. To strike the right balance, consider these tips:
- Adjust texture resolution to avoid adding unnecessary geometry; higher resolutions may require fewer polygons.
- Simplify mesh topology in areas with less detail to reduce overall polygon count without sacrificing visual quality.
- Use normal maps and bump maps strategically to enhance detail without increasing mesh complexity.
How Mesh Count Impacts 3D Printing and Final Output Quality

Mesh count directly influences the quality and success of 3D printing and the final visual output. A higher mesh count captures more detail but can increase print time and require careful material selection. Conversely, a lower mesh count speeds up printing but may sacrifice detail. Lighting techniques also matter, as they highlight surface intricacies based on mesh density. Consider this table:
| Mesh Count | Material Selection | Lighting Techniques |
|---|---|---|
| Low | Thicker, durable | Basic shadows |
| Medium | Versatile, detailed | Soft lighting |
| High | Fine, delicate | Highlight details |
Choosing the right mesh count guarantees your project balances detail, material properties, and lighting effects, resulting in a better final output.
Frequently Asked Questions
How Does Mesh Count Influence Rendering Times?
Higher mesh count increases rendering times because it raises polygon density, requiring more calculations. With a higher mesh count, your model’s texture resolution improves, but the computer has to process more polygons, slowing down rendering. Lower mesh counts render faster but may sacrifice detail. Balancing mesh count is key: too high slows things down, too low reduces detail. Adjust based on your project’s detail needs and rendering speed.
Can Changing Mesh Count Improve Model Durability?
Changing your mesh count can improve model durability by reducing texturing challenges and making the model more resilient. A higher mesh count offers more detail, but it can complicate optimization techniques, leading to potential issues. By balancing mesh count, you guarantee better durability without overloading your system. Adjusting mesh count thoughtfully helps you avoid texturing problems and streamlines the process, resulting in a stronger, more manageable model.
What Software Tools Are Best for Managing Mesh Count?
You should use software tools like Blender, ZBrush, or Maya for managing mesh count effectively. These programs excel in texture optimization and polygon reduction, helping you fine-tune your mesh for better performance and detail preservation. They offer features like decimation and remeshing that allow you to control mesh density, preventing details from filling in unnecessarily while maintaining the model’s visual quality.
How Does Mesh Count Affect Rigging and Animation?
Sure, increasing mesh count makes rigging and animation smoother, right? Well, not quite. Higher polygon density means your character’s movements are more detailed, but it also complicates rigging, making it slower and more prone to errors. Conversely, a lower mesh count simplifies rigging but sacrifices texture resolution and detail. So, balance your mesh count to guarantee your rigging is manageable without losing essential detail in animation.
Is There a Universal Ideal Mesh Count for All Projects?
There isn’t a universal ideal mesh count for all projects because it depends on your texture resolution and the level of detail needed. For high-end renders, you’ll want a higher polygon density, but for real-time applications, lower counts are better. Consider your project’s purpose and platform, adjusting mesh count accordingly to balance detail with performance. Tailor your mesh to match your desired visual quality and technical requirements.
Conclusion
Think of your mesh count as the brushstrokes in a masterpiece—too few, and your image appears rough and unfinished; too many, and it loses clarity. Finding the right balance lets your project shine, like a well-composed symphony where every note plays in harmony. Mastering this balance is your craft’s secret ingredient, ensuring your 3D creations are not just detailed but also efficient and beautiful—true artistry in digital form.