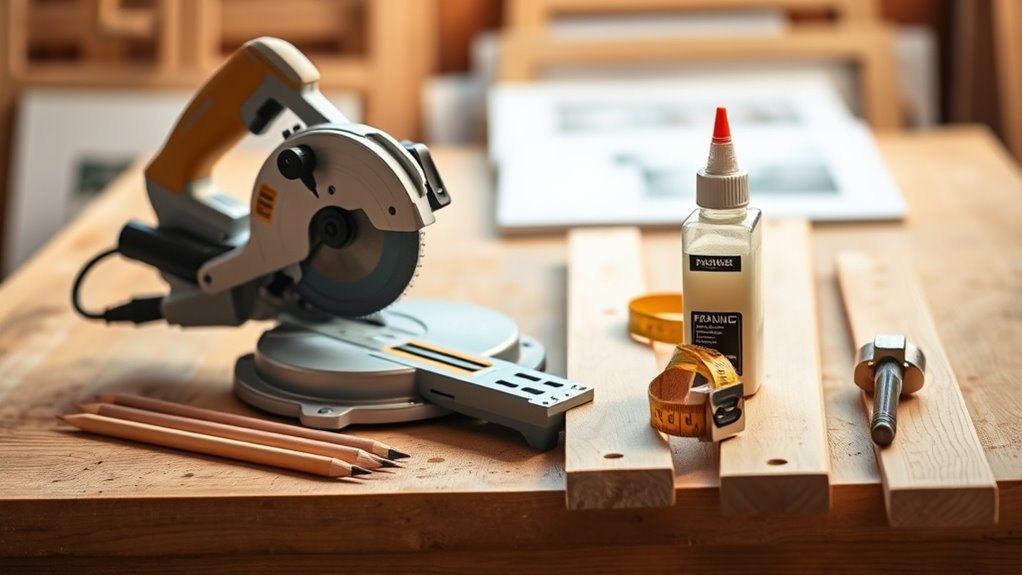

To get started with DIY framing, gather essential tools like a tape measure, level, square, and a variety of saws suited for your materials. Always double-check your measurements and mark your cuts carefully to make certain of accuracy. Use quality tools and inspect your lumber for defects before cutting. Take your time, stay organized, and focus on precision to build a sturdy, professional-looking frame. If you want to learn more tips and tricks, keep exploring these key techniques.
Key Takeaways
- Gather essential tools like a tape measure, level, square, and appropriate saws before starting your framing project.
- Measure twice and mark carefully with a pencil for precise cuts and accurate assembly.
- Select high-quality, straight framing materials such as lumber or metal studs, inspecting for defects.
- Use the proper saws and continually verify measurements, level, and plumb during assembly for accuracy.
- Stay organized, patient, and detail-oriented to ensure a professional-looking, durable frame.
Are you ready to take on a DIY framing project? If so, understanding the basics of measuring techniques and choosing the right framing materials will set you on the path to success. Accurate measurements are the foundation of a solid frame, so it’s essential to use precise measuring techniques from the start. Begin by gathering a tape measure, a level, and a square — these tools will help you mark straight, accurate lines. When measuring, always double-check your numbers before cutting anything. Take your time to measure twice, cut once, as rushing can lead to mistakes that waste materials and time. Use the square to ensure your corners are perfectly 90 degrees, and the level to confirm your frame stays plumb and level throughout the process. Ensuring your tools and materials are of high quality, like vetted equipment, can significantly improve your project’s outcome.
Selecting the right framing materials is equally important. Depending on your project’s scope, you might choose between lumber, metal studs, or other sturdy materials. For most DIY projects, dimensional lumber like 2x4s or 2x6s will suffice. These are widely available, affordable, and easy to work with. When picking framing materials, inspect each piece for warping, knots, or cracks, since defective wood can compromise your frame’s stability. Also, consider the environment where the frame will be installed — for example, treated lumber is better for outdoor use to prevent rot and pests. If you’re working on interior projects, standard untreated wood will do; just make sure it’s straight and free of defects.
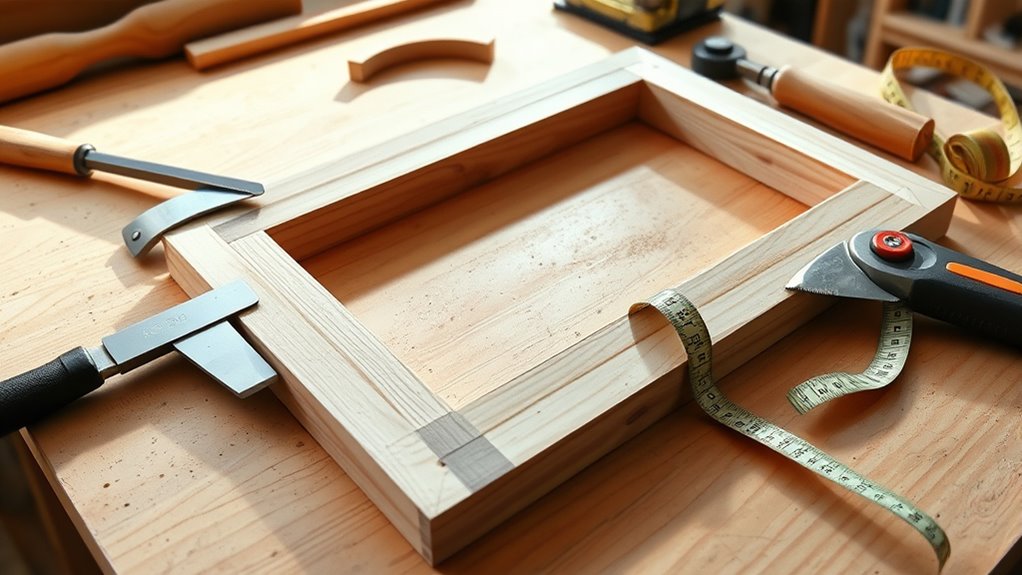
Once you’ve selected your framing materials, measure and cut them carefully using your measuring techniques. Always mark your cuts with a pencil, and use a saw appropriate for the material, whether that’s a handsaw, circular saw, or miter saw. Pay close attention to your measurements and double-check your marks before cutting. Proper measurement and cutting ensure your pieces fit together snugly, making assembly smoother and more accurate. As you assemble your frame, continually check for level and plumb using your level. This prevents crooked walls or uneven framing, which can cause issues later on.
Incorporating good measuring techniques and selecting quality framing materials from the start saves time and reduces frustration. It’s tempting to rush through these steps, but precision here makes all the difference in the final result. Take your time, stay organized, and keep your tools sharp and ready. Remember, a well-measured, carefully chosen set of framing materials forms the backbone of a sturdy, professional-looking project. With patience and attention to detail, you’ll build a frame that stands strong and looks great for years to come. Paying attention to vetted quality tools ensures your project is both efficient and successful.
Top picks for "fram tool tips"
Open Amazon search results for this keyword.
As an affiliate, we earn on qualifying purchases.
Frequently Asked Questions
What Are the Best Types of Wood for Framing?
You should choose sturdy, affordable woods like pine or fir for framing. These woods have good density, providing strength without excess weight, and their grain orientation makes them easier to work with and more stable over time. Opt for dimensional lumber with straight grain and minimal knots, ensuring your frame stays true and durable. By selecting the right wood, you’ll build a reliable, long-lasting structure efficiently.
How Do I Prevent Wood From Warping During Framing?
Did you know that up to 25% of framing wood can warp if not properly stored? To prevent this, you should control humidity levels and store your wood in a dry, well-ventilated space. Keep the wood flat and off the ground, and avoid drastic temperature changes. Proper storage and humidity control help maintain the wood’s shape, ensuring your framing stays straight and strong throughout your project.
What Safety Gear Should I Wear When Framing?
When framing, you should always wear proper personal protective equipment and clothing. Put on safety goggles to protect your eyes from debris, ear protection if you’re using loud tools, and sturdy gloves to guard your hands. Wear long sleeves and durable pants to shield your skin. Sturdy boots with slip-resistant soles are essential for stability. Following these safety tips keeps you protected while working confidently and efficiently.
How Do I Measure and Mark for Accurate Cuts?
Ever wonder how to guarantee your cuts are spot-on? You measure and mark with precision using proper measuring techniques like a tape measure or square, and marking methods such as a pencil line or chalk. Always double-check measurements before marking, and use a straightedge for accuracy. Do you realize that careful measuring and marking can prevent costly mistakes and save time during your framing project? Accuracy starts with your tools and attention to detail.
What Are Common Mistakes to Avoid in DIY Framing?
To avoid framing errors, you should watch out for common missteps like incorrect measurements, rushed cuts, and improper fastening. Always double-check your measurements before cutting, and verify your tools are sharp and accurate. Don’t skip the framing plan or ignore building codes. Rushing your work can lead to weak joints and unstable structures. Take your time, stay precise, and regularly verify your progress to prevent costly mistakes.
Conclusion
Now that you have the right tools and some handy tips, framing your project becomes much easier. Imagine confidently building a picture frame for your favorite artwork, knowing you measured twice and cut once. With practice, you’ll gain more skill and precision, turning simple materials into beautiful, sturdy frames. Keep experimenting and learning—before you know it, you’ll be creating professional-looking pieces that truly showcase your style and effort. Happy framing!