
To scan artwork without losing texture, you should use a high-resolution setting of at least 600 dpi to capture fine details. Adjust your scanner’s color calibration, contrast, and brightness for accurate tones, and choose lossless file formats like TIFF to preserve textures. Proper lighting and surface preparation help prevent glare and reflections. Keep your scanner clean and calibrated for consistent results. If you want to uncover more tips, you’ll find essential techniques that make a difference.
Key Takeaways
- Use high-resolution settings (at least 600 dpi) to accurately capture fine textures and details.
- Calibrate color, brightness, and contrast to ensure true color reproduction and preserve surface nuances.
- Select lossless file formats like TIFF to prevent compression from diminishing texture quality.
- Employ diffuse, soft lighting during scanning to minimize glare and shadows that obscure textures.
- Clean the scanner glass regularly and avoid over-aggressive noise reduction to maintain fine surface details.

Epson Perfection V19 II Color Photo and Document Flatbed Scanner with 4800 dpi Optical Resolution, USB Power and High-Rise, Removable Lid
Amazing image clarity and detail — 4800 dpi optical resolution (1), ideal for photo enlargements
As an affiliate, we earn on qualifying purchases.
As an affiliate, we earn on qualifying purchases.
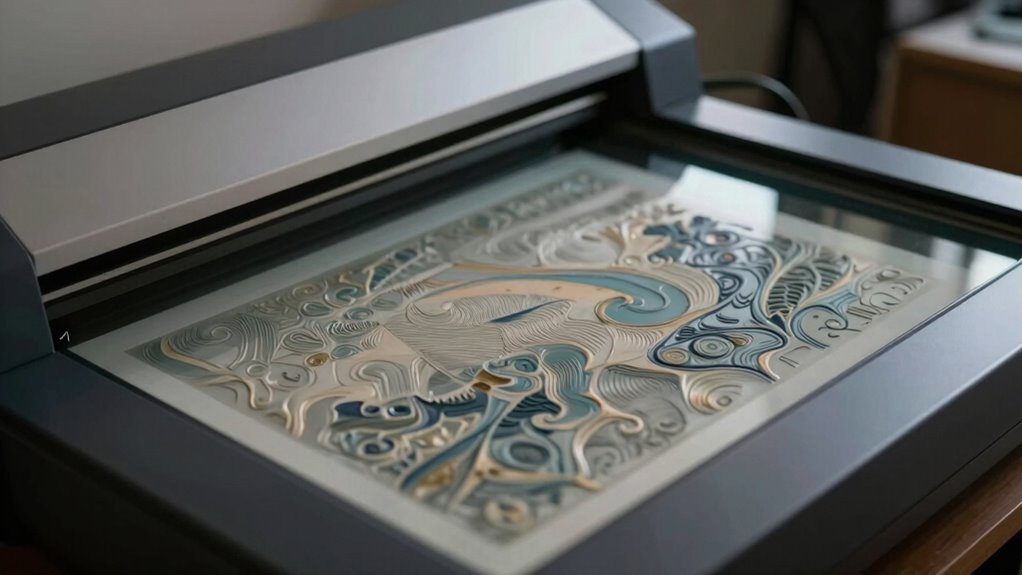
How to Choose the Best Scanner for Artwork
Choosing the right scanner for artwork is essential to preserve the original texture and detail of your pieces. Your choice influences how well you capture artistic inspiration and maintain the artwork’s integrity over time. Look for a scanner with high resolution—at least 600 dpi—to accurately replicate fine lines and subtle textures. Consider color accuracy, especially if your work relies on precise hues tied to historical context or artistic intent. Flatbed scanners work well for most artworks, but larger or textured pieces may require a drum scanner or a specialized device. Think about the scanner’s dynamic range, which affects how well it captures shadows and highlights. By selecting a scanner tailored to your needs, you guarantee your digital reproductions honor the original artwork’s texture and depth. Additionally, exploring new frontiers in digital content can provide insights into innovative scanning technologies and techniques.
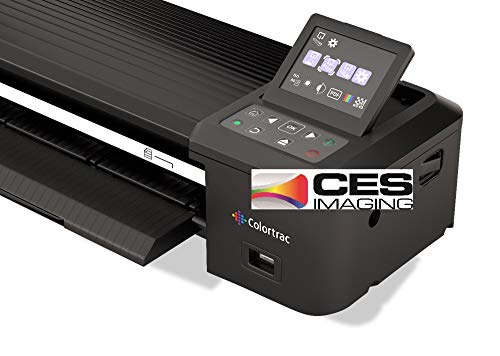
Colortrac SmartLF 36-inch wide color scanner
Colortrac SmartLF 36" Wide Format Scanner
As an affiliate, we earn on qualifying purchases.
As an affiliate, we earn on qualifying purchases.
Preparing Your Artwork and Surface Conditions for Scanning

Before scanning your artwork, you need to prepare the surface properly to preserve texture details. Using techniques like cleaning or gently flattening surfaces can prevent dust and distortions. Ensuring ideal surface conditions helps you capture the true essence of your artwork without loss of detail. Additionally, understanding color accuracy is essential to ensure the scanned image reflects the original artwork’s hues and tones accurately. Proper safety practices can also minimize the risk of damaging your artwork during the scanning process.
Surface Preparation Techniques
To guarantee your artwork scans accurately and retains its texture, proper surface preparation is essential. You should focus on optimizing surface adhesion and managing material reflectivity. Ensuring the surface is clean removes dust and oils that hinder adhesion and create glare. Use matte sprays or fixatives to reduce reflectivity, preventing unwanted shine. Additionally, consider lightly sanding glossy surfaces to improve texture capture without damaging the artwork. These techniques help achieve better scan fidelity by controlling how light interacts with the surface. Furthermore, employing lab measurement tools can enhance the accuracy of your scanning process by ensuring consistent lighting conditions. Using tools that improve filtration and suction can also enhance the scanning environment by minimizing airborne particles. Remember, everyday materials can be creatively utilized to elevate your artwork’s presentation. It’s vital to understand that user consent management plays a significant role in ensuring ethical practices during any digital handling of artwork. Supporting the emotional well-being of caregivers can also inspire creative expression, enhancing the overall presentation of your artwork.
- Clean the surface thoroughly to eliminate dust and oils
- Apply matte coatings or fixatives to reduce reflectivity
- Lightly sand shiny surfaces to improve surface adhesion and texture detail
Optimal Surface Conditions
Ensuring ideal surface conditions is vital for capturing your artwork accurately during scanning. Start by inspecting the surface for dust, dirt, or smudges, as surface cleanliness directly impacts scan quality. Use a soft, lint-free cloth or gentle brush to remove debris without damaging the material. Pay attention to material reflectivity; highly reflective surfaces can create glare, obscuring details. If necessary, lightly matte or apply a non-reflective spray designed for artwork to reduce glare without altering textures. Keep the surface level and stable to avoid distortions. Properly prepared surfaces minimize reflections and unwanted surface artifacts, resulting in a more accurate digital representation. With these steps, you’ll ensure your artwork’s texture and details are preserved during the scan.

Eyesen Slide Viewer Light Box, for Scanning Film Negatives and Slides, Artist Sketching, A4 Ultra-Thin Light Pad Scanner with 3 Adjustable Brightness, USB Powered
Ultra-thin and ultra-large: The light board is made of high-quality light guide material, which is ultra-thin and lightweight,…
As an affiliate, we earn on qualifying purchases.
As an affiliate, we earn on qualifying purchases.
Setting the Right Resolution to Capture Fine Details
Setting the right resolution is essential for capturing an artwork’s fine details without losing texture. If your resolution is too low, you risk sacrificing sharpness and missing subtle nuances. Conversely, too high a resolution can result in unnecessarily large files without added detail. Aim for a balance that preserves clarity and texture. Consider these factors:
Choosing the right resolution balances detail, clarity, and manageable file sizes for optimal artwork capture.
- Use a resolution of at least 300 DPI for high-quality detail. Young tennis prodigies often demonstrate the importance of precision and detail in their craft, much like the careful attention required in scanning artwork.
- Higher resolutions help accurately reproduce color and paper texture, making it crucial to understand effective copywriting techniques to convey the importance of quality.
- Adjust resolution based on the artwork’s complexity, ensuring fine details are captured without creating unwieldy files. Additionally, understanding the principles of shipwreck preservation can shed light on how similar techniques are applied to conserving artwork over time. Furthermore, maintaining a clean workspace can significantly enhance the scanning process, allowing for better focus and fewer distractions. Exploring New England’s diverse environments can also inspire your artistic sensibilities and enhance your appreciation for texture in art.

BLCKTEC 460T OBD2 Scanner Car Code Reader Engine ABS SRS Transmission Diagnostic Tool, 12 Reset Services, Oil/TPMS/EPB/BMS/SAS/DPF/Throttle Reset, ABS Bleeding, Battery Test, Auto VIN, Free Update
[All System Diagnostics, Professional-Level Scanner] – BLCKTEC 460T is the ultimate OBD2 diagnostic tool for home mechanics and…
As an affiliate, we earn on qualifying purchases.
As an affiliate, we earn on qualifying purchases.
Adjusting Color Settings to Match the Original Artwork
Adjusting the color settings on your scanner is essential for accurately reproducing the hues and tones of your artwork. Proper color calibration ensures that colors appear true to the original, avoiding dull or oversaturated results. To achieve effective color matching, tweak the scanner’s settings for brightness, contrast, and color balance. Use a color calibration target or reference to fine-tune your scanner’s output. Additionally, understanding the importance of Frühwarnzeichen can greatly enhance your scanning process and results. Incorporating techniques from best dishwasher cleaners can also help maintain your scanner’s components for optimal performance. Remember that essential safety tips for equipment usage can prevent accidents and ensure a smooth scanning experience.
| Setting | Description | Tip |
|---|---|---|
| Brightness | Controls overall lightness or darkness | Match to artwork’s light areas |
| Contrast | Adjusts difference between light and dark areas | Keep balance for depth |
| Color Balance | Fine-tunes red, green, and blue hues | Match original colors |
How Bit Depth and File Formats Affect Texture Quality
While color calibration helps capture the visual accuracy of your artwork, the way you save and store your digital files also plays a vital role in preserving texture details. Bit depth determines how much color information each pixel holds, directly affecting the richness of textures. Higher color depth, like 16-bit, captures more subtle variations, maintaining the artwork’s fine details. File formats also influence texture quality—lossless formats like TIFF preserve the original detail, while compressed formats like JPEG may reduce it through file compression. Consider these points:
Preserving texture details relies on high bit depth and lossless formats like TIFF for maximum detail retention.
- Color depth affects the range of tones and texture nuances.
- File compression can smooth out or distort textures in the image.
- Choosing the right format ensures your digital artwork retains its original texture and depth.
Optimizing Lighting During the Scanning Process
To get the best scan, you need a consistent light source that evenly illuminates your artwork. Adjusting brightness levels helps prevent glare or shadows that can hide texture details. Keep your lighting steady throughout the process to guarantee accurate, high-quality results. Additionally, using molecular-scale techniques can enhance the precision of your scanning setup, ensuring that every detail is captured effectively. It’s also beneficial to consider robot mowers as a way to maintain your yard, which can create a more conducive environment for art scanning. Remember that maintaining proper gear care is essential to avoid any wear that might affect your scanning equipment. Exploring must-see destinations can inspire creativity in your artwork, helping you to capture unique textures and colors. Moreover, achieving work-life harmony allows you to approach your art with a refreshed mindset, enhancing your focus during the scanning process.
Consistent Light Source
How can you guarantee that your artwork’s texture remains clear and true to life during scanning? The key is maintaining a consistent light source. Fluctuating lighting can distort how textures appear, making details look uneven or washed out. To ensure ideal artwork lighting and texture preservation, use a stable, diffuse light source that doesn’t flicker or shift. Consider these tips:
- Position lights at the same angle and distance each time you scan.
- Use soft, even lighting to avoid harsh shadows and highlights.
- Avoid natural light fluctuations by opting for controlled, artificial lighting.
Consistency in your lighting setup helps preserve the integrity of textures, capturing subtle details without distortion. This approach guarantees a true-to-life representation of your artwork, with textures accurately conveyed. Additionally, using a reliable light source can enhance the overall scanning process, ensuring that every detail is captured accurately. Furthermore, consider how eco-friendly practices can enhance your overall scanning environment, creating a space that’s not only functional but also sustainable. Implementing sustainable methods, such as innovative fabric technology, can further improve the effectiveness of your scanning environment.
Adjusting Brightness Levels
Adjusting brightness levels during scanning is essential to capturing your artwork’s true details and textures. Proper brightness adjustment ensures that shadows and highlights are balanced, preventing loss of subtle features. Start by calibrating your scanner’s color settings to maintain accurate color reproduction. Then, tweak the brightness to avoid overexposure or underexposure; too bright washes out details, while too dark hides textures. Use your scanner’s preview mode to assess the image and make incremental adjustments. Consistent lighting, paired with accurate color calibration, results in a faithful digital replica. Remember, slight changes in brightness can markedly impact the final scan, so take your time to fine-tune these settings. This careful calibration helps preserve your artwork’s depth and texture without distortion.
Troubleshooting Common Texture Loss Issues
When your scanned artwork starts losing its texture, it can be frustrating, but many issues are easily fixable. First, check your color calibration to guarantee the scanner accurately captures subtle textures. Poor calibration can flatten details, so run calibration tests regularly. Second, inspect and perform scanner maintenance—clean the glass and check for dust or smudges that can obscure textures. Finally, verify your scanner settings; overly smooth or aggressive noise reduction can diminish texture detail. Consider adjusting the resolution and contrast to preserve fine lines. Additionally, guarantee your scanner software is up-to-date, as updates often improve texture rendering. Proper maintenance, accurate calibration, and ideal settings help you capture artwork’s texture without losing detail, making the scanning process more reliable and consistent.
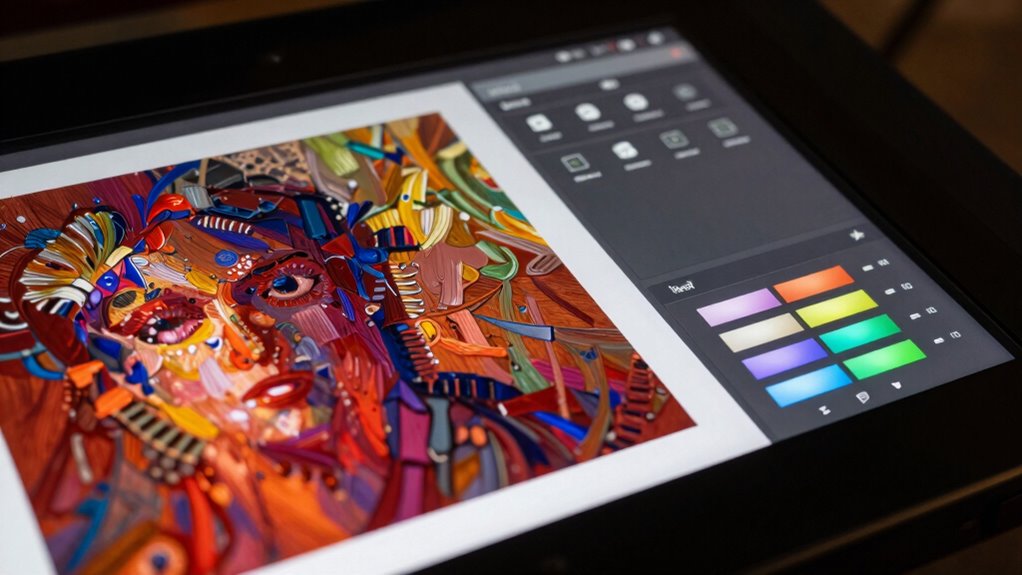
Post-Scan Tips to Enhance and Preserve Textures
After scanning your artwork, the next crucial step is to enhance and preserve its textures through post-processing techniques. To guarantee texture preservation, start by adjusting your image’s contrast and sharpness, which can bring out fine details without overdoing it. Use editing software to gently enhance textures, avoiding excessive smoothing that can flatten surface details. When refining your scan, consider applying localized adjustments to target specific textured areas. Pay attention to your scanning techniques—such as maintaining proper lighting and resolution—to minimize loss during the scan itself. Afterward, save your file in a high-quality format to retain detail. These steps help maintain the integrity of your artwork’s textures, making sure your digital version truly reflects the original’s tactile qualities.
Frequently Asked Questions
How Can I Prevent Reflections or Glare During Scanning?
To prevent reflections or glare during scanning, you should make lighting adjustments and avoid reflective surfaces. Use diffuse lighting, such as softboxes or indirect light, to evenly illuminate your artwork without creating harsh reflections. Position your artwork away from shiny or glossy surfaces that can cause glare. Additionally, angle the light sources and your artwork carefully so that reflections don’t bounce directly into the scanner, ensuring clear, glare-free scans.
What Are the Best Cleaning Techniques for Scanning Textured Artwork?
Imagine your artwork as a delicate treasure—you’ll want to clean it gently. Use a soft, lint-free cloth or a gentle brush to remove dust without damaging textures. For stubborn dirt, lightly dampen the cloth with distilled water. This preserves color accuracy and resolution optimization, ensuring your scan captures the intricate textures perfectly. Avoid harsh chemicals, as they can harm the artwork and compromise the quality of your digital masterpiece.
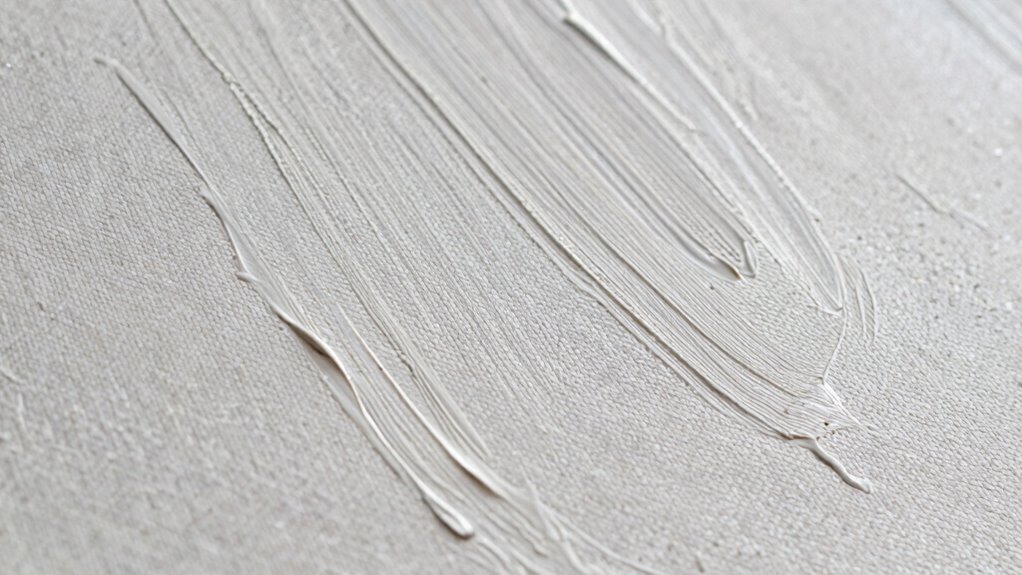
How Does Paper or Canvas Type Affect Scan Texture?
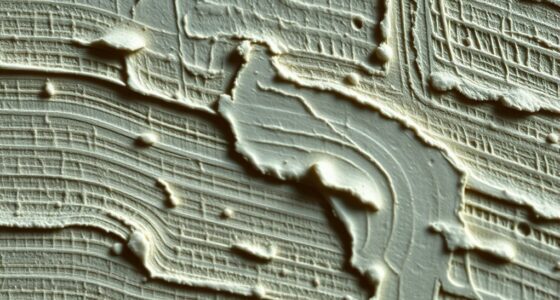
The type of paper or canvas considerably impacts your scan’s texture. With textured paper, the paper grain can create uneven highlights and shadows, making the texture less smooth. Similarly, a canvas weave adds dimension, which can cause parts of the scanned image to appear distorted or less sharp. To capture the true texture, you need to adjust your scanner settings accordingly, focusing on high resolution and proper lighting to preserve the unique surface details.
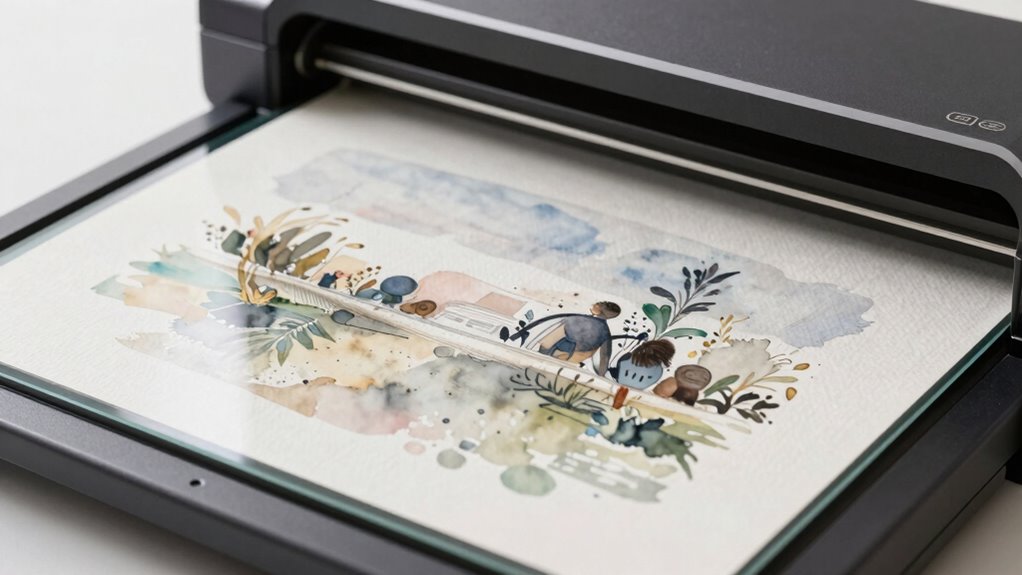
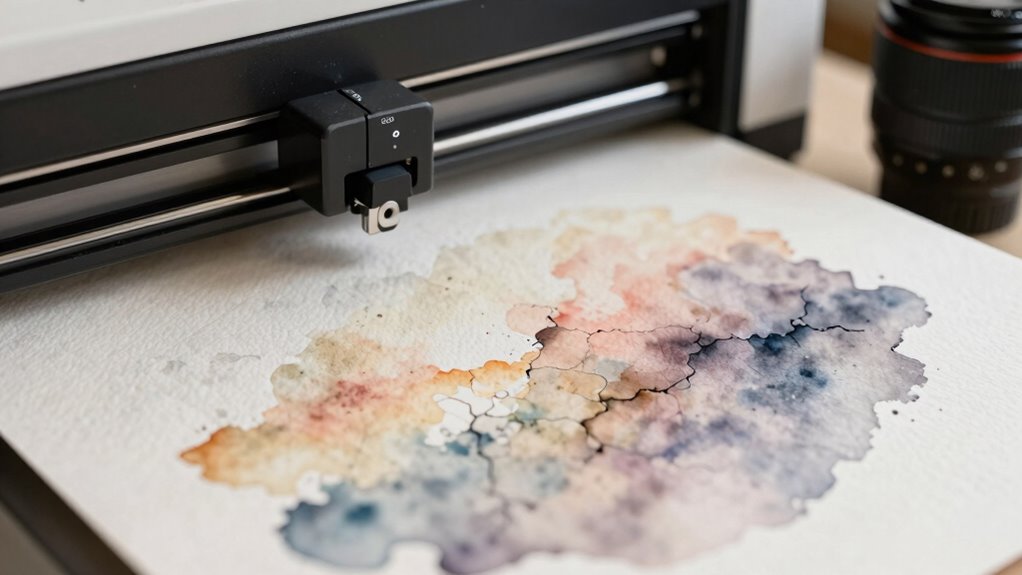
Can Software Filters Improve the Texture Detail Post-Scan?
Imagine you scan a textured watercolor painting, but the scan loses subtle paper grain. You can use software filters with advanced filter algorithms for digital enhancement, which can improve texture detail post-scan. These filters sharpen fine lines and bring out surface nuances, helping your artwork look closer to the original. While not perfect, they’re a valuable tool for restoring lost texture and adding depth to digital reproductions.
What Hardware Features Specifically Enhance Texture Preservation?
To enhance texture preservation during scanning, focus on hardware features like high-resolution sensors and a flatbed scanner with a high optical resolution. These features capture fine details accurately. Guarantee your scanner supports ideal resolution settings and maintains color accuracy, as these directly impact texture clarity. Using hardware with precise lighting and stable positioning also reduces distortions, helping you preserve the artwork’s rich textures without loss.
Conclusion
By mastering these scanning settings, you’ll preserve every intricate detail and texture of your artwork like a true digital artisan. With patience and precision, your scans will capture the richness and depth that make your art unique—almost like opening a secret portal to the original masterpiece. Don’t settle for flat, lifeless images; instead, let your artwork shine in all its textured glory, turning every scan into a masterpiece that could rival the original!