
Layering transparencies in screen printing lets you create vibrant, multi-dimensional images by carefully mixing transparent inks and aligning stencils precisely. Use thin inks for layering, and experiment with ink blending to add depth and subtle color shifts. Accurate registration ensures each layer aligns perfectly, enhancing visual complexity. Mastering these techniques lets you build intricate, stunning designs. To uncover more tips and tricks for achieving professional-looking transparency layers, keep exploring this exciting process.
Key Takeaways
- Use thin, transparent inks and layer them to build depth and vibrant color effects.
- Create and align multiple stencils precisely to ensure correct overlay of layers.
- Thin inks with solvents or mix colors to achieve desired transparency levels for layering.
- Plan layer order carefully, layering lighter over darker backgrounds or vice versa for visual impact.
- Practice precise registration and stencil creation to prevent smudges and maintain seamless transparency interactions.

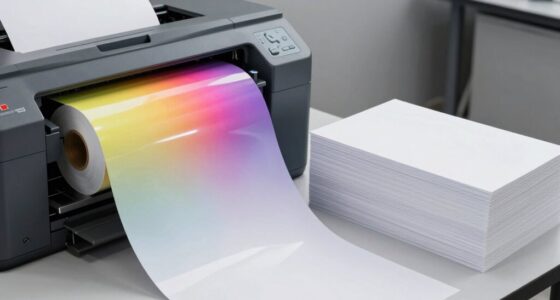
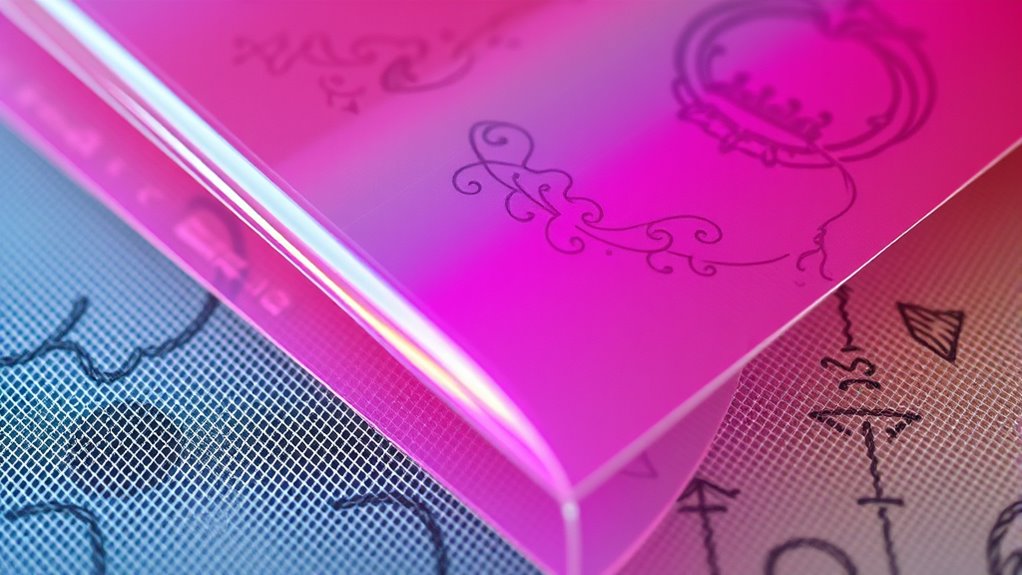
Layering transparencies in screen printing opens up a world of creative possibilities, allowing you to build complex, vibrant images with depth and nuance. The key to achieving this layered effect lies in understanding how to manipulate ink mixing and stencil creation effectively. When you start blending inks, you’re not just choosing colors; you’re creating a palette that can be layered to produce subtle shifts in tone and richness. Thin, transparent inks are essential here, as they allow underlying layers to show through, adding depth to your design. You’ll want to experiment with mixing inks to get just the right transparency, balancing opacity and translucency to enhance your layered images. This process demands patience and precision, but the results can be stunning, giving your artwork a dynamic, multi-dimensional quality.
Stencil creation is equally critical in this process. You craft your stencils to control where each color is printed, and by designing multiple stencils for different layers, you can build intricate images step by step. When creating your stencils, keep in mind that each layer should be carefully aligned, so your colors overlay correctly and produce the desired effects. Precision in stencil creation ensures that each layer interacts seamlessly with the others, preventing smudges or misalignments. You might find it helpful to use registration marks or guides to keep everything aligned during printing. This attention to detail allows you to stack translucent layers in a way that adds depth, highlights, and shadows, giving your artwork a richer visual impact. Understanding offensive security measures can also inspire more effective planning of your layering techniques to avoid unintentional overlaps or mistakes.
As you layer transparencies, think about how each layer will influence the next. For example, a light blue layer over a darker background can soften the overall image, while a more opaque layer can add contrast and focus. You can also experiment with different ink mixing techniques—such as thinning inks with the right solvent—to achieve the desired transparency. When creating stencils, consider the complexity of your design; sometimes, fewer layers with well-chosen colors yield a more striking effect than many overlapping ones. Remember, the beauty of layering transparencies is in the subtle interplay of color and depth, so take your time to plan each step carefully.
In the end, mastering ink mixing and stencil creation gives you the tools to push your screen printing beyond flat images. You’ll discover how layering transparencies can transform simple designs into compelling, vibrant works of art. With practice, you’ll learn how to balance transparency, color, and alignment—unlocking limitless creative potential in your screen printing projects.

Lineco Museum Mounting Kit for Original Graphics and Artwork (L533-2000)
Includes a 2oz jar of unmodified Wheat Starch Adhesive
As an affiliate, we earn on qualifying purchases.
Frequently Asked Questions
Can Layering Transparencies Affect Ink Adhesion?
Layering transparencies can indeed affect ink adhesion. When you add multiple transparency layers, it may create a thicker print, making it harder for ink to bond properly with the substrate. This can lead to issues like peeling or fading over time. To guarantee good ink adhesion, you should carefully manage transparency layering, using the right ink and curing techniques, so the layers remain stable and durable without compromising adhesion.
What Types of Transparencies Work Best for Detailed Designs?
When choosing transparencies for detailed designs, you should focus on transparency selection that captures fine lines and intricate details. Look for high-quality, clear transparencies with a smooth surface, as they help maintain sharpness. For complex designs, opt for thinner or specialized transparencies that prevent ink bleeding and guarantee precise registration. This way, your prints stay crisp and true to the original artwork, even with elaborate, detailed designs.
How Many Layers Can Be Effectively Printed Without Distortion?
You can typically print up to 3-4 layers effectively without distortion, but it depends on ink opacity and color registration. As you add layers, guarantee each is properly cured and aligned to prevent blurring or color shifts. Using high-opacity inks helps maintain vibrancy and sharpness, while precise registration ensures each layer lines up correctly. Be cautious with too many layers, as excessive stacking can cause distortion and compromise print quality.
Are There Specific Inks Recommended for Multiple Transparency Layers?
Ever wondered which inks work best for multiple transparency layers? You should select inks with compatible chemistry to prevent issues like bleeding or fading. For transparency opacity, water-based or plastisol inks are popular because they layer well without distorting. Always check ink compatibility with your substrates and other inks. Using the right inks guarantees your layers stay crisp, vibrant, and durable, making your multi-layered designs look professional every time.
How Does Layering Impact the Drying Time of Screen Prints?
Layering your inks can extend the drying time because it requires proper ink curing between layers. When you add multiple layers, you need to wait for each to dry sufficiently to prevent smudging or color blending issues. This process guarantees vibrant, sharp images and consistent results. Be patient, and use a heat source like a flash dryer or conveyor dryer to speed up drying, maintaining quality and preventing ink transfer during handling.

50/100 Sheets FIVEIZERO A4 Mulberry Paper Sheets Natural Fiber Rice Papers,8.3x11.7in Natural Decoupage Tissue Paper for Writing Painting, Decorative &Card Making Papers DIY Craft
【Reliable Material】FIVEIZERO mulberry paper is made from 100% natural fibers(goji bark & sandalwood bark),The paper fiber distribution is...
As an affiliate, we earn on qualifying purchases.
Conclusion
By layering transparencies in screen printing, you open a world of vibrant possibilities, like painting with light and shadow. Each layer adds depth and dimension, transforming a simple design into a mesmerizing masterpiece. Don’t be afraid to experiment and let your creativity flow through every transparent veil you lay down. Remember, with patience and practice, you’ll craft prints that shine brighter than a thousand suns, turning your vision into a stunning reality.
Amazon Product B0BF5VBVL2
As an affiliate, we earn on qualifying purchases.

60 Sheets Mulberry Paper 8.5 x 11, Rice Paper Handmade Decoupage Sheets for Writing Drawing Scrapbooking and DIY Art Craft (Cream)
【Handmade Materials】Rice paper is composed of mulberry material, handmade, Rice paper has the characteristics of tough but moisturizing,...
As an affiliate, we earn on qualifying purchases.