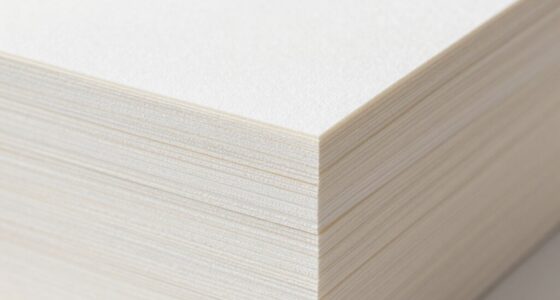

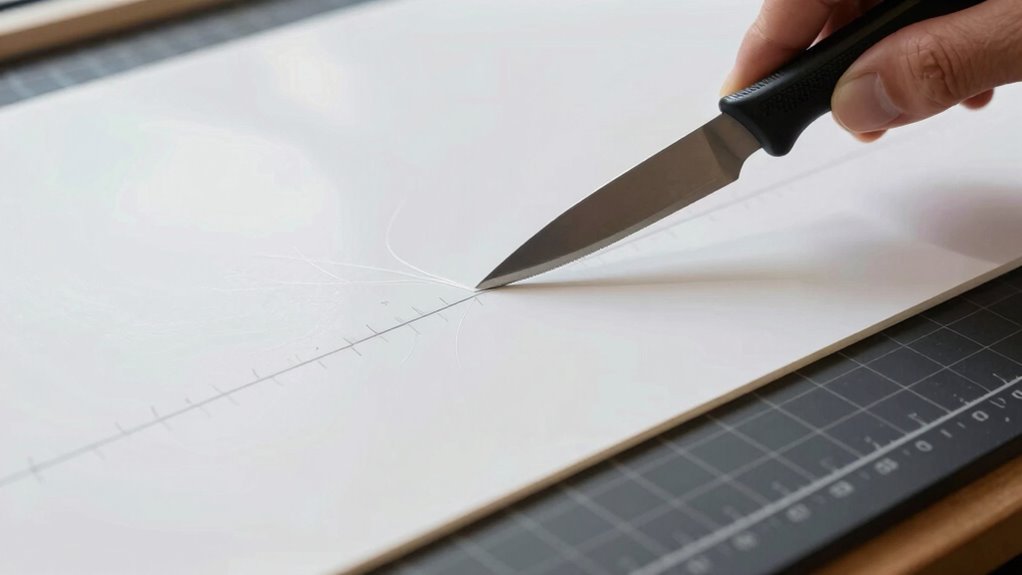
To cut large prints without chipped edges, use a sharp craft knife or professional trimmer and guide it with a ruler or straightedge for accuracy. Work slowly and apply even pressure, supporting your work with a cutting mat to prevent slipping. Avoid rushing, and don’t press too hard, which can cause chips. Steady hands and proper tools make all the difference; keep learning how to perfect your technique for flawless results every time.
Key Takeaways
- Use a sharp, high-quality craft knife or rotary cutter for smooth, clean cuts on large prints.
- Support prints with a cutting mat and guide with a straightedge or ruler for precision.
- Score the edges lightly before cutting to help achieve a clean, chip-free finish.
- Apply steady, even pressure during cutting, avoiding rushing to prevent jagged edges.
- Regularly replace blades to maintain sharpness and ensure consistently clean cuts.

DIYSELF Exacto Knife 12 Pcs Exacto Knife Set with Case Craft Hobby Precision Knife with 11 Blades for Crafting Paper Scrapbooking Models 3D Printing Clay Rubber Stamps, Gifts for Women Adults Her Men
Premium and Practical: Our exacto knife set includes 1 pc gray exacto knife, 10 pc #11 blades, and…
As an affiliate, we earn on qualifying purchases.
As an affiliate, we earn on qualifying purchases.
Understanding Your Materials and Goals
Before you begin trimming, it’s essential to understand the materials you’re working with and your specific goals. Material compatibility matters because different materials require different cutting techniques and tools. For example, thick canvas needs a sturdy blade, while delicate paper demands a gentle touch. Knowing your material also helps you avoid damaging the print or causing chips along the edges. Cutting safety is equally important; always use sharp blades and handle tools carefully to prevent accidents. Consider the type of finish you want—smooth, clean edges or something more textured—and adjust your approach accordingly. By understanding your materials and goals, you can choose the right methods and tools, ensuring a professional-looking result without unnecessary damage or frustration. Additionally, exploring content formats can enhance your understanding of how different materials interact with various cutting techniques.

PYY Rotary Paper Cutter 36 Inch – Large Heavy Duty Paper Trimmer with Self-Sharpening Blade, Measurement Grid for Posters/Photos/Cardstock, Office & Studio Use
36 INCH LARGE FORMAT CUTTING: Designed for oversized projects, this 36 inch rotary paper cutter makes it easy…
As an affiliate, we earn on qualifying purchases.
As an affiliate, we earn on qualifying purchases.
Choosing the Right Tools for Clean Edges
To achieve clean, precise edges, choosing the right tools is essential. The right cutting tools, like sharp blades or rotary cutters, guarantee smooth, chipped-free edges. For color matching, select tools that allow detailed control, preventing accidental damage to the print. Edge sealing tools, such as specialized sealers or edging tape, help protect and finish the cut edges, preventing fraying and maintaining a polished look. Additionally, understanding Victorian steampunk aesthetics can enhance the overall presentation of your printed materials. Choosing sustainable printmaking paper also contributes to a more environmentally friendly practice.
Consider these tools:
- Sharp craft knives for controlled cuts
- Rotary cutters for larger, even edges
- Fine-tipped markers for color matching details
- Edge sealing tapes for durability
- Precision scissors for delicate adjustments
Using these tools guarantees your large prints stay intact and look professional, with clean, sharp edges every time. Furthermore, utilizing the right lab measurement techniques can significantly improve the accuracy of your cutting processes.
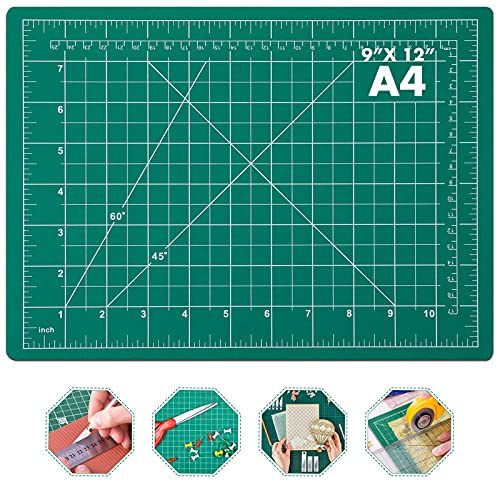
anezus Self Healing Sewing Mat, Rotary Cutting Mat Double Sided 5-Ply Craft Cutting Board for Sewing Crafts Hobby Fabric Precision Scrapbooking Project 9inch x 12inch(A4)
【SEWING CUTTING MAT】Aneuzs self-healing cutting mat protects your work surface. Compatible with rotary cutters and straight blades, won't…
As an affiliate, we earn on qualifying purchases.
As an affiliate, we earn on qualifying purchases.
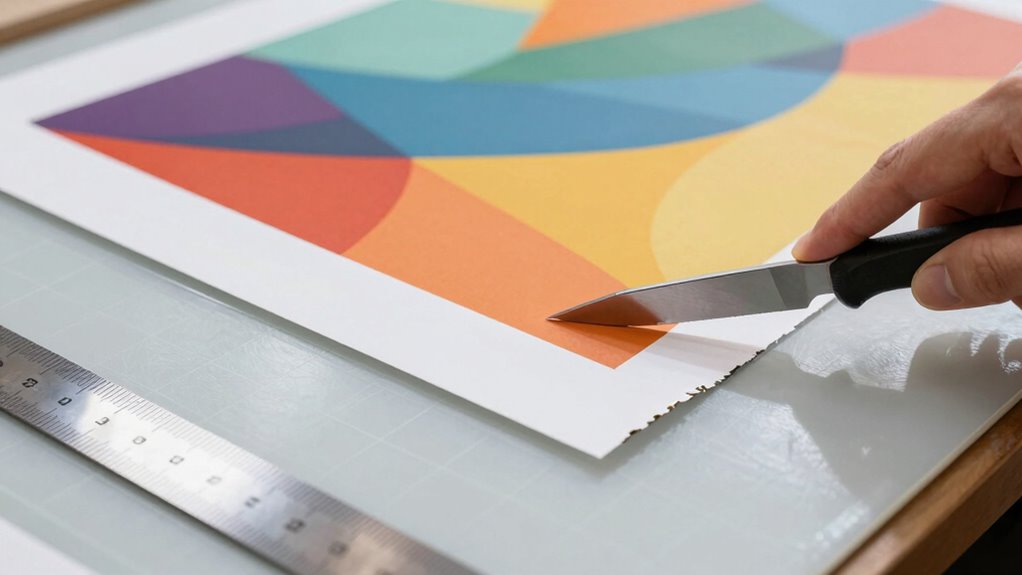
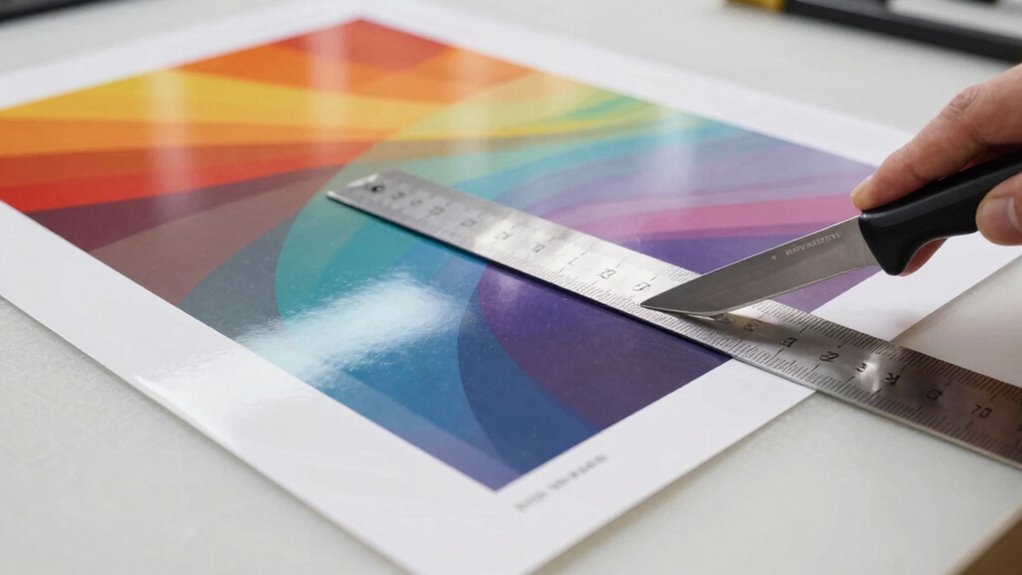
How to Make Straight, Precise Cuts
Once you’ve selected the right tools for clean edges, the next step is making straight, precise cuts. To guarantee color accuracy and maintain edge durability, use a sharp, high-quality blade or a ruler-guided cutter. Align the print carefully with a straightedge or metal ruler, applying gentle but steady pressure. Keep the tool steady and avoid rushing to prevent uneven edges or chipping. For large prints, consider using a cutting mat to support the paper and prevent slipping. Airless paint spraying techniques can help you achieve a smooth finish on your projects. Consistent pressure and a slow, deliberate motion help achieve clean, accurate cuts while preserving color integrity at the edges. Additionally, understanding color accuracy is essential for maintaining the overall visual impact of your prints. Proper technique prevents jagged edges, ensuring your print looks professional and maintains its visual impact. Additionally, mastering this skill can contribute to your overall personal growth and transformation as you enhance your crafting abilities. Using a sharp blade can significantly reduce the risk of chipping during your cutting process. Additionally, employing proper cutting techniques can further enhance your results and ensure a polished finish.

3M Edge Sealer Cast Vinyl Wrap Tape Stripes | 8518 – Gloss Finish | 0.5" x 150ft | w/Instawraps Pro Wrapping Glove
Edge sealer is a clear satin tape used to seal vehicle wraps, window graphics and for sealing cut…
As an affiliate, we earn on qualifying purchases.
As an affiliate, we earn on qualifying purchases.
Common Mistakes to Avoid When Trimming
Avoiding common mistakes while trimming is essential to achieve a clean, professional look. One mistake is rushing the cut, which can ruin framing techniques and cause uneven edges. Another is applying too much pressure, risking chipped edges that compromise edge preservation. Using dull blades can lead to jagged cuts, so always confirm your tools are sharp. Over-trimming can remove too much material, affecting the final presentation. Additionally, neglecting to measure carefully can result in uneven borders. Finally, ignoring the importance of steady hands during trimming can cause crooked cuts. To maintain proper framing techniques and promote edge preservation, focus on controlled, precise cuts, stay patient, and use sharp tools for the best results. Moreover, consider the impact of proper aftercare to ensure your cuts remain clean and prevent any unintended damage during the trimming process. Incorporating effective filtration in your workflow can help maintain tool performance and prevent common issues. Additionally, applying traditional practices can enhance your overall approach to precision and care in your trimming process.
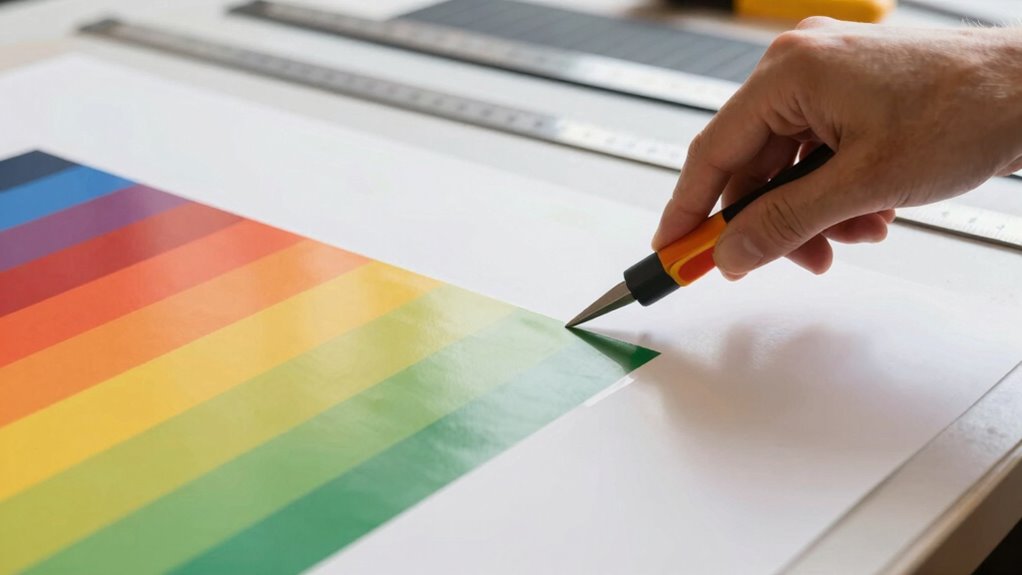
Tips for Achieving Smooth, Chip-Free Edges
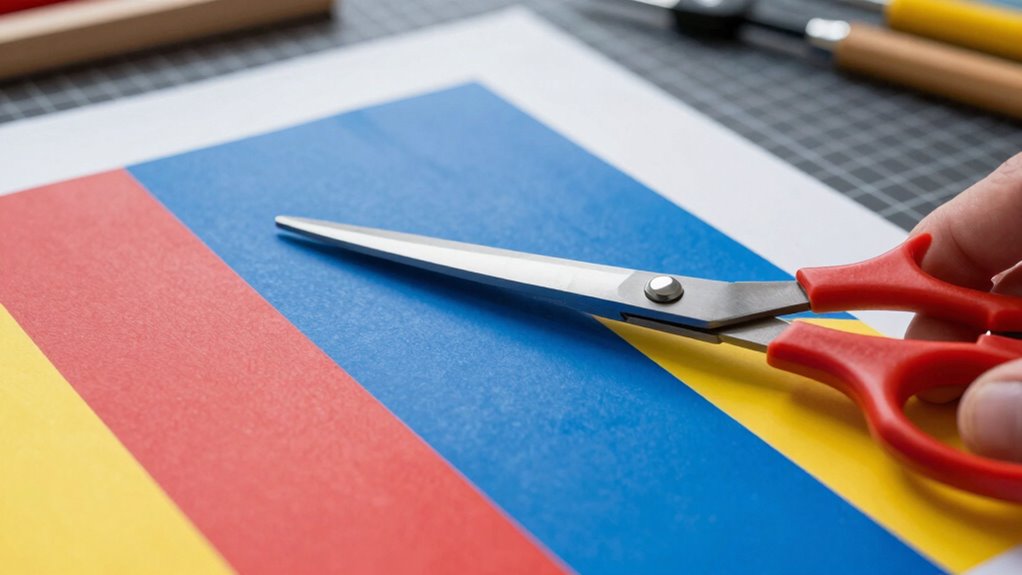
Achieving smooth, chip-free edges starts with selecting the right tools and techniques. Use sharp blades or professional-grade trimmers to guarantee clean cuts and prevent tearing. For creative edge finishing, consider using a rotary cutter or a craft knife for precise control. When doing decorative trimming, work slowly and steady, applying even pressure to avoid jagged edges. Use a cutting mat to stabilize your material and reduce slipping. A light, steady hand helps create smooth, consistent lines. If needed, slightly score the print before cutting to guide your blade. Remember, patience is key—rushing leads to uneven edges and chips. Additionally, heat buffering techniques can enhance the durability of your edges, preventing damage during the cutting process. Furthermore, proper cutting techniques can help ensure that your prints remain intact and free from chips. By combining proper tools with careful technique, you’ll achieve polished, decorative edges that look professional and are chip-free. Engaging in regional flavors can inspire unique designs for your prints, adding a personal touch to your projects.
Troubleshooting and Final Tips for Perfect Results
Even the most skilled crafters encounter issues, but troubleshooting quickly can save your project from imperfections. If you notice paper textures causing uneven cuts or color inconsistencies near the edges, don’t panic. Adjust your blade pressure or switch to a sharper blade for cleaner cuts. Guarantee your paper is properly aligned to prevent chipped edges. For color consistency, work in a well-lit area and handle prints carefully to avoid smudging. Use a straightedge or ruler for precise trimming. Keeping your tools clean to avoid debris affecting the cut is essential, as effective planning can help streamline your process. Ethical consumerism can also inspire you to choose high-quality materials that yield better results. Test on scrap paper first to fine-tune your technique. Remember, patience and attention to detail are key for perfect results. Small adjustments make a big difference in achieving smooth, chip-free edges every time. Incorporating music therapy during your crafting sessions can enhance focus and creativity, leading to more precise results.
Frequently Asked Questions
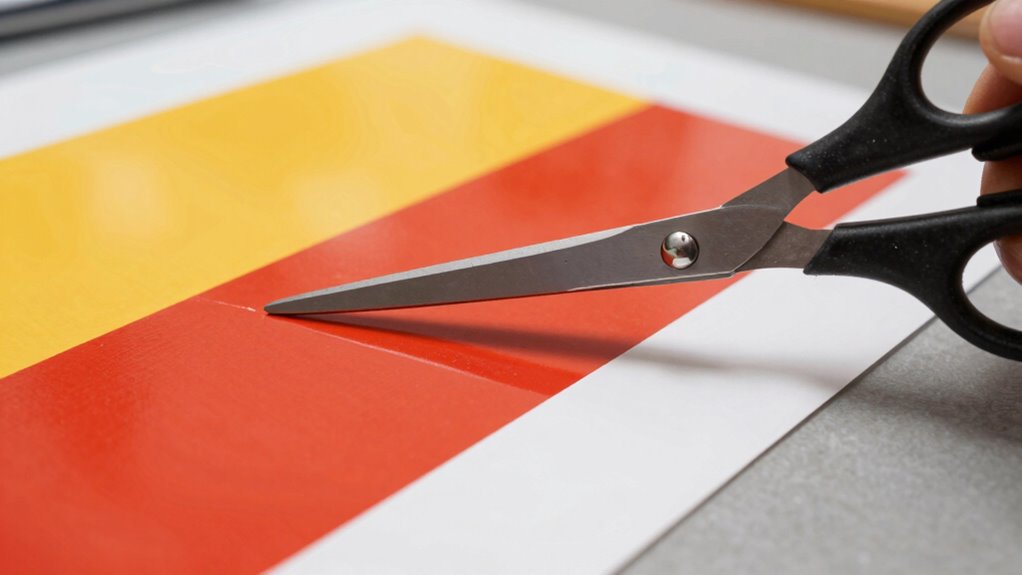
Can I Use Household Scissors for Trimming Large Prints?
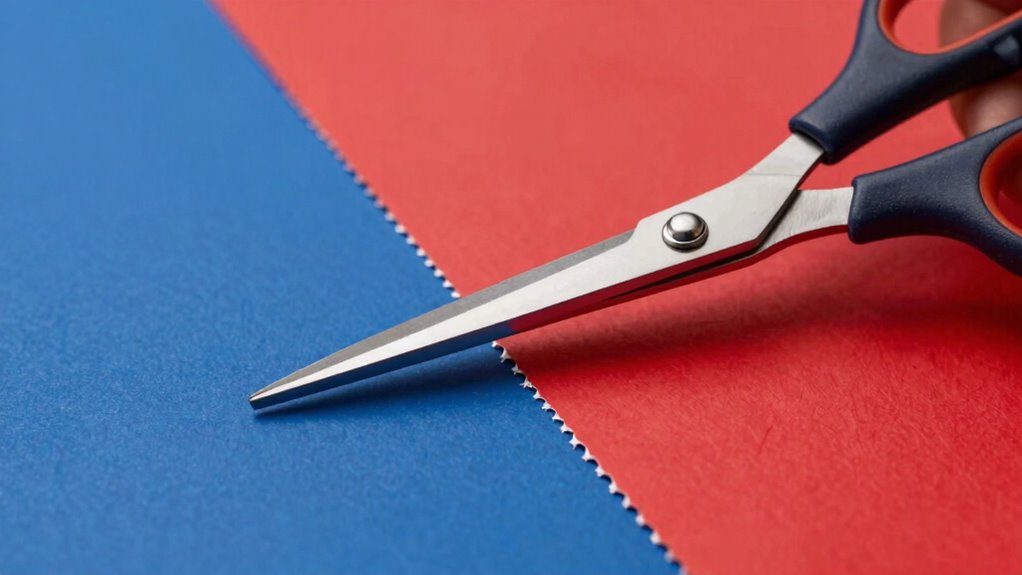
You can use household scissors for large print trimming, but it’s not ideal. They may not give you a clean, precise cut, especially on thick or glossy prints. For the best results, choose sharp, high-quality scissors designed for paper or large print trimming. This helps avoid chipped edges and uneven cuts. Using the right tools guarantees your prints look professional and neat, saving you time and frustration.
What Safety Precautions Should I Take While Trimming?
Think of yourself as a skilled craftsman wielding a blade—safety gear is your armor. Always wear protective gloves and eye protection to guard against slips. Make certain your workspace is well-lit, clutter-free, and stable, like a workshop ready for masterpieces. Keep sharp tools properly stored and handle them with care. Prioritizing workspace safety helps prevent accidents, letting you focus on trimming your large prints cleanly and confidently.
How Do Temperature and Humidity Affect Trimming Quality?
Humidity impact and temperature effects play a big role in trimming quality. High humidity can cause your print material to become soft or swollen, making precise cuts difficult. Conversely, low humidity leads to dryness and brittleness, increasing the risk of chipping. Temperature variations can cause expansion or contraction of the material, affecting cut accuracy. Keep your environment stable with moderate humidity and consistent temperatures to guarantee clean, chip-free edges.
Are There Eco-Friendly Trimming Tools Available?
Yes, eco-friendly trimming tools are available. You can find recycling options for used blades, helping reduce waste. Biodegradable blades are also gaining popularity, made from sustainable materials that break down naturally after use. These tools allow you to trim large prints efficiently while minimizing environmental impact. Look for brands that prioritize sustainability, and consider switching to biodegradable blades or recycling programs to make your trimming process greener.
How Long Should I Wait Before Handling a Freshly Trimmed Print?
Think of your freshly trimmed print as a delicate butterfly just released from its cocoon. You should wait at least 15-30 minutes for the print to dry and cool down, ensuring the ink sets properly. During this time, the edges will naturally smooth out, preventing chips. Handling too soon risks smudging the print or damaging the edges, so patience now guarantees a flawless, professional finish later.
Conclusion
Now that you know how to trim large prints like a pro, you’re ready to create flawless, chip-free edges every time. Remember to choose the right tools, take your time, and avoid common pitfalls. With patience and practice, your prints will look as sharp as the finest tapestries in a Renaissance palace. So go ahead—cut with confidence, and turn your art into a masterpiece worthy of the ages.