Relief printing, like woodcut and linocut, involves carving into surfaces to create bold images and textures. You start by designing and transferring your image onto the material, then use tools to carve away non-printing areas. Ink is rolled onto the raised surfaces, and pressure is applied to transfer the image onto paper. This traditional method emphasizes contrast and texture, offering a simple way to produce striking prints. Exploring further reveals the details behind mastering these ancient, expressive techniques.
Key Takeaways
- Relief printing involves carving into a block of wood or linoleum to create raised areas that hold ink for printing.
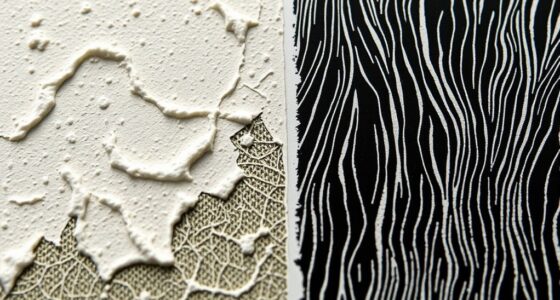
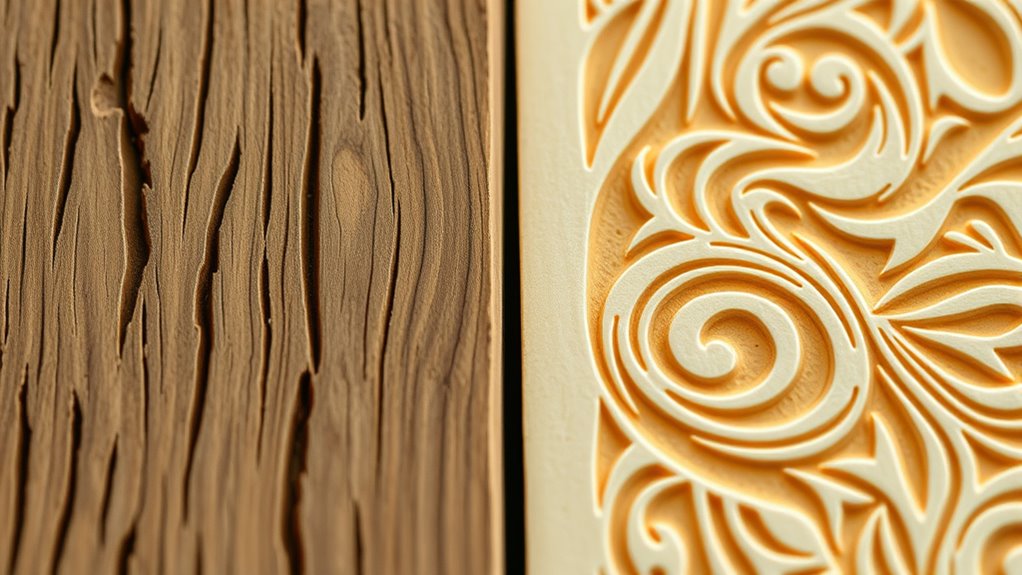
- Woodcuts offer textured, detailed images, while linocuts produce smooth, bold lines suitable for expressive designs.
- Design transfer can be done by sketching directly or using transfer methods before carving.
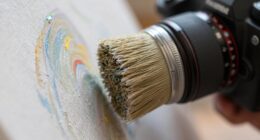
- Ink is applied with a roller (brayer) onto the raised surface, then pressed onto paper manually or with a press.
- This traditional technique emphasizes bold contrasts, texture, craftsmanship, and historical significance in printmaking.

Ever wonder how relief printing creates bold, textured images? This traditional printmaking technique has a rich history and a straightforward process that lets you produce striking visual art. Relief printing involves carving into a block of material—like wood or linoleum—so that the raised surface carries ink and transfers it onto paper. It’s one of the oldest printmaking techniques, with roots stretching back centuries and a significant role in art history. Artists have used it not only for reproducing images but also for creating expressive, textured works that emphasize contrast and boldness.
Relief printing is an ancient technique that creates bold, textured images through carving and inking raised surfaces.
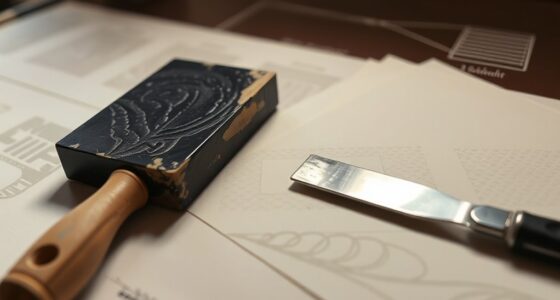
The process begins with selecting your material—wood for woodcuts or linoleum for linocuts. Each offers different qualities: wood has a distinct grain and texture, ideal for detailed carvings, while linoleum provides a smoother surface for more fluid, bold lines. Once you’ve chosen your substrate, you sketch your design directly onto the surface or transfer an image onto it. Using gouges or carving tools, you carefully remove the areas that won’t print, leaving the raised parts to hold ink. This step might take some practice to master, especially if you aim for fine details or complex textures. During this carving process, you’re engaging with a tradition that dates back to ancient times, where artists and craftsmen used similar methods to reproduce religious images, illustrations, and decorative patterns.
When your carving is complete, you roll ink onto the raised surface using a brayer—an essential tool in printmaking techniques. You want the ink to be evenly distributed, avoiding excess that might smudge or unevenly transfer. Then, you’ll carefully press your inked block onto paper, either by hand or with a printing press. This step requires precision; applying even pressure ensures a clean, consistent image. The beauty of relief printing is in its ability to produce bold, textured images with a tactile quality that’s hard to replicate with other techniques. The textures created by the carving process, especially in woodcut prints, give each piece a unique, dynamic feel.
Additionally, proper filtration and pump protection during the printing process helps maintain the quality and longevity of your tools, ensuring consistent results. Throughout art history, relief printmaking has played a vital role in disseminating images and ideas, from medieval block prints to modern artworks. Its popularity stems from its accessibility, allowing artists to experiment with textures, contrasts, and expressive lines. Whether you’re creating a limited edition print or experimenting with textures, relief printing offers a direct, satisfying way to produce impactful art. Once you grasp the basic steps—carving, inking, and printing—you can explore endless possibilities, blending traditional methods with your own creative voice.

Bobblebro Linocut Kit for Printmaking – Arts and Crafts for Adults – Easter DIY Kit Gifts – Hobby Kits Birthday Gift for Women, Men, Boys, Girls – Stamp Making Kit – Linoleum Blocks Carving Tools
【Upgrades Linocut Kit】Create unique block printing by hand with our linocut kit for printmaking. Apply rich ink and…
As an affiliate, we earn on qualifying purchases.
As an affiliate, we earn on qualifying purchases.
Frequently Asked Questions
What Are the Best Tools for Detailed Relief Printing?
For detailed relief printing, you’ll want precision carving tools like fine gouges and detail knives to refine your carving techniques. These tools help you achieve intricate lines and textures. Use a brayer or roller for even ink application, ensuring your ink is spread smoothly without excess. With careful carving and consistent ink application, you can produce highly detailed and sharp prints that showcase your skill and attention to detail.
How Do I Choose Between Woodcut and Linocut?
Did you know that linocut became popular because it’s easier to carve than traditional woodcut? When choosing between woodcut and linocut, consider the material differences: wood offers richer textures, perfect for detailed, traditional styles, while linocut’s softer surface suits bold, modern artwork. Your artistic style guides the choice—if you want intricate, textured prints, go for wood; for cleaner, sharper lines, linocut’s your best bet.
What Safety Precautions Are Necessary During Carving?
When carving, you should prioritize safety to prevent injuries. Always wear safety gear like cut-resistant gloves and eye protection. Use proper carving techniques, such as controlled, steady pressure, to avoid slips. Keep your tools sharp for cleaner cuts and less effort. Work in a well-lit area and focus on your task. Taking these precautions helps protect you and ensures a safer, more enjoyable carving experience.
How Do I Clean and Maintain Relief Printing Tools?
To keep your relief printing tools in top shape, you should clean them promptly after use. Use a gentle solvent or soap to remove ink, preventing buildup that affects ink absorption and tool longevity. Dry them thoroughly and store in a safe, dry place. Regular cleaning and proper storage guarantee your tools stay sharp and effective, allowing you to produce crisp prints with consistent quality over time.
Can Relief Printing Be Done Digitally?
Thinking of relief printing as a classic melody, you might wonder if you can recreate it digitally. Yes, you can! Digital tools let you design and simulate relief prints on your computer, giving you a new creative outlet. Many artists learn through online tutorials, exploring software like Adobe Illustrator or Photoshop. While digital printing differs from traditional methods, it offers endless possibilities and flexibility for your artistic projects.

WILLBOND 5 Pcs Linocut Carving Tools Set Linoleum Hand Carving Tools Wood Carving Knife Chisel Flat V Shaped Angled Gouge Half Round Carving Tools Set for Linocut Printmaking Woodcarving Woodblock
Woodcarving Tools Set: our package comes equipped with a comprehensive set of carving tools, including 2 triangular v…
As an affiliate, we earn on qualifying purchases.
As an affiliate, we earn on qualifying purchases.
Conclusion
Think of relief printing like carving your own story into a block of wood or linoleum—each cut reveals your unique voice. When I started, I was amazed how a simple tool transformed my ideas into bold, tangible art. Just as a musician tunes an instrument for harmony, you’ll find that mastering these basics open up endless creative possibilities. So grab your tools, and let your imagination leave a lasting impression—your masterpiece is waiting to be printed.
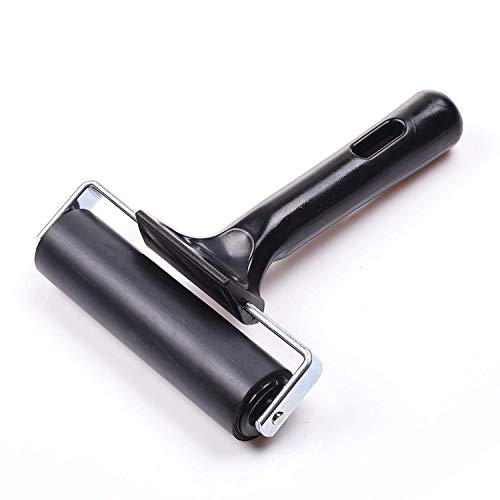
4-Inch Rubber Brayer Roller for Printmaking, Great for Gluing Application Also. (Original Version)
FEATURES: The drum is made of high quality rubber. It is durable and elastic. It can be well…
As an affiliate, we earn on qualifying purchases.
As an affiliate, we earn on qualifying purchases.

Leoball® Water-Soluble Block Printing Ink CMYK+ Master Set of 8 Must-Have Colors with Lustrous Finish, 1.25-Ounce Tubes
PERFECT FOR NICHE PRINTERS: This ink is carefully formulated with finely ground pigments to deliver a smooth, consistent…
As an affiliate, we earn on qualifying purchases.
As an affiliate, we earn on qualifying purchases.