
To scan large art in pieces and stitch it seamlessly, you should carefully prepare your artwork by cleaning and marking reference points. Use a high-resolution scanner or camera with even lighting, overlapping each capture sufficiently for accurate alignment. Make certain consistent color calibration and focus on capturing details without gaps. Then, use stitching software to align and blend the images. Want to master each step? Keep exploring how to achieve flawless digital reproductions.
Key Takeaways
- Use high-resolution scanners or cameras with overlapping sections for accurate image capture.
- Mark reference points on artwork edges to assist precise alignment during stitching.
- Ensure consistent lighting and color calibration across all sections for seamless blending.
- Overlap images sufficiently to facilitate accurate stitching and minimize gaps.
- Conduct color correction and adjust brightness/contrast after stitching for uniformity.

Epson Perfection V19 II Color Photo and Document Flatbed Scanner with 4800 dpi Optical Resolution, USB Power and High-Rise, Removable Lid
Amazing image clarity and detail — 4800 dpi optical resolution (1), ideal for photo enlargements
As an affiliate, we earn on qualifying purchases.
As an affiliate, we earn on qualifying purchases.
Overcoming Limitations When Digitizing Large Artwork
When digitizing large artwork, one of the biggest challenges is capturing every detail without sacrificing quality. Proper color calibration guarantees that the digital image accurately reflects the original artwork’s hues, maintaining visual integrity across sections. Without it, parts of your scan might look dull or overly saturated, making seamless stitching difficult. Additionally, file compression plays a crucial role. You need to balance compression levels to reduce file size without losing critical detail, which can otherwise result in pixelation or blurriness. Use lossless compression when possible to preserve image quality. These techniques help you overcome limitations like scanner size constraints and ensure your digital copies are faithful to the original, setting a solid foundation for high-quality, seamless large artwork scans. Furthermore, achieving color accuracy is essential for maintaining the vibrancy and depth of the original artwork. Additionally, incorporating natural wellness practices can enhance your focus and creativity during the scanning process. Moreover, understanding support networks can provide encouragement and tips that may help you navigate challenges during the digitization process. Furthermore, being aware of ethical consumerism can guide your choices in purchasing scanning equipment that is both effective and environmentally responsible. In addition, understanding individual evidence collection can serve as a metaphor for the meticulous attention to detail required in this digitization process.

M&R Technologies Pc Stitch Cross Stitch Software Vers 11
There's no need to search through magazines or stand in craft stores looking for something unique to cross…
As an affiliate, we earn on qualifying purchases.
As an affiliate, we earn on qualifying purchases.
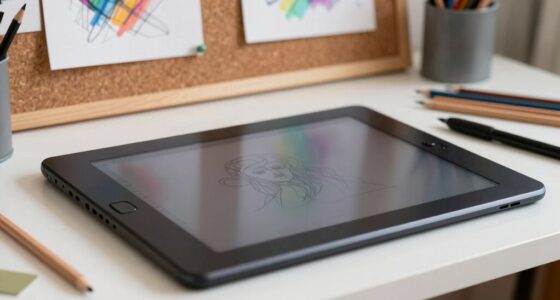
Preparing Your Artwork for Seamless Sectional Scanning
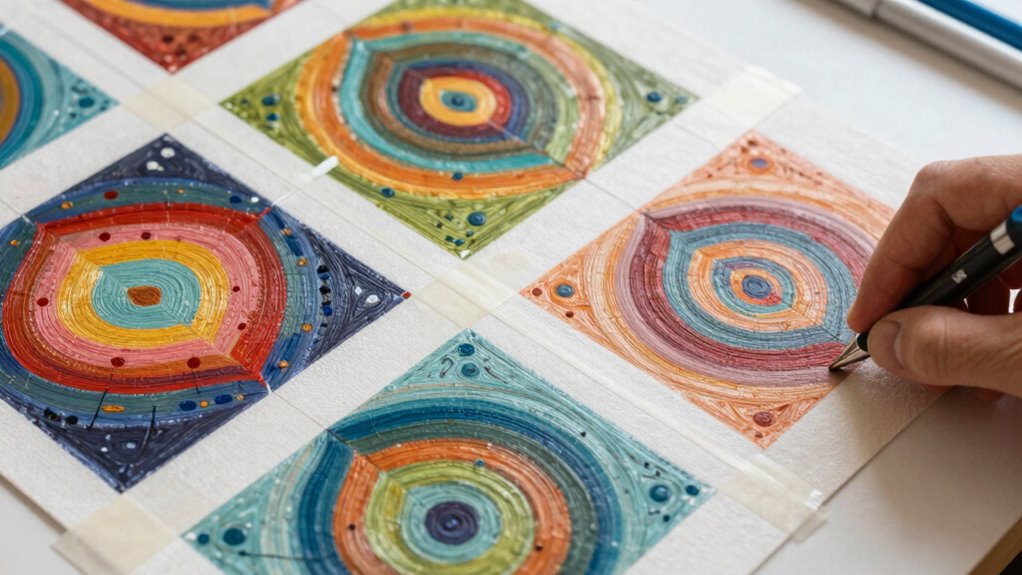
Before you begin scanning large artwork in sections, it’s important to prepare the piece to guarantee seamless results. Start by verifying your artwork is clean and free of dust or smudges, which can interfere with color calibration. Next, adjust your scanner’s color calibration settings to match the artwork’s original hues, preventing color discrepancies later. Set the image resolution high enough to capture fine details without creating overly large files—typically 300 to 600 dpi works well. Mark reference points on the edges or corners of the artwork to aid alignment during stitching. Properly preparing your piece in this way minimizes color inconsistency and ensures consistent image resolution across sections, making the final assembly smoother and producing a professional-looking digital reproduction. Additionally, exploring adaptable content formats can enhance the overall presentation of your scanned artwork.

Calibrite Display Pro HL Monitor Calibration Colorimeter for LCD Mini LED and OLED Displays, Measure up to 3000 Nits, PROFILER Software, USB C with Adapter, Validation/Color Uniformity Tools
SPECIFICATIONS: HL high luminance sensor colorimeter measures up to 3000 nits, calibrates and profiles LCD mini LED OLED…
As an affiliate, we earn on qualifying purchases.
As an affiliate, we earn on qualifying purchases.
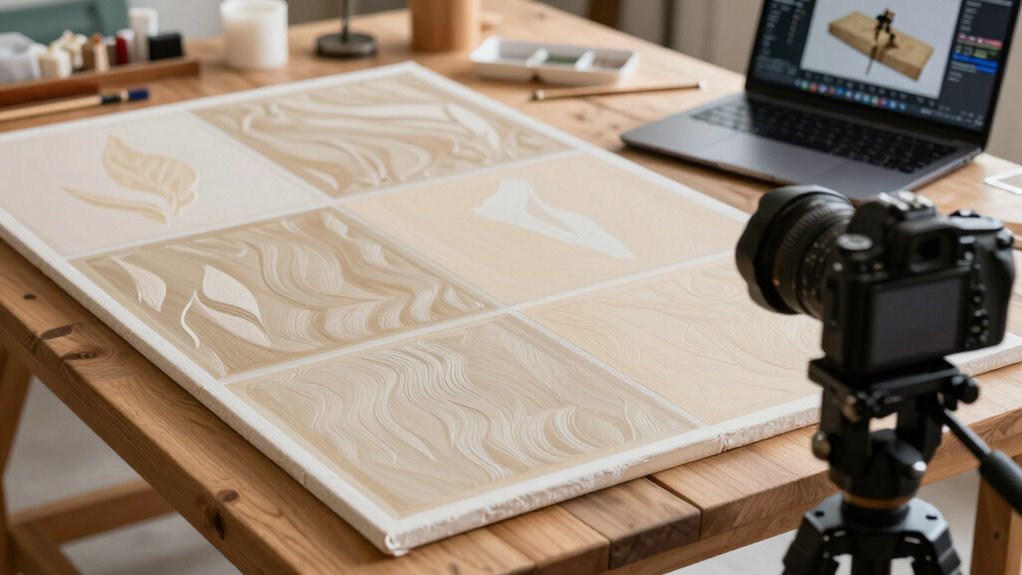
Choosing Equipment and Setting Up for Large-Scale Scanning
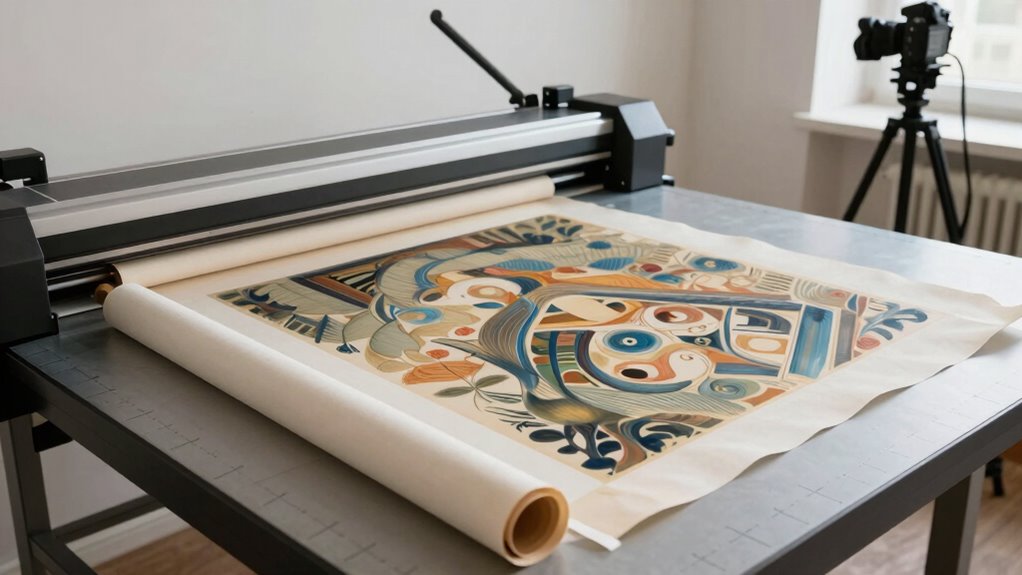
Choosing the right equipment is crucial for successful large-scale scanning, as it directly impacts image quality and efficiency. Start with a high-resolution scanner or camera capable of capturing fine details across large sections. Ensure your lighting setup is even and consistent to prevent shadows and reflections, using soft, diffused light sources. Proper color calibration is essential—use a color target or calibration tool to match your scanner or camera’s color profile to your monitor, ensuring accurate color reproduction. Stability is key, so set up your equipment on a flat, sturdy surface. Adjust your lighting and calibration settings before starting, as this will save you time and avoid re-scanning. A well-planned setup guarantees seamless images and easier stitching later.
large artwork scanning setup
As an affiliate, we earn on qualifying purchases.
As an affiliate, we earn on qualifying purchases.
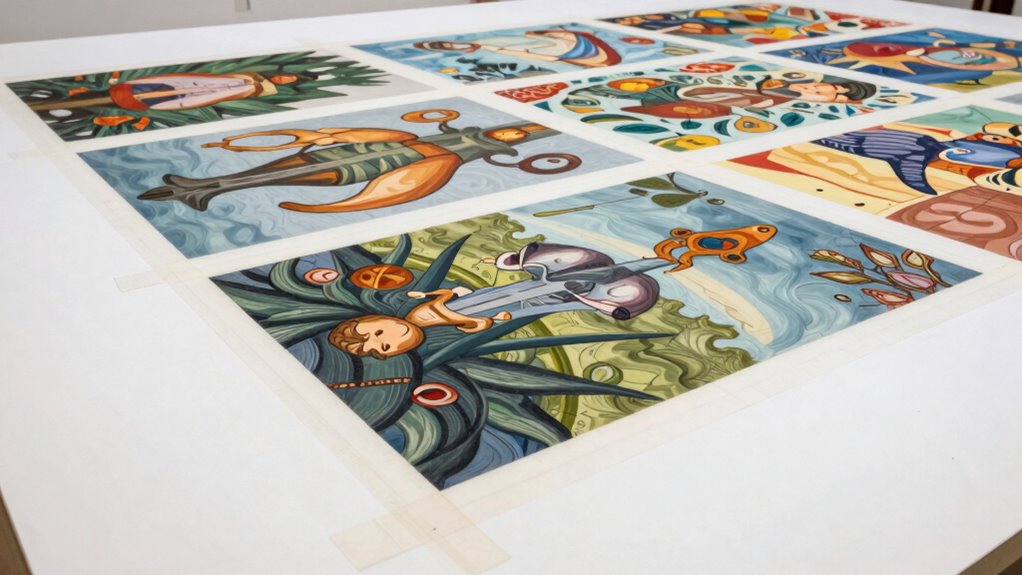
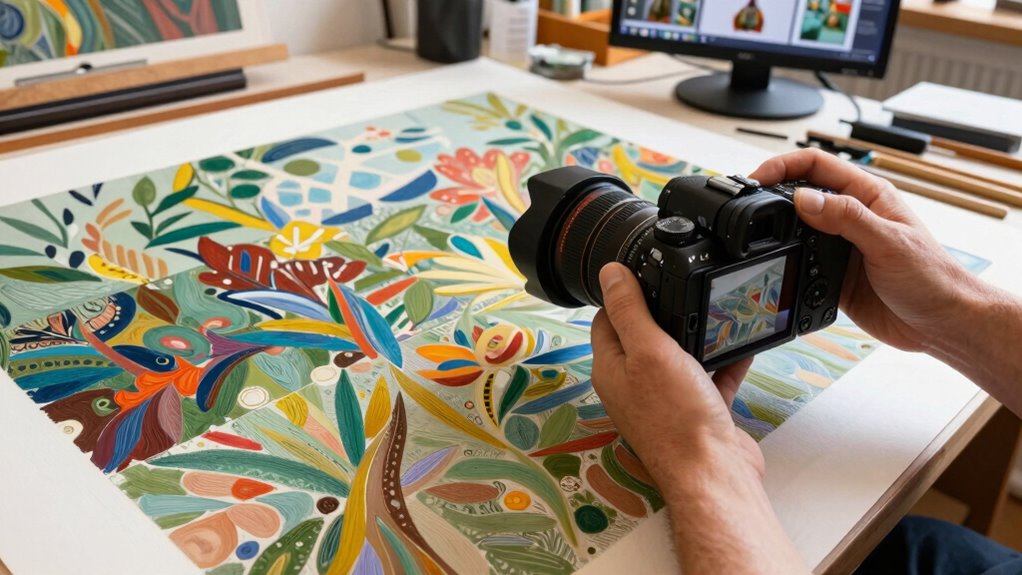
Capturing Overlapping Images for Perfect Stitching
| Confidence | Precision | Success |
|---|---|---|
| Trust your process | Achieve perfect alignment | Celebrate the final masterpiece |
| Every overlap counts | Seamless stitching ahead | Your art, flawlessly preserved |
| Keep calm, capture well | Bright, true colors | A stunning digital archive. Engaging in music-making can further enhance your focus during the scanning process. |
Ensure you have the right survival gear essentials to handle unexpected challenges while capturing your artwork.
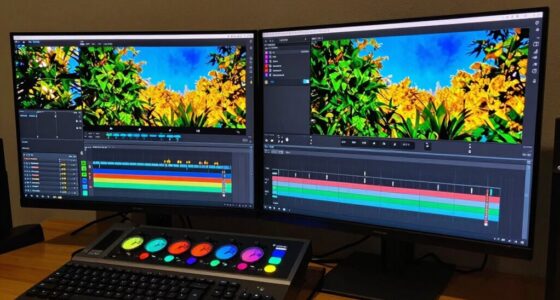
Stitching and Finalizing Your Digital Artwork
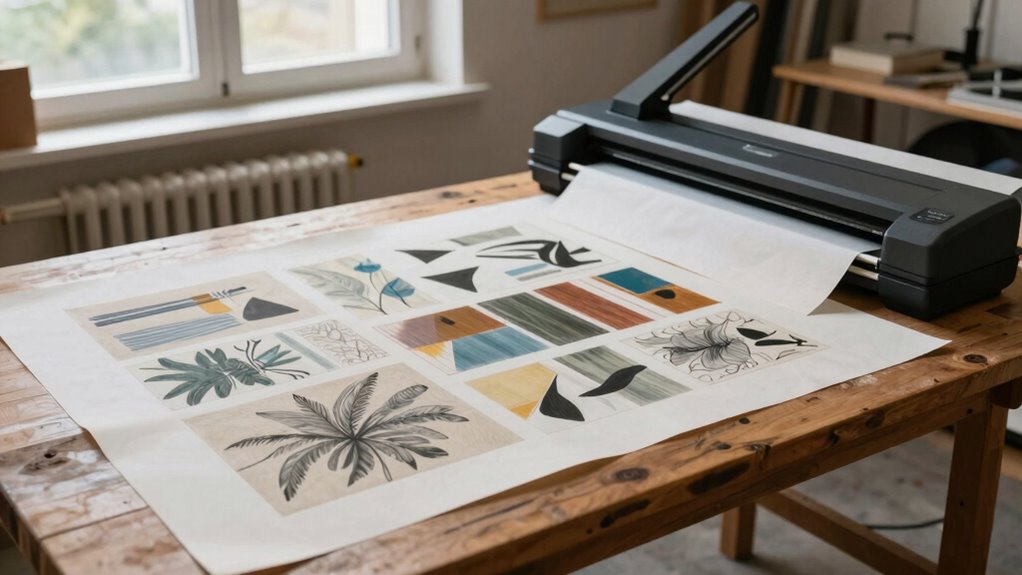
Once you have all your images stitched together into a seamless digital mosaic, it’s time to focus on refining the final artwork. Start with color correction to guarantee consistency across the entire piece, adjusting brightness, contrast, and color balance as needed. This step helps eliminate any visible discrepancies caused by varying lighting conditions during scanning. Additionally, consider incorporating eco-friendly practices to promote sustainability in your creative workflow. Next, organize your files systematically—label each version clearly and save backups to prevent losing progress. When you’re satisfied with the color and organization, finalize your file by resizing or optimizing it for printing or digital display. Removing any remaining imperfections or artifacts ensures a polished, professional finish. Proper stitching and meticulous final adjustments make your artwork look seamless, vibrant, and ready for presentation. Additionally, remember to consider safety tips when using equipment for scanning, as it can help prevent accidents during your workflow.
Frequently Asked Questions
How Do I Ensure Color Accuracy Across Multiple Scanned Sections?
To guarantee color accuracy across multiple scanned sections, you should use consistent calibration techniques on your scanner and monitor. Start by calibrating your device with a color calibration tool, ensuring it reproduces colors accurately. When scanning, use the same settings for each section, and compare color matches between scans. Adjust the color in post-processing if needed, focusing on color matching to create a seamless, cohesive final piece.
What Software Options Are Best for Seamless Image Stitching?
Think of stitching your scans like weaving a tapestry, where each thread must align perfectly. Top software options include Adobe Photoshop for precise control, Hugin for open-source stitching, and PTGui for advanced panorama blending. Prioritize software that guarantees color calibration and boasts broad compatibility, so your artwork’s hues remain consistent across sections. By choosing tools that respect your art’s integrity, you’ll craft a seamless masterpiece from your digital fragments.
How Can I Prevent Distortion During the Scanning Process?
To prevent distortion during scanning, you should first guarantee your scanner is properly calibrated. Use color calibration tools to match colors accurately, and perform display calibration on your monitor to see true colors and details. Keep the artwork flat and steady during scanning, and avoid tilting or moving it. Consistent lighting and a stable surface help maintain accuracy, reducing distortion and ensuring seamless stitching later.
What Is the Ideal Resolution for Large Artwork Scans?
For art preservation, aim for a resolution of at least 300 DPI when scanning large artwork, ensuring detailed reproduction. If you want to capture finer details, increase the resolution to 600 DPI or higher. Proper scanner calibration is vital to prevent distortions and color inaccuracies. This way, you’ll produce high-quality digital copies that accurately reflect your original artwork, making them easier to restore or display without losing essential details.
How Do I Handle Textured or Glossy Surfaces in Scans?
Did you know that over 60% of scanned images lose detail on glossy or textured surfaces? To handle these surfaces, you should prepare your artwork by cleaning and flattening it, and use surface preparation techniques like matte spray or anti-glare sheets. When scanning, opt for diffuse lighting and a steady, close-up setup. These scanning techniques minimize reflections and shadows, ensuring your large art pieces come out sharp and true to life.
Conclusion
By carefully planning your scans, capturing overlapping images, and using reliable stitching software, you can seamlessly digitize large artwork without sacrificing detail. Some believe that manual stitching always results in visible seams, but with the right techniques, you can achieve a flawless digital replica. Trust the process, experiment with your setup, and you’ll find that even the biggest projects can be transformed into stunning, high-quality digital masterpieces—proving that patience and precision really do pay off.