DPI, or dots per inch, controls how sharp and detailed your prints look, but it can also cause issues if set incorrectly. Using too low DPI makes images blurry, while too high can waste ink, slow your workflow, and cause color or calibration problems. Knowing when to use specific DPI settings for print or digital purposes is key to avoiding mistakes. Keep exploring to discover how proper DPI management can improve your image quality and workflow.
Key Takeaways
- DPI primarily affects print quality, not digital image resolution or pixel dimensions.
- High DPI can cause unnecessary file size increase and complicate calibration without improving digital display.
- Incorrect DPI settings during export can lead to pixelation, blurriness, or poor print results.
- Overusing DPI or misaligning it with intended output reduces overall image quality and workflow efficiency.
- Proper calibration and matching DPI to project needs prevent file issues and ensure optimal print or digital clarity.
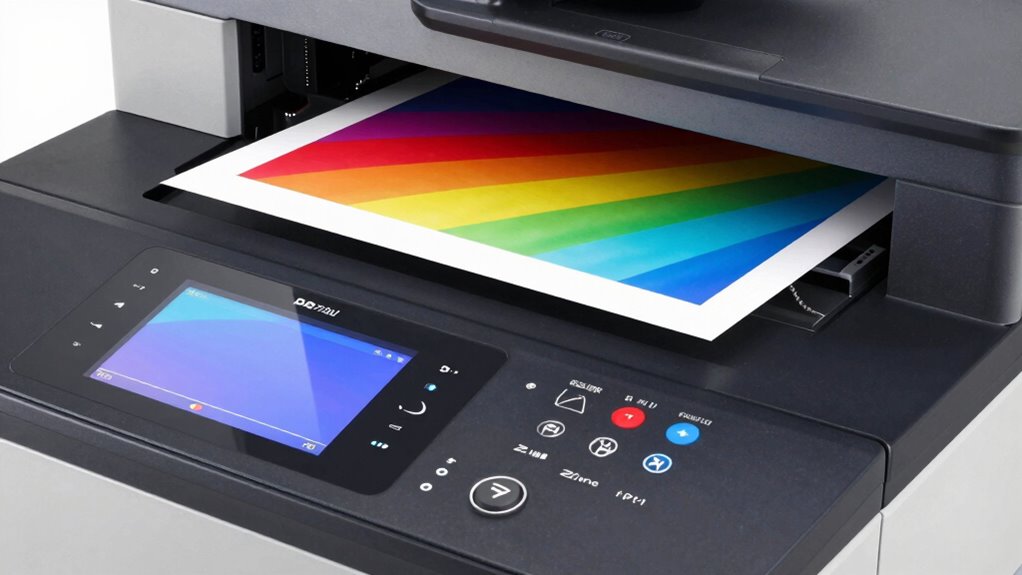
high resolution printer
As an affiliate, we earn on qualifying purchases.
As an affiliate, we earn on qualifying purchases.
What Is DPI and Why Is It Important for Your Images?
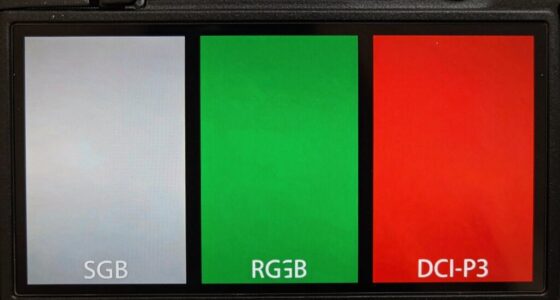
Have you ever wondered why some images look sharp and clear while others appear blurry or pixelated? It all comes down to DPI, or dots per inch, which affects how detailed your images are. Proper color calibration guarantees that colors stay true and vibrant, making your images appear more professional. Additionally, embracing inclusive casting in visual content can enhance relatability and engagement. Meanwhile, file compression can reduce file size but may also lower image quality if overdone, impacting how DPI is perceived. When you understand DPI, you can balance image resolution with file size, ensuring your visuals stay crisp without unnecessary storage use. Accurate color calibration combined with appropriate compression helps maintain sharpness, especially when preparing images for print or detailed displays. Knowing this makes you more intentional about producing high-quality images. Additionally, understanding digital concepts can further enhance your ability to create engaging content.

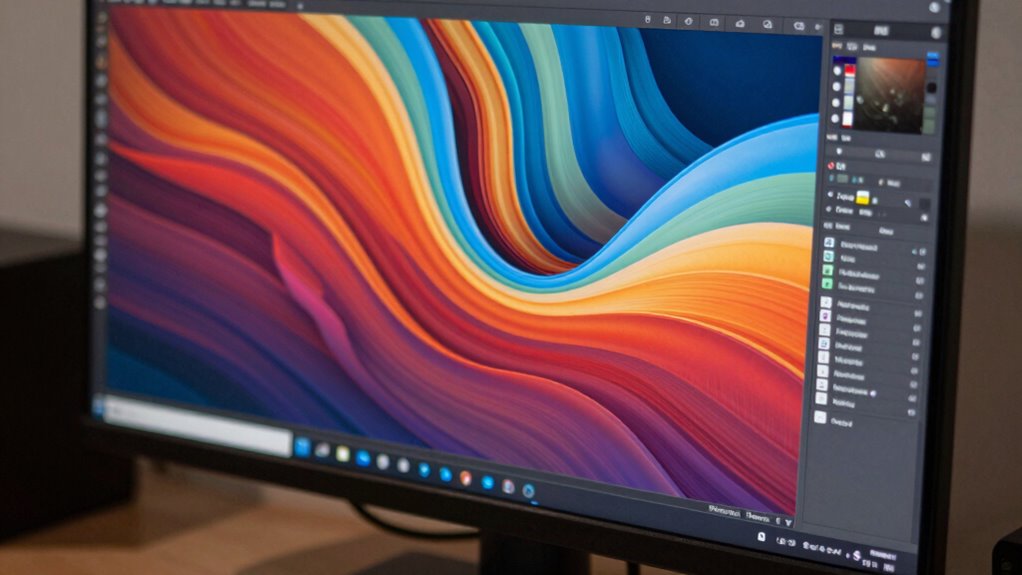
Datacolor SpyderExpress
QUICK & EASY COLOR CALIBRATOR: Whether you're editing photos, designing graphics, or producing content, SpyderExpress helps you view…
As an affiliate, we earn on qualifying purchases.
As an affiliate, we earn on qualifying purchases.
How DPI Affects Image Quality and Print Size
DPI directly impacts how your images translate from digital files to printed materials. Higher DPI means sharper, more detailed prints, but it also affects print size. If your DPI is too low, your images may look pixelated or blurry, regardless of good color calibration. Conversely, a high DPI with poor printing technology can lead to wasted ink or uneven color.
Consider these factors:
- Increasing DPI improves image clarity but may increase print size if the resolution is scaled.
- Suitable DPI depends on the printing technology used—laser, inkjet, or offset.
- Proper color calibration ensures colors stay true when printing at different DPIs.
- Balancing DPI with print size and quality helps avoid unnecessary file bloat and printing errors.
- Understanding passive voice detection can help refine your writing, ensuring clarity in your explanations.
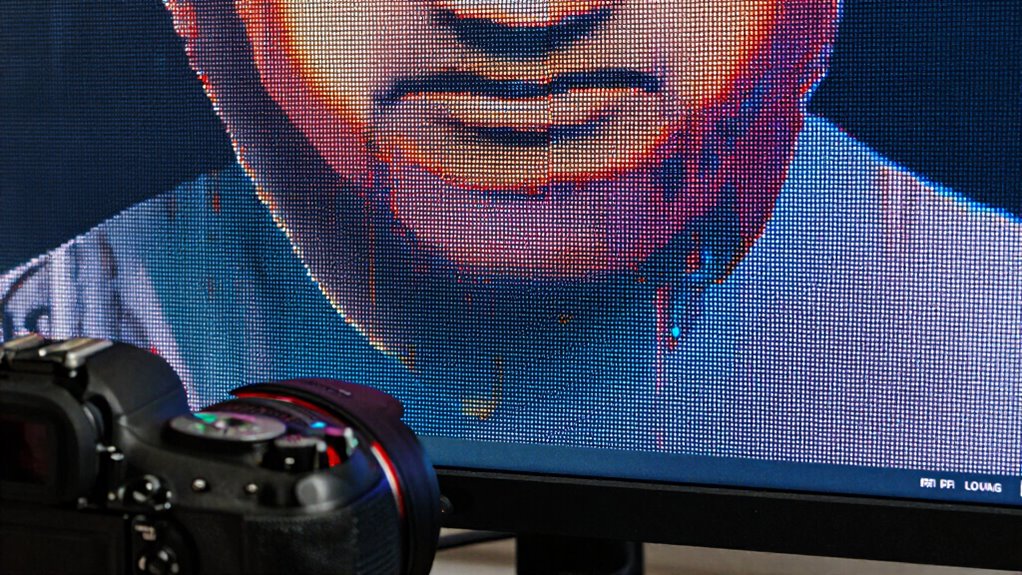
DPI calibration scanner
As an affiliate, we earn on qualifying purchases.
As an affiliate, we earn on qualifying purchases.
DPI vs. PPI: What’s the Difference?
Ever wonder how DPI and PPI differ, yet are often mentioned together? DPI (dots per inch) relates to print calibration, affecting how ink dots are applied to paper, influencing print quality and color accuracy. PPI (pixels per inch), on the other hand, refers to digital images, indicating pixel density on screens. While both measure resolution, DPI impacts physical output, and PPI affects how images appear digitally. Understanding this difference helps you optimize your files for printing or digital display. For example, higher DPI guarantees better print detail, vital for accurate color reproduction, whereas PPI determines how sharp an image looks on your monitor. Recognizing the distinction allows you to fine-tune your projects, guaranteeing consistent results whether you’re printing a photo or designing for digital screens.
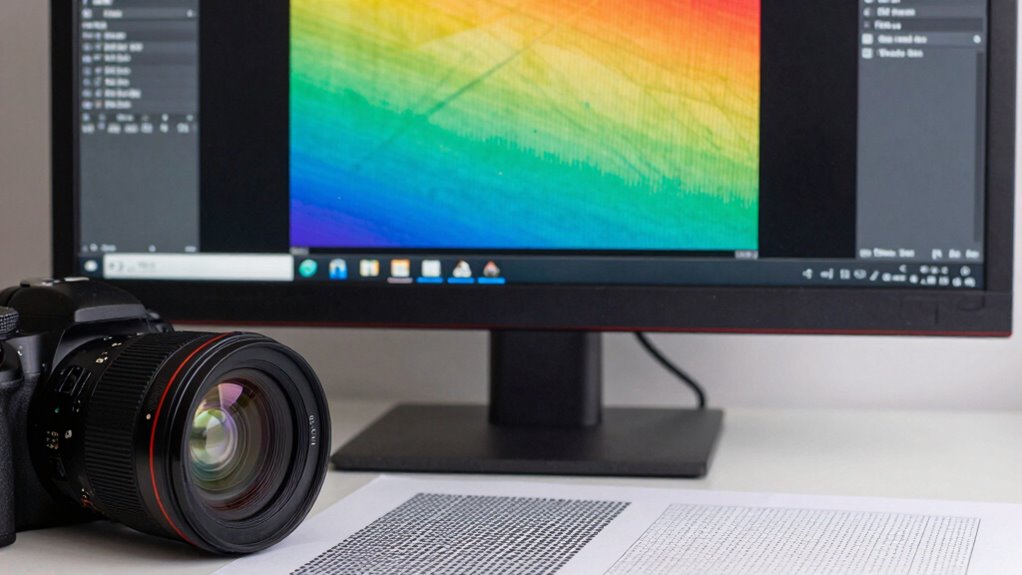
professional photo printer
As an affiliate, we earn on qualifying purchases.
As an affiliate, we earn on qualifying purchases.
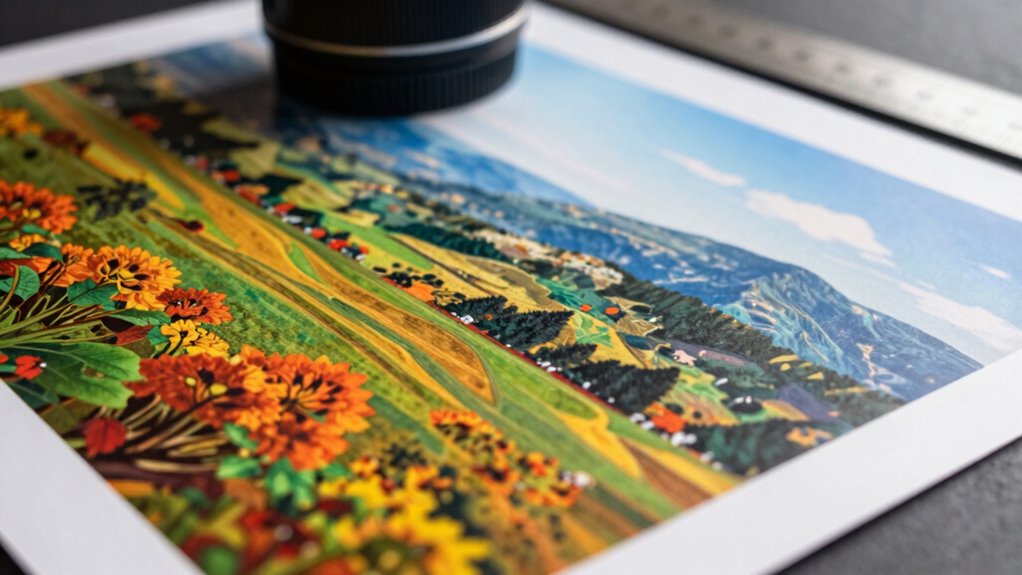
Best DPI Settings for Printing, Web, and Photography
Choosing the right DPI setting guarantees your images look sharp and professional, whether you’re printing, designing for the web, or capturing photos. For printing, 300 DPI is standard for high-quality results, but ensure accurate color calibration to prevent dull colors. Additionally, using effective stain removal techniques can help maintain the quality of printed materials. For web design, 72 or 96 DPI works because screen resolution is less demanding, and lower DPI helps reduce file size. Photography prints often benefit from 240 DPI for detailed enlargements, and incorporating regenerative practices can further enhance the visual appeal by ensuring your images are taken in vibrant, sustainable settings. Understanding the concept of content sandboxing can also help you test various DPI settings before finalizing your projects. Keep in mind, higher DPI increases file size, so consider file compression to optimize storage without sacrificing quality. Additionally, using a projector with high contrast ratios can enhance your viewing experience by providing deeper blacks and brighter whites. To sum up:
Choosing the right DPI ensures sharp, professional images while balancing quality and file size.
- Use 300 DPI for professional printing with proper color calibration.
- Stick to 72-96 DPI for web images to keep files manageable.
- Opt for 240 DPI for detailed photo enlargements.
- Balance DPI with file compression for best results.
When Is a High DPI Overkill?
While a high DPI can enhance image quality, there comes a point where it becomes unnecessary and even counterproductive. Increasing DPI excessively can lead to issues like oversaturation of ink, which affects ink saturation and drips, especially during printing. It also complicates color calibration, making it harder to achieve accurate colors. When the DPI is too high for your project’s needs—such as web images or small prints—you waste processing power and storage without noticeable benefits. For digital screens, a high DPI might just slow down rendering and editing, with no real visual gain. Knowing when to stop increasing DPI helps you avoid unnecessary complications, ensuring your images look their best without overcomplicating the workflow.
How to Check and Change DPI in Image Editing Software
To check and change DPI in your image editing software, start by accessing the image settings or properties menu. You can then adjust the DPI value to suit your needs and save or export the file accordingly. Understanding these steps helps guarantee your images are optimized for printing or digital use. Additionally, consider how proper image resolution can impact the overall quality of your final product. For instance, using eco-friendly practices in design can enhance the sustainability of your projects. Moreover, being aware of regional flavors in coffee and tea can inspire unique design elements that resonate with diverse audiences. Furthermore, incorporating seasonal fruit blends can add a refreshing touch to your creative endeavors. Using high-quality images can also significantly improve the visual appeal of your projects.
Accessing Image Settings
Ever wondered how to check or change the DPI of an image in your editing software? Accessing image settings is straightforward. First, open your software and load the image. Next, locate the “Image” or “Settings” menu, often found at the top toolbar. Then, select “Image Size” or “Resolution” to view current DPI. Finally, confirm color calibration is accurate to avoid color shifts during adjustments and consider file compression options to optimize image quality and size.
Additionally, using tools to detect passive voice can enhance your writing clarity when documenting these steps.
Here’s a quick guide:
- Open your image in the editing software.
- Navigate to the “Image” or “Settings” menu.
- Select “Image Size” or “Resolution.”
- Adjust DPI, keeping in mind how it affects color calibration and file compression.
Adjusting DPI Values
Checking and changing the DPI of an image is a simple process that you can do directly within your editing software. To start, open your image and locate the image size or resolution settings. Here, you can see the current DPI value. Adjusting DPI doesn’t affect the image’s pixel dimensions but influences its print size. If your screen isn’t properly calibrated through color calibration or screen calibration, your perception of sharpness and detail might be misleading. When changing DPI, consider the intended use—higher DPI for printing, lower for digital display. Always verify your monitor’s calibration to ensure accurate colors and resolution. Properly adjusting DPI ensures your images look professional and meet your specific requirements without compromising quality.
Saving and Exporting Files
Once you’ve adjusted your image’s DPI settings to suit your needs, the next step is to save or export the file properly. First, verify your color calibration is consistent for accurate colors across devices. When exporting, choose the right file format—JPEG or PNG—to balance quality and file size. Be mindful of file compression, as excessive compression can reduce image quality, especially if DPI impacts print clarity. Always double-check your DPI in the export settings to avoid unintended resizing. Finally, consider your final use—web or print—and adjust DPI accordingly before saving. This ensures your files are optimized for their purpose without unnecessary file size or quality loss.
Troubleshooting Blurry or Oversized Prints
When your prints turn out blurry or oversized, checking your DPI settings is a good first step. You’ll want to make sure you’re using the best DPI for your print size and resolution, which can make a big difference. Keep in mind that understanding your image resolution helps you avoid these common issues and achieve sharp, correctly sized prints. Additionally, ensuring your images are saved in a high-quality format can prevent waterpark gear issues related to pixelation and clarity.
Optimal DPI Settings
Have you ever printed a photo only to find it blurry or oddly oversized? To fix this, focus on ideal DPI settings. First, ensure your file isn’t overly compressed, which can cause blurriness. Second, check your color calibration; inaccurate colors can distort the perceived sharpness. Third, match your DPI to your print size—300 DPI is standard for high-quality prints, but smaller sizes can work with 150 DPI. Fourth, avoid excessive file compression before printing, as it reduces detail. Adjusting these factors helps produce clear, correctly sized prints. Remember, the right DPI isn’t just about resolution—it’s about balancing file quality, color accuracy, and print size to get the best results every time.
Image Resolution Tips
Blurry or oversized prints often result from low or mismatched image resolution, so troubleshooting these issues starts with checking your original file. Ensure your image has sufficient pixels for your desired print size, and avoid excessive file compression that reduces quality. Proper color calibration helps prevent color bleeding and maintains sharpness. When resizing, always keep the aspect ratio intact to avoid distortion. Use high-resolution images (at least 300 DPI for prints) and verify resolution before printing. Adjusting these factors minimizes blurriness and prevents prints from appearing oversized or pixelated.
| Issue | Solution |
|---|---|
| Low resolution | Use higher resolution images or resize carefully |
| Excessive file compression | Save files with minimal compression for clarity |
| Color calibration issues | Calibrate your monitor for accurate color display |
| Oversized prints | Check image resolution before enlarging |
Why Incorrect DPI Settings Can Ruin Your Files

Incorrect DPI settings can considerably damage your files, especially if you’re not paying attention during the printing or resizing process. Poorly set DPI can lead to blurry images, pixelation, or color inconsistencies. Here’s what can go wrong:
- Color calibration issues – Incorrect DPI may cause colors to appear off, ruining your design’s vibrancy. Choosing the right printmaking paper can help ensure that colors are represented accurately. Additionally, understanding mythology-inspired names can provide inspiration for themes that enhance your design’s emotional impact.
- Paper selection problems – Using the wrong paper with improper DPI can result in smudging or uneven printing.
- Loss of detail – Low DPI settings can make fine details look fuzzy or indistinct. A higher DPI is essential for achieving the best results on textured papers.
- File quality degradation – Resizing or printing without proper DPI distorts your file, making it unusable for professional purposes.
Additionally, understanding Victorian steampunk etiquette can enhance the overall presentation of your printed designs. Pay attention to DPI to preserve your work’s clarity, color accuracy, and overall quality.
Tips for Saving and Exporting With the Right DPI

Choosing the right DPI settings is essential when saving or exporting your files, ensuring they meet your project’s needs. You should consider the intended use—whether for print or digital display—and adjust the DPI accordingly. Striking a balance between quality and file size helps you achieve professional results without unnecessary bloat.
Optimal DPI Settings
Ever wondered how to save and export images with the perfect clarity? To get the best results, focus on setting an ideal DPI based on your project’s needs. First, make sure your monitor is properly color calibrated for accurate color representation. Next, choose a DPI that balances quality and file size; higher isn’t always better. Third, use minimal file compression to prevent loss of detail, especially for print. Finally, keep in mind that different outputs require different DPI settings: 300 DPI for print, 72-150 DPI for digital use. Adjust these settings carefully to preserve clarity without creating unnecessarily large files. By following these steps, you’ll improve your image quality and avoid common pitfalls like color inaccuracies or over-compressed files.
Export for Intended Use
Are you aware of how essential it is to match your export settings to your project’s final use? Properly exporting involves considering color calibration to guarantee your colors stay consistent across devices, especially if your work involves branding or print. When saving your files, choose the right format and adjust file compression to balance quality and size—too much compression can degrade image fidelity, while too little results in larger files. If you’re printing, opt for higher DPI and minimal compression to preserve detail. For digital use, you can reduce DPI and compression to optimize load times. Always review your exported file on different screens and devices to confirm color accuracy and clarity, making sure your work looks its best wherever it’s viewed.
Balancing Quality and Size
When saving your files, finding the right balance between image quality and file size is key to ensuring your work is both visually appealing and easy to share or upload. To do this effectively, consider these tips:
- Adjust DPI according to the final use—higher for print, lower for web.
- Use color calibration to maintain consistent color quality without increasing file size.
- Apply file compression techniques to reduce size while preserving essential details.
- Preview the exported file at different settings to find the most favorable trade-off between quality and size.
When to Consult a Professional for Printing Help
Knowing when to seek professional printing help can save you time, money, and headaches. If your project involves complex color calibration or specific paper selection, it’s best to consult experts. Professionals can guarantee your colors match your vision and that the paper type suits your design, avoiding costly mistakes. Additionally, a professional can help you understand electric bike speed to ensure your design materials are suitable for your intended audience. Consider hiring help if you encounter issues like inconsistent print quality, color mismatches, or confusing file setups. Additionally, understanding AI trends in creative applications can enhance your overall design process.
| Issue | When to Seek Help |
|---|---|
| Color calibration problems | When colors look off or inconsistent |
| Paper selection dilemmas | If you’re unsure which paper to choose |
| Print quality concerns | When results don’t match expectations |
Professional printers optimize DPI, color, and materials for perfect results.
Frequently Asked Questions
How Does DPI Impact Digital File Storage Size?
Higher DPI increases your digital file size because it captures more detail and resolution, which makes each image element larger. When you use file compression, it can reduce the size but may also lower quality. Resolution scaling can influence how much storage you need; scaling down DPI shrinks file size, while increasing DPI enlarges it. So, adjusting DPI impacts storage, balancing quality and file size through compression and scaling choices.
Can DPI Affect Image Editing Workflow Efficiency?
DPI can be like a double-edged sword, impacting your editing workflow efficiency. Higher DPI settings demand more editing precision, especially for color accuracy, which can slow you down if your hardware struggles. Conversely, lower DPI speeds up your process but might sacrifice detail. By understanding your project’s needs, you can strike a balance, ensuring smooth editing without compromising quality, making your workflow as sharp as a freshly honed blade.
Is DPI Relevant for Vector Graphics or Only Raster Images?
DPI is relevant mainly for raster images, not vector graphics. Vector resolution isn’t affected by DPI because vectors use mathematical formulas, allowing you to scale images without losing quality. However, when you export vector files as raster images, DPI becomes important for determining print quality and resolution. So, while DPI impacts raster images’ quality and scaling flexibility, it doesn’t influence the inherent resolution of vector graphics.
How Do Printing Resolution and DPI Interact?
Printing resolution and dpi directly influence your print quality, especially concerning color accuracy and print color. Higher dpi means more dots per inch, resulting in sharper images and more detailed color reproduction. When you set your dpi correctly, your print will better reflect the original colors, avoiding dull or inaccurate tones. To get the best results, match your dpi to the printer’s recommended resolution, ensuring vibrant, true-to-life colors and crisp details.
What Are Common DPI Mistakes in Professional Design?
Are you overlooking common DPI mistakes that hurt your designs? You might be using inconsistent color calibration, which causes color mismatches, or over-compressing files, leading to pixelation. Many professionals forget to adjust DPI properly for print versus digital projects. Always check your DPI settings to match your output needs, and make certain your file compression methods preserve quality, preventing your design from losing detail or appearing blurry.
Conclusion
Getting your DPI settings right can make or break your images, whether for print or digital use. Are you willing to settle for blurry prints or oversized files when a simple adjustment can save the day? By understanding DPI’s role, you guarantee your images look their best every time. Don’t let confusion hold you back—take control of your files and create with confidence. After all, isn’t the quality you seek worth the effort?