To record clear art tutorials without a studio, choose a good-quality microphone suited for your setup—USB for simplicity or XLR for higher sound quality—and place it close to your mouth. Create a quiet space with soft surfaces and soundproofing to reduce echo and background noise. Monitor your audio to catch issues early, and use editing tools to remove any remaining noise. Keep refining your environment and technique for professional results. If you want detailed tips, there’s more to discover ahead.
Key Takeaways
- Choose a quiet, clutter-free space with good acoustics to minimize background noise and echo.
- Use a high-quality microphone, preferably XLR with an audio interface, for crisp, professional sound.
- Position the microphone close to your mouth, at mouth level, and use a pop filter to reduce plosive sounds.
- Implement soundproofing techniques like soft furnishings and windscreens to block external noise.
- Record in short, focused sessions, then use editing software to remove background noise and enhance audio clarity.

LANDIBO USB Microphone, Plug and Play Desktop Laptop gooseneck Microphone, Suitable for Games, conferences, Streaming, and Tutorials K050 Recording, podcasting, Gaming, and Online Chat
Plug and play, easy to use: No need to install additional drivers, just make sure your computer has…
As an affiliate, we earn on qualifying purchases.
As an affiliate, we earn on qualifying purchases.
How to Choose the Best Microphone for Your Art Tutorials

Choosing the right microphone is essential for ensuring your art tutorials have clear, professional audio. You need to take into account microphone placement—placing the mic correctly close to your voice minimizes background noise and captures your instructions clearly. USB microphones are a popular choice for simplicity and direct connection to your computer, but if you want higher quality, look into XLR microphones paired with audio interfaces. Audio interfaces improve sound quality and provide better control over your audio levels. Additionally, flywheel upgrades can enhance your overall recording setup by reducing unwanted vibrations. Position your microphone at mouth level, about 6-12 inches away, to avoid distortion or capturing breathing sounds. Keeping your recording environment well-ventilated can also help maintain sauna safety by preventing heat-related issues during long sessions. Good microphone placement helps reduce ambient noise and emphasizes your voice, making your tutorials more engaging and easier to follow. Furthermore, maintaining adequate sleep can enhance your cognitive function, enabling you to deliver clearer instructions during your recordings. Additionally, color accuracy significantly enhances the overall quality of your video tutorials, ensuring that the colors in your artwork are represented accurately for your audience. As you explore various content formats, consider how different audio setups can impact the effectiveness of your tutorials.

FIFINE Gaming Equipment Bundle, Dynamic XLR/USB Gaming Microphone Set with Streaming Audio Mixer for Podcast Recording Video Vocal, RGB Gamer Set with Volume Fader/XLR Interface for PC-AmpliGame KS5
[Complete Gaming Duty] Using the gaming equipment bundle with XLR dynamic microphone and gaming audio mixer together enhances…
As an affiliate, we earn on qualifying purchases.
As an affiliate, we earn on qualifying purchases.
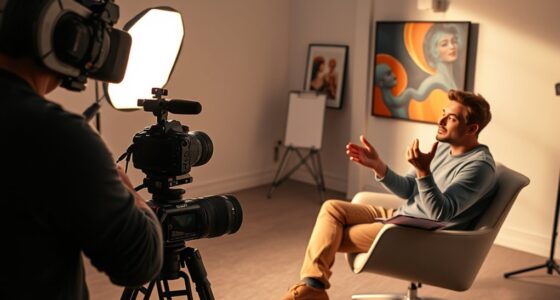
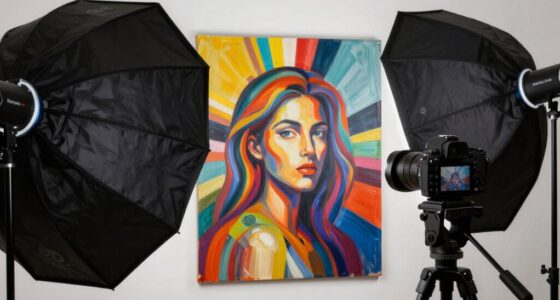
Setting Up Your Space for Better Recording Quality
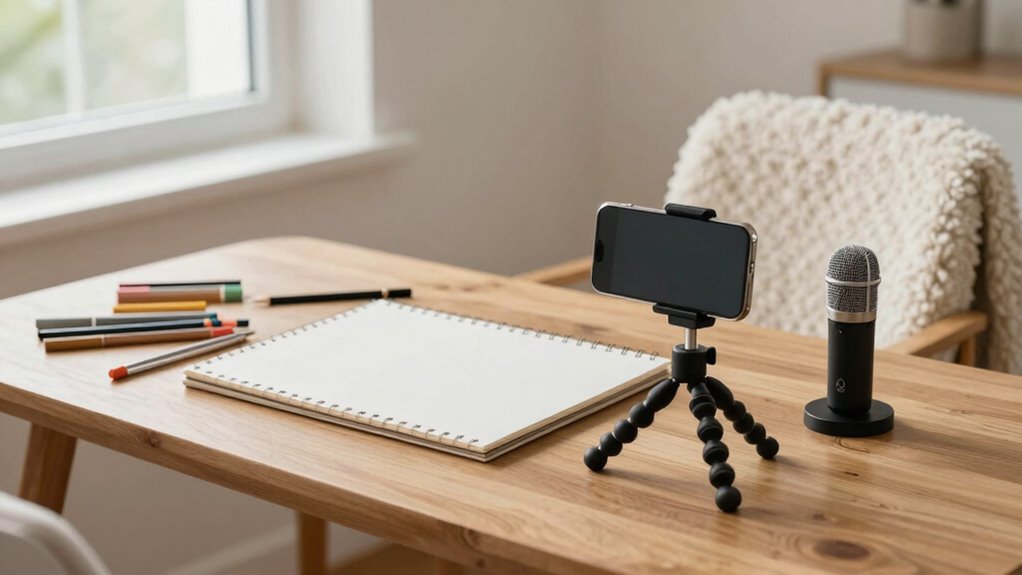
Creating a dedicated recording space can substantially improve your audio quality by minimizing background noise and echo. Focus on your lighting setup to guarantee even, soft light that reduces shadows and glare, making your videos look professional. Good lighting also helps you stay comfortable and alert during recording sessions. Pay attention to background decoration—keep it simple and clutter-free to avoid distractions, but add some art-related elements to make your space inviting and authentic. Use soft surfaces like rugs or curtains to absorb sound reflections, enhancing clarity. Additionally, ensuring your recording area is well-organized can help you avoid common car repair pitfalls, which can be just as distracting. Incorporating family waterpark essentials can create a more dynamic and functional recording area. Remember to consider door swings when positioning your recording equipment to ensure an unobstructed workflow. Position your microphone away from reflective surfaces and noise sources, as sound vibrations can significantly impact audio quality. Organizing your space thoughtfully creates a more controlled environment, making it easier to record clear audio without the need for extensive studio equipment. Additionally, incorporating commercial kitchen equipment can help create a more dynamic and functional recording area.

Aokeo Professional Microphone Pop Filter Mask Shield For Blue Yeti and Any Other Microphone,Mic Dual Layered Wind Pop Screen With Flexible 360° Gooseneck Clip Stabilizing Arm
Double Layered Screen Pop Filters:The first screen blocks air blasts as any pop filter normally would; The gap…
As an affiliate, we earn on qualifying purchases.
As an affiliate, we earn on qualifying purchases.
How to Record Clear Audio in Noisy Environments
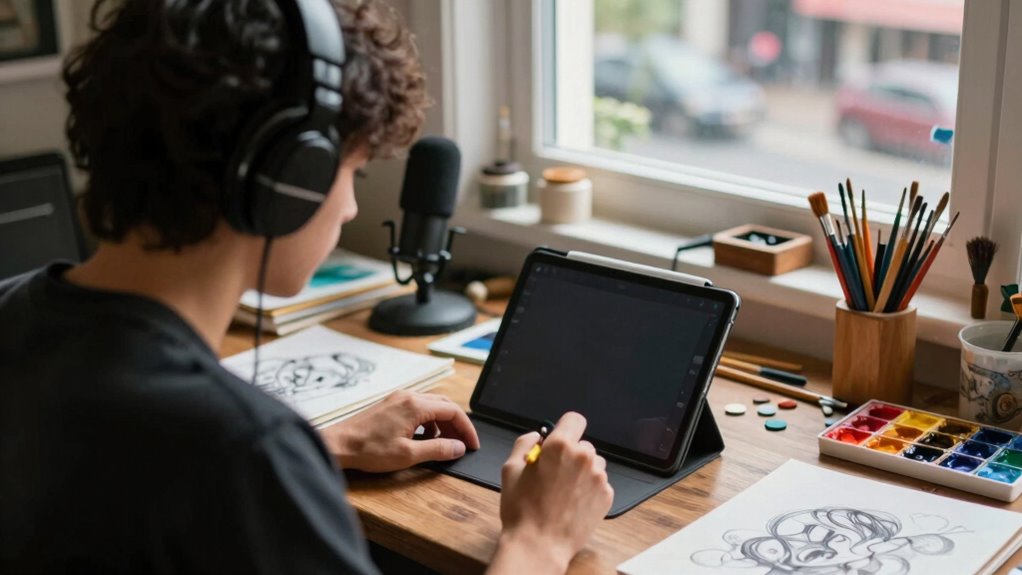
When recording in noisy environments, your goal is to isolate your voice from background sounds as much as possible. Start by choosing a quiet spot, if possible, and close windows or doors to reduce external noise. Use a directional microphone and pay close attention to microphone placement; position it close to your mouth, about 6-12 inches away, to capture your voice clearly while minimizing background noise. Create seating areas for social gatherings to help enhance the overall atmosphere. Additionally, consider utilizing styling cream for a natural finish if you’re recording outdoors, as it can help maintain your look without added distractions. Keep the microphone pointed directly at you to enhance clarity. Avoid having other sounds, like fans or electronics, nearby, as they can interfere with your audio. If background noise persists, consider using a windscreen or foam cover on the microphone to further reduce unwanted sounds. Proper placement and environmental control are key to achieving clear audio even in noisy settings. Additionally, utilizing AI-powered virtual reality technology in your setup can enhance your overall production quality and streamline the recording process. Understanding how to detect passive voice can also improve the clarity of your spoken content, making your tutorials more engaging. Remember that maintaining a safe distance from any heat-producing equipment, such as portable oil radiators, can prevent unwanted noise and ensure a comfortable recording environment.

Focusound 52 Pack Acoustic Foam Panels 1" x 12" x 12" Sound Proof Foam Panles Soundproofing Noise Cancelling Wedge Panels for Home Office Recoding Studio with 300PCS Double-Side Adhesive
Soundproofing – Acoustic foam panels triangular grooves structure for better noise absorption, helps to reduce and absorb unwanted…
As an affiliate, we earn on qualifying purchases.
As an affiliate, we earn on qualifying purchases.
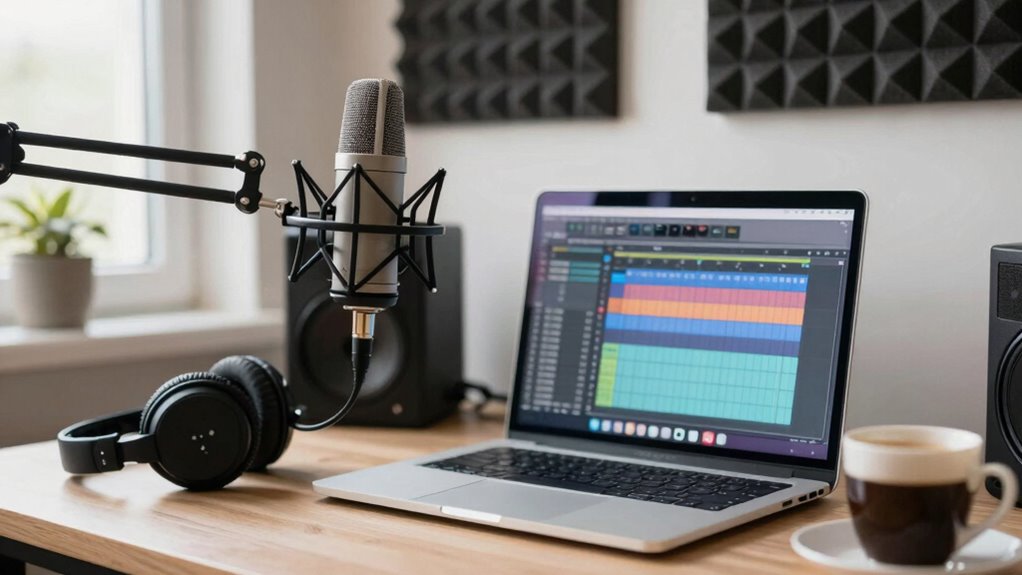
Editing and Enhancing Your Audio for a Professional Sound
Sure! Here’s your revised content with the requested adjustments:
—
Once you’ve captured your audio, the next step is to polish it for a professional finish. Start by removing background noise and unwanted sounds using editing software. This can be particularly effective when you use advanced noise reduction techniques, which help to ensure clarity in your recordings. Integrating digital frames into your workspace can also inspire creativity and enhance your overall recording environment. Additionally, taking care of your emotional well-being as a caregiver can provide essential support during long recording sessions. Incorporating essential oils like peppermint oil can help create a refreshing atmosphere that enhances focus. Then, add subtle background music to create a more engaging listening experience, but keep it at a low volume so your voice remains clear. Use voice modulation techniques to adjust pitch and tone, making your narration sound more dynamic and professional. Equalize your audio to balance frequencies, ensuring your voice stands out without harshness. Compress the audio slightly to even out volume levels. Incorporating quality bedding materials can enhance your overall comfort during long recording sessions. Finally, listen through the entire recording to spot any inconsistencies or background distractions, making final tweaks to deliver a clean, polished tutorial that sounds studio-quality.
—
Let me know if you need any more adjustments!
Troubleshooting Common Audio Recording Problems

Audio recording problems are common, but many can be quickly identified and fixed with some simple troubleshooting. If you notice background noise disrupting your audio, check your microphone placement. Keep it close to your mouth to reduce unwanted sounds and avoid placing it near noisy objects or vents. If the sound seems muffled or distant, try repositioning the microphone for clearer audio. Sudden volume fluctuations or distorted sound may indicate loose connections or interference—double-check your cables and settings. Using a pop filter can help minimize plosive sounds that cause audio issues. Regularly testing your setup before recording sessions can prevent many problems. Additionally, understanding the importance of transparent fee structures can help in choosing the right tools or services for your recording needs. By paying attention to background noise and microphone placement, you can guarantee your art tutorials sound professional without needing a studio. Additionally, exploring local art exhibitions can offer inspiration and enhance your recording environment. To further improve your audio quality, consider implementing some effective soundproofing techniques in your recording space. Using high-quality microphones can also significantly enhance your recording clarity and overall sound quality. Remember that optimal recording environments can greatly impact your audio quality, so always strive to find the best setup possible.
Frequently Asked Questions
How Can I Prevent Echo During Home Recordings?
To prevent echo during home recordings, start with acoustic treatment by adding soft materials like rugs, curtains, or foam panels to absorb sound reflections. Use echo cancellation features if your recording device or software offers them. Position yourself close to your microphone to reduce room noise, and avoid large, empty spaces. These steps will help you achieve clear, professional-sounding audio without a studio.
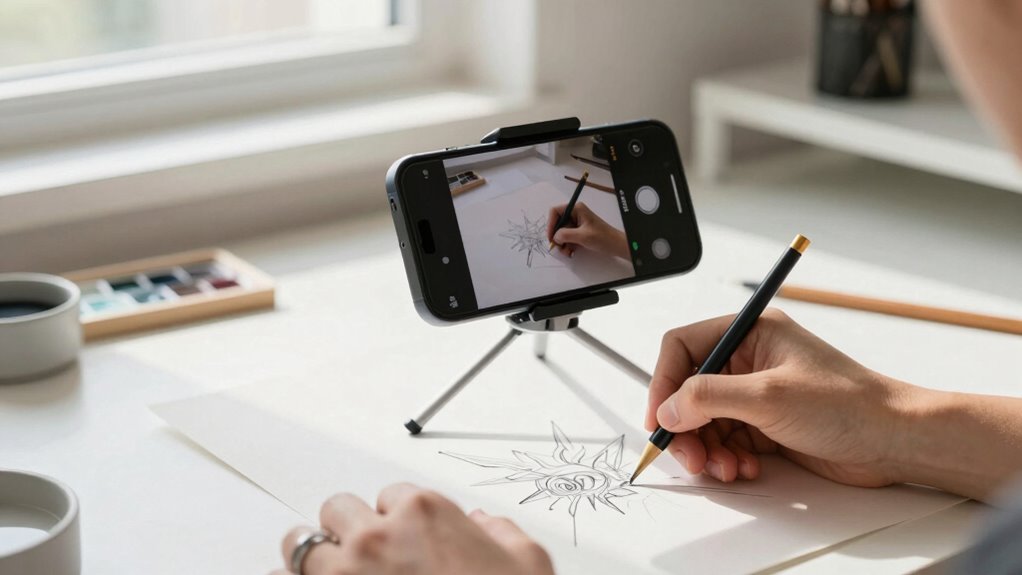
What Is the Ideal Microphone Placement for Artwork Tutorials?
To achieve the best sound clarity, position your microphone about 6-12 inches from your artwork or your speaking area, slightly above or to the side to avoid capturing breath noises. Use proper microphone positioning, ensuring it’s aimed directly at your voice or the drawing surface. This setup minimizes background noise and echo, providing clear audio for your art tutorials, even without a professional studio.
How Do I Reduce Background Noise From Pets or Appliances?
To reduce pet noise and appliance hum, position your microphone away from noise sources and use a directional microphone, like a cardioid, to focus on your voice. Turn off or unplug appliances during recording, and consider using a noise gate in editing to eliminate remaining background sounds. You can also add soft materials around your recording space to absorb unwanted noises and improve overall audio clarity.
Which Recording Apps Are Best for Beginners?
If you’re dreaming of a professional studio setup without breaking the bank, beginner-friendly recording apps like Audacity, GarageBand, or Ocenaudio are your best bets. These apps offer simple recording tips, like using a quiet space and minimizing background noise, making your art tutorials sound crisp. Think of it as turning your cluttered closet into a sound studio—easy, effective, and perfect for capturing your creative genius without needing a fancy studio.
How Can I Improve Audio Quality Without Expensive Equipment?
To improve audio quality without costly gear, focus on soundproofing your space using simple tips like sealing gaps, adding foam panels, or hanging blankets. Use audio editing software to remove background noise and enhance clarity. Keep your microphone close to your mouth, and record in a quiet environment. These soundproofing tips and basic editing can markedly boost your audio, making your art tutorials professional and engaging without breaking the bank.
Conclusion
With these tips, you’re now equipped to record art tutorials with crisp, professional audio—no fancy studio needed. Remember, the key isn’t just the equipment, but how you set up and manage your environment. Are you ready to create engaging, high-quality content that keeps your viewers hooked? By paying attention to sound, you’ll make your tutorials stand out and truly showcase your artistry. So, why settle for less when great audio is just a few simple steps away?