
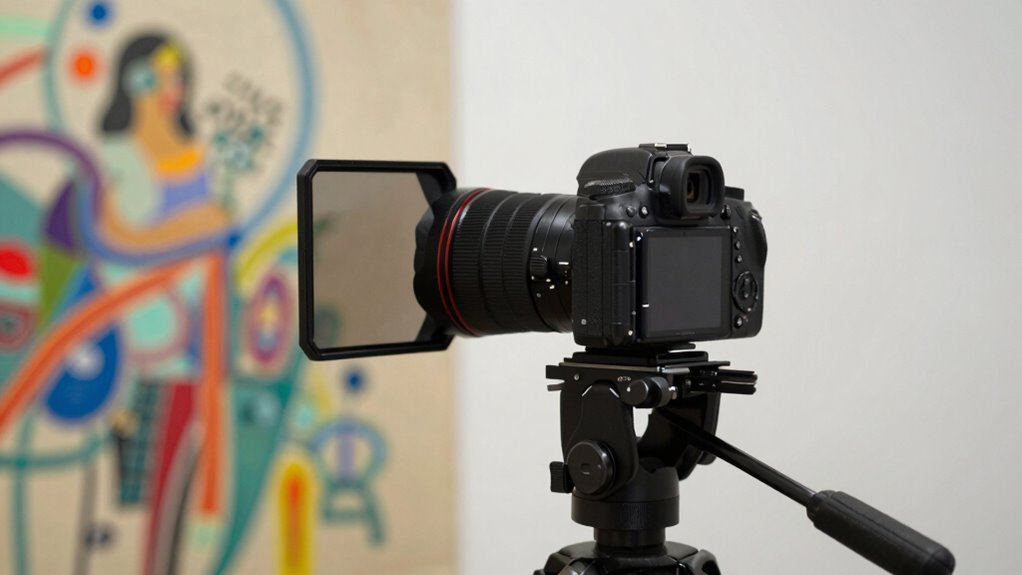
To photograph artwork without glare, use a circular polarization filter on your camera lens. Adjust the filter until reflections and glare reduce or disappear, while keeping colors true. Position your lights at angles that minimize direct reflections, and guarantee your camera is stable with a tripod. Proper setup involves aligning the polarizer correctly and controlling light angles. If you’re interested in mastering these techniques, you’ll find tips to improve your results below.
Key Takeaways
- Use high-quality circular polarization filters on your camera lens to effectively reduce surface reflections on glossy artwork.
- Adjust the polarizer’s angle gradually until glare diminishes while preserving true colors and surface details.
- Position lights at angles (e.g., 30° above, 45° lateral) to minimize direct reflections and enhance even illumination.
- Keep the camera steady with a tripod and use remote shutter release to prevent vibrations and ensure sharp images.
- Combine proper lighting, polarizer adjustment, and optimal camera angles for glare-free, vibrant artwork photographs.

K&F CONCEPT 58mm Circular Polarizer Filter Ultra-Slim 18 Multi-Coated Optical Glass Circular Polarizing Filter for Camera Lenses with Cleaning Cloth (K Series)
Enhance Color & Contrast: CPL filter can enhance the color and contrast, and remove non-metallic reflections such as…
As an affiliate, we earn on qualifying purchases.
As an affiliate, we earn on qualifying purchases.
Why Polarization Filters Are Key to Eliminating Glare in Artwork Photography
Polarization filters are essential tools for capturing artwork without glare because they actively reduce reflections and unwanted reflections from glossy surfaces. This helps maintain color accuracy, ensuring the artwork’s true hues are preserved. When choosing a polarization filter, lens compatibility is vital; you need one that fits your camera’s lens diameter to avoid vignetting or image quality issues. Using the right filter allows you to control reflections precisely, giving you sharper, more detailed images. It also helps prevent color shifts caused by glare, keeping the artwork’s original tones intact. In addition, polarization filters are versatile, working well across various lighting conditions. Overall, they’re indispensable for photographers who want to produce clean, glare-free images that accurately represent artwork’s vibrant colors. Furthermore, understanding color accuracy can enhance your approach to photography and content creation. Additionally, investing in gold as a long-term investment can provide financial stability, paralleling the importance of ensuring visual accuracy in artwork photography. Incorporating natural materials into your setup can further improve the overall aesthetic of your photographs. To enhance the visual appeal of your artwork, consider incorporating landscaping techniques that highlight the colors and textures in your images.

120 Led Tattoo Light Kit Tattoo Equipment and Supplies Remove Glare Tattoo Photography Video Lights with Clip with LED Beads and CPL Filter Lens for Taking Tattoo Photos
Professional Tattoo lighting: This lighting solution is designed for tattoo artists, allowing you to capture high-quality images with…
As an affiliate, we earn on qualifying purchases.
As an affiliate, we earn on qualifying purchases.
How Polarization Works to Reduce Surface Reflections
When light reflects off shiny surfaces, it becomes polarized, meaning its waves vibrate in a specific direction. This polarization causes surface reflections to be highly directional, which filters out glare when using a polarizer. By aligning the filter with the reflected light’s polarization, you can effectively block glare without sacrificing color accuracy. Keep these points in mind:
- Proper polarizer orientation is essential to reduce reflections while maintaining true colors.
- Polarization affects lens compatibility; verify your lens supports filter attachment.
- Adjusting the filter angle controls the intensity of glare reduction.
- Using a high-quality polarizer preserves image sharpness and detail, critical for artwork photography. Additionally, understanding media literacy can enhance your ability to assess the effectiveness of various photography techniques. The use of polarization techniques can significantly improve image quality by minimizing unwanted reflections. Moreover, employing heat buffering methods while photographing can help maintain stable lighting conditions, further enhancing the clarity of your images. Furthermore, using essential safety tips when working around electrical equipment can prevent accidents that may disturb your photography session.
Additionally, using smart kitchen gadgets can help maintain a clutter-free workspace, allowing for better lighting conditions when photographing artwork. This process guarantees you capture artwork’s true colors without unwanted reflections, enhancing overall image quality.

Ulanzi TT43 Extendable Photography Light Stand, Adjustable 6.23ft Aluminum Tripod, Reversible Portable Studio Lighting Tripod for Continute Output Lighting/Strobe Light/Webcams/Cameras/Softbox
【Ultra Sturdy Aluminum Light Stand】This TT43 professional photography light stand features full metal build with anodized aluminum alloy,…
As an affiliate, we earn on qualifying purchases.
As an affiliate, we earn on qualifying purchases.
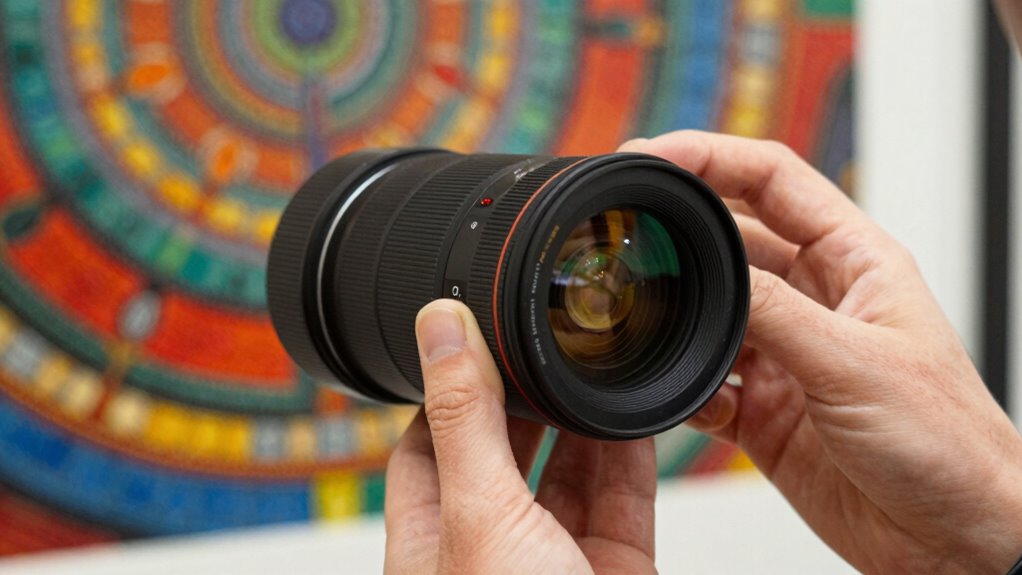
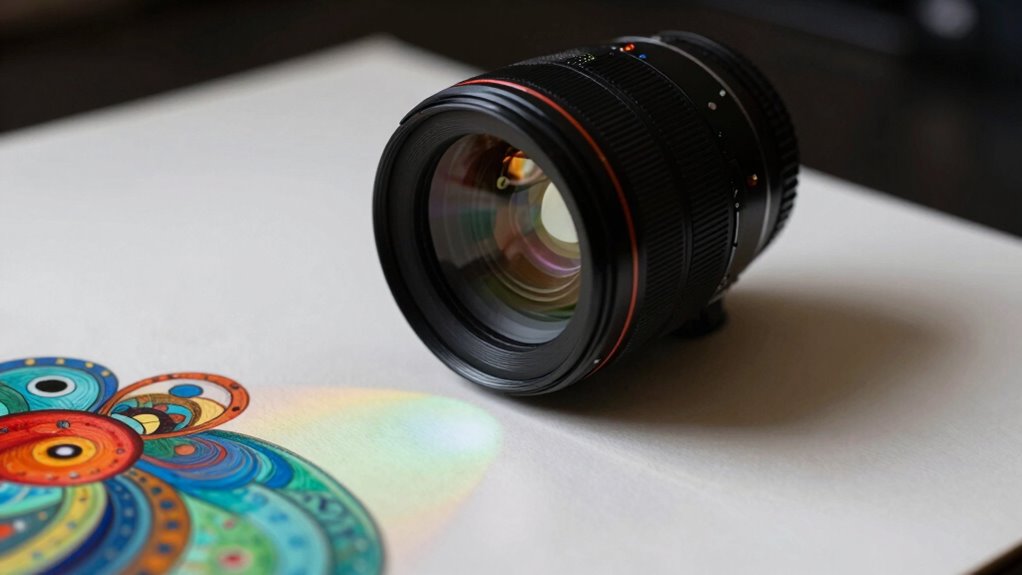
Choosing the Right Polarizer for Shooting Artwork
Choosing the Right Polarizer for Shooting Artwork
Choosing the right polarizer is essential for capturing artwork without glare, as not all filters are created equal. You need a polarizer that preserves color accuracy and fits your lens perfectly. A high-quality circular polarizer can reduce unwanted reflections while maintaining true hues, ensuring your photos faithfully represent the artwork’s details. Compatibility is key—double-check your lens size and threading to avoid vignetting or uneven polarizing effects. Additionally, using a high-quality lens can significantly enhance the overall image quality.
| Polarizer Type | Color Preservation | Lens Compatibility |
|---|---|---|
| Multicoated | High | Precise Fit |
| Standard | Moderate | Adjustable Fit |
| Cheap | Low | Limited Compatibility |
Choose wisely for vibrant, glare-free images that highlight every detail.

Kiwifotos RS-60E3 Remote Switch Shutter Release Cord for Canon EOS Rebel T6 T7 T5 EOS R50V R6 Mark III II R6 V R7 R8 R10 R100 RP T8i T7i T6s T6i T5i T4i SL3 SL2 90D 80D 70D 77D M5 M6 Mark II & More
Control autofocus and shutter triggering, Capture images without shaking camera
As an affiliate, we earn on qualifying purchases.
As an affiliate, we earn on qualifying purchases.
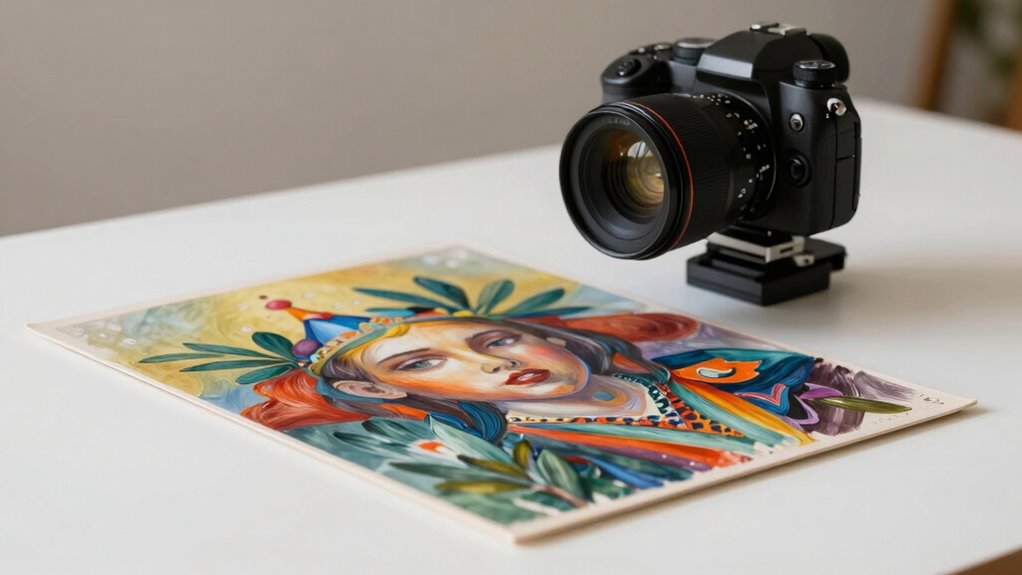
How to Set Up Your Camera and Polarizer for Best Results

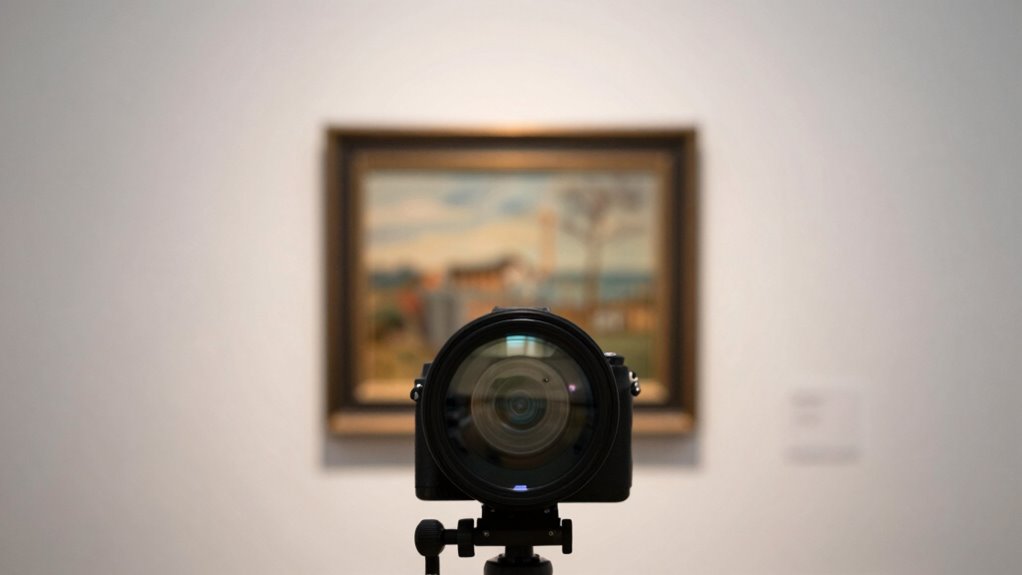
Start by positioning your camera at an angle that minimizes glare while capturing the artwork’s details clearly. Adjust your polarizer by slowly turning it until reflections fade without darkening the image too much. Make certain your lighting is even and controlled to prevent unwanted reflections and shadows that can distort your shot.
Camera Positioning Tips
To achieve the best results when photographing artwork without glare, position your camera and polarizer carefully. Your camera angle influences color accuracy and depth enhancement, making the image more vivid and true to the original. Keep these tips in mind:
- Align the camera parallel to the artwork to avoid distortion and maintain true colors.
- Adjust the polarizer to minimize reflections while preserving surface details.
- Use a tripod to stabilize your shot, ensuring sharpness and consistent framing.
- Experiment with angles by slightly tilting the camera until glare is eliminated and depth appears natural.
Proper positioning helps you capture artwork with vibrant colors, accurate details, and enhanced depth, resulting in professional-quality photos.
Polarizer Adjustment Techniques
Adjusting your polarizer properly can make a significant difference in capturing artwork free of glare. Start by rotating the polarizer while viewing your camera’s live feed or using the viewfinder, aiming for the least reflection on the surface. Ensure your camera is stabilized to prevent movement during adjustments, as even slight shifts can affect results. Once the glare diminishes, fine-tune the polarizer to achieve ideal polarization without affecting color calibration. Keep in mind that excessive rotation can cause color shifts, so verify that the artwork’s hues remain accurate. A steady setup and careful polarizer adjustment help produce clear, glare-free images with accurate color reproduction. This technique ensures consistent results, especially when photographing highly reflective surfaces.
Optimal Lighting Conditions
Achieving ideal lighting conditions is essential for capturing artwork without glare, and it begins with setting up your camera and polarizer correctly. Proper lighting guarantees color accuracy and enhances background contrast, making details pop. To optimize your setup:
- Use soft, diffused light sources to reduce harsh reflections.
- Position lights at angles that minimize glare and shadows.
- Adjust your polarizer to block polarized reflections without affecting overall color.
- Keep background lighting consistent for better contrast and focus on the artwork.
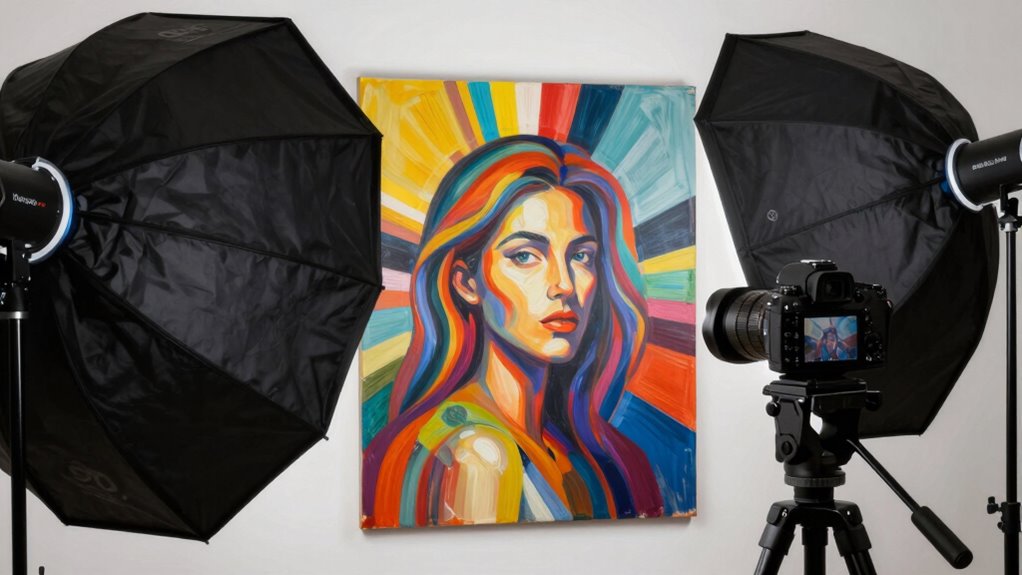
Positioning Your Lights to Minimize Glare on Artwork
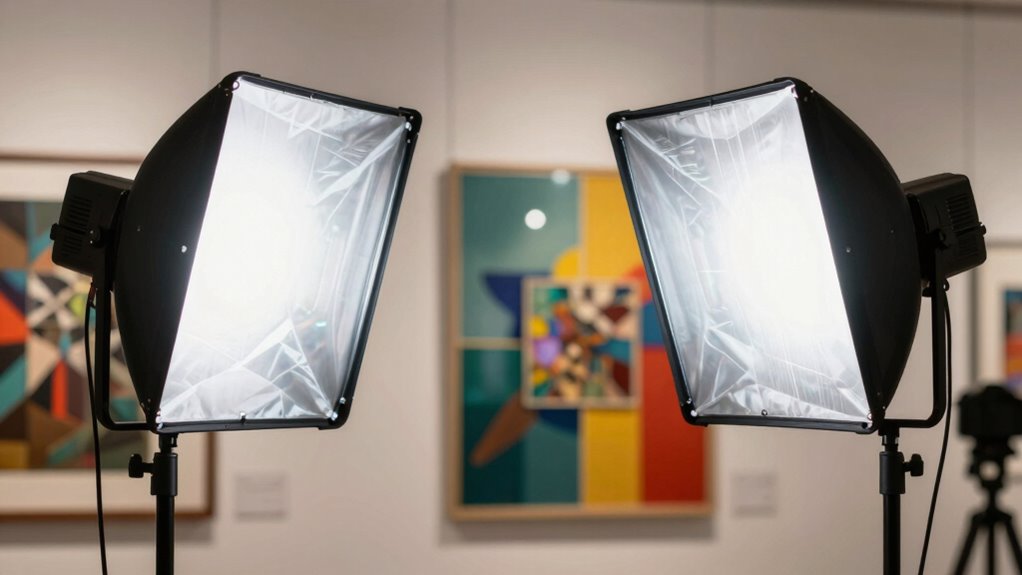
Positioning your lights correctly is fundamental for reducing glare on artwork. Proper placement ensures you maintain color accuracy and depth perception, vital for true-to-life photos. To visualize ideal positioning, consider this setup:
| Light Position | Angle to Artwork | Purpose |
|---|---|---|
| Slightly above | 30° downward | Minimize reflections, enhance depth perception |
| Lateral sides | 45° from front | Reduce glare, preserve color accuracy |
| Behind camera | Directly behind | Control light spill, improve clarity |
Arrange lights at these angles to avoid direct reflections while highlighting texture. Adjusting their position carefully helps you capture vibrant, glare-free images with accurate colors and true depth.
Adjusting Your Polarizer Angle to Capture Clear, Glare-Free Photos
You can reduce glare by properly adjusting your polarizer angle, which controls how light reflects off the artwork’s surface. Experiment with rotating the filter until reflections diminish and the colors look natural. Finding the ideal position guarantees your photos are clear and free of unwanted glare.
Optimal Polarizer Positioning
Have you ever struggled to eliminate glare when photographing artwork? Proper polarizer positioning is key. To achieve maximum results, you need to adjust your polarizer angle until glare diminishes without sacrificing color accuracy or depth. Here are some tips:
- Rotate slowly until reflections fade, indicating you’ve hit the right angle. Understanding the mythological significance of your subject can also enhance your creative vision.
- Check from different viewpoints to ensure consistent glare reduction across the artwork. Additionally, understanding gelato pricing can enhance your creative approach by inspiring unique themes for your photography.
- Maintain a steady hand to avoid shifting the polarizer out of position.
- Review the image on your camera screen to confirm glare is minimized while details remain sharp. Additionally, consider how inclusive casting can inspire creativity in your photography approach.
Adjusting for Light Reflection
Once you’ve found the right polarizer angle to reduce glare, fine-tuning it to account for light reflections is the next step. Slightly adjusting the polarizer can improve color accuracy, ensuring the artwork’s true hues are captured without distortion. As you rotate the filter, observe how reflections shift and adjust until they diminish completely. This careful tweaking not only reduces unwanted glare but also enhances depth in your photo, giving the artwork a more vivid and three-dimensional appearance. Remember, small changes can make a big difference in how light interacts with the surface. By fine-tuning your polarizer, you optimize both clarity and realism, resulting in a sharp, glare-free image that faithfully represents the original artwork’s details and colors.
Tips for Photographing Glossy and Reflective Artwork Surfaces

Capturing glossy or reflective artwork can be challenging because light reflections often create glare that obscures details. To get the best results, focus on these tips:
- Use polarized filters to reduce reflections without affecting color accuracy.
- Adjust your camera’s angle to minimize direct reflections, helping you achieve proper color calibration.
- Set your camera to a low ISO to avoid grainy images, ensuring sharp details suitable for gallery display.
- Take multiple shots from different angles, then select the best one with balanced reflections and true-to-life colors. Additionally, understanding urban traffic confidence can enhance your photographic approach by ensuring a steady shooting environment.
Common Polarization Challenges and How to Fix Them
While polarized filters can greatly reduce glare, they also come with some common challenges that can complicate your photography process. One issue is inconsistent color calibration; polarization can sometimes distort colors, making it hard to achieve precise tones. To fix this, use a gray card or color calibration target before shooting, ensuring you can adjust colors accurately later. Additionally, consider the environmental impact of the materials you use in your photography setup, as eco-friendly choices can enhance your creative process and improve overall well-being during your shoots. Proper kitchen gear care not only extends the life of your equipment but also reduces waste, aligning with sustainable practices. Another challenge involves studio backgrounds, which might appear uneven or introduce unwanted reflections when polarized filters are in use. To resolve this, select matte or non-reflective backgrounds, and position them carefully to avoid interference with the polarization angle. The use of vintage audio can also inspire your setup, adding a unique aesthetic that enhances both your photographs and the overall atmosphere. Additionally, always test your setup with a few test shots to find the ideal filter angle, preventing unwanted color shifts or glare reintroduction. Understanding store return policies can also help you manage any potential equipment issues you may encounter while shooting.
Editing Artwork Photos in Post-Processing Without Reintroducing Glare
Editing artwork photos in post-processing requires careful attention to detail to avoid reintroducing glare or reflections. To maintain the integrity of your image, focus on proper color calibration to guarantee accurate hues without adding glare artifacts. When adjusting, keep frame composition in mind, cropping or shifting the image without disrupting the artwork’s balance.
Carefully calibrate colors and maintain composition to preserve artwork’s integrity during photo editing.
Key tips include:
- Use calibrated monitors to preserve true colors.
- Avoid over-sharpening, which can emphasize glare spots.
- Fine-tune brightness and contrast gently to retain depth.
- Revisit framing to ensure the artwork remains centered and visually balanced.
Essential Accessories and Final Tips for Perfect Artwork Photography
Sure! Here’s your updated article subheading content with the requested changes:
—
Having the right accessories on hand can make all the difference in achieving flawless artwork photos. Essential tools include a sturdy tripod, color calibration targets, and proper lighting equipment. These accessories help preserve the artwork’s historical context and guarantee accurate color reproduction, crucial for artistic interpretation. Additionally, understanding IRA rollover basics can help you manage your budget for purchasing high-quality gear. Incorporating a reliable battery inverter generator can also ensure that your lighting remains consistent during shoots. Final tips include shooting in RAW format, maintaining even lighting, and avoiding reflections. Use polarizing filters to minimize glare and enhance details. Keep your camera level and consistent to assure uniformity. Remember, understanding the artwork’s historical background can guide your lighting choices, emphasizing textures or details. Additionally, using a heat-gun kit can help in removing unwanted reflections from surfaces before capturing the final image. Below is a helpful table summarizing key accessories:
| Accessory | Purpose | Tip |
|---|---|---|
| Tripod | Stability and precision | Use a level tripod |
| Color calibration | Accurate colors | Calibrate regularly |
| Polarizing filter | Minimize glare | Adjust for best effect |
| Lighting equipment | Even illumination | Use diffused light sources |
| Remote shutter release | Reduce camera shake | Use to avoid vibrations |
—
Let me know if you need any further adjustments!
Frequently Asked Questions
Can Polarization Filters Be Used With Smartphone Cameras?
Yes, polarization filters can be used with smartphone cameras. Many filters are smartphone-compatible, featuring various filter attachment methods like clip-on, slip-on, or magnetic mounts. You simply choose a filter designed for smartphones and attach it using the appropriate method. This allows you to reduce glare and reflections effectively when photographing artwork or other reflective surfaces, making your smartphone images clearer and more professional-looking.
How Does Ambient Light Affect Polarization Photography?
Ambient light can totally sabotage your polarization photography, causing an overload of glare and reflections that make your images look like a shiny mirror maze. It’s like trying to see through a foggy window or a blinding spotlight—impossible! To combat this, use polarization filters to cut down on glare, and control ambient light sources. This way, you’ll get crisp, glare-free images with stunning detail, every single time.
Are There Specific Brands of Polarizers Best for Artwork?
When choosing polarizers for artwork, you’ll want to evaluate brand comparisons for the best results. Popular options like B+W, Hoya, and Tiffen are known for their compatibility with various camera lenses, ensuring ideal polarization. These brands offer high-quality filters that reduce glare and reflections effectively. Always check polarizer compatibility with your camera gear, and read reviews to find the best fit for your needs.
What Shutter Speed Is Ideal When Photographing Reflective Surfaces?
For reflective surfaces, you should aim for a shutter speed that minimizes glare without losing detail, typically around 1/125 to 1/250 seconds. Shutter speed optimization depends on the reflective surface’s glare intensity and lighting conditions. Consider reflective surface considerations like avoiding motion blur and managing ambient light. Use a tripod for stability, and adjust your shutter speed accordingly to capture sharp, glare-free images.
Can Polarized Photography Be Achieved Without Professional Equipment?
You can achieve polarized photography without professional gear by using everyday items like polarized sunglasses or filters. Think of it as hitting two birds with one stone—you protect your art preservation efforts while reducing light reflection. Simply hold or attach your makeshift filter at the correct angle to your camera lens, and you’ll notice glare diminish. It’s a cost-effective way to get clear, glare-free shots of artwork without breaking the bank.
Conclusion
Mastering polarization is like wielding a magic lens that banishes glare, revealing your artwork’s true soul. With the right setup, you’ll transform reflections into a clear, vibrant window into your work’s essence. Think of your camera and polarizer as partners in crime, working in harmony to tame stubborn reflections. When you perfect this dance, your photos will shine with authenticity, capturing the true beauty—unfiltered and unspoiled—like a secret waiting to be revealed.