
To design and assemble tesserae for mosaic art, start by selecting colorful, durable materials like glass or stone. Carefully cut each tessera to fit your pattern, ensuring smooth, precise edges. Arrange the pieces thoughtfully, paying attention to color and shape, and press them into adhesive or mortar. Fill gaps with grout and wipe away excess for a polished look. Mastering these steps allows you to create stunning, intricate designs—continue exploring to learn more about perfecting your mosaic craft.
Key Takeaways
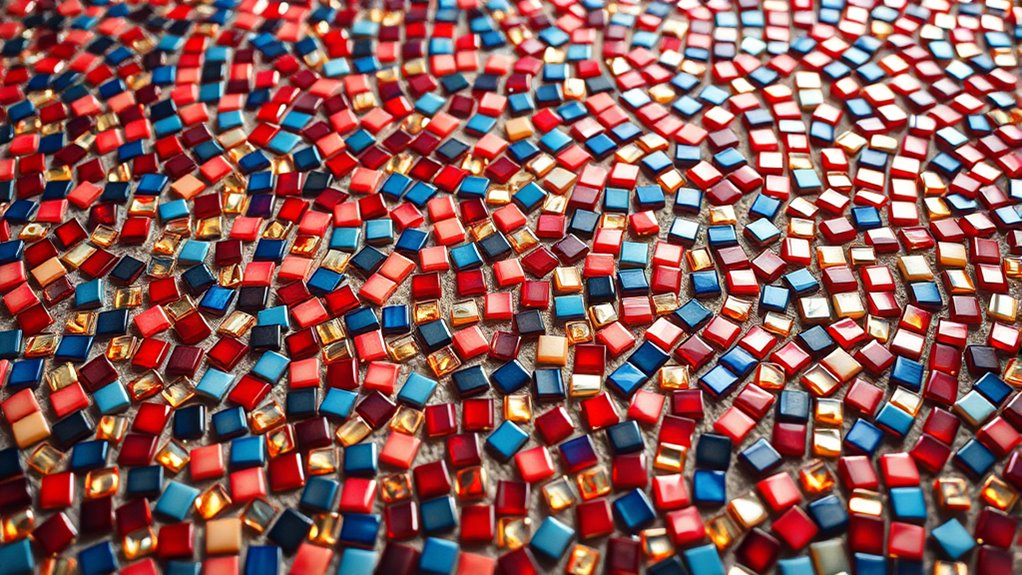
- Carefully select colorful, durable tesserae that suit your design and surface compatibility.
- Use a glass cutter to precisely shape tesserae, ensuring smooth edges and a seamless fit.
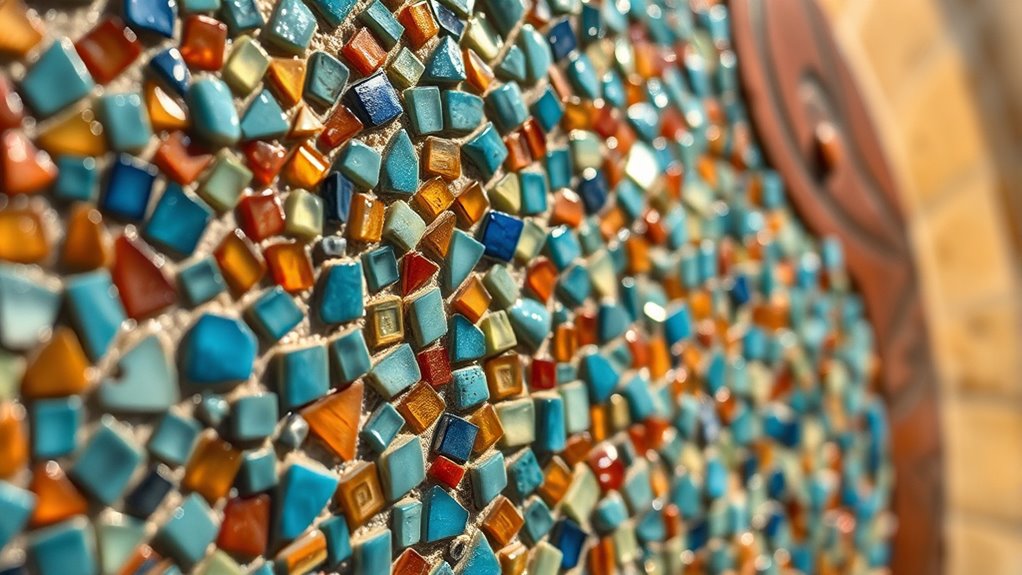
- Arrange tesserae thoughtfully according to your pattern, adjusting for optimal composition and flow.
- Affix tesserae with adhesive, pressing them firmly into place to maintain alignment and design continuity.
- Fill gaps with grout, then clean and finish the surface for a polished, cohesive mosaic artwork.
Have you ever admired the intricate beauty of mosaic art? It’s a craft that transforms tiny pieces into stunning images, and you can be part of that process. To start, you need to select your tesserae—small, often colorful pieces of glass, stone, or ceramic. Once you’ve chosen your materials, the next step is mastering glass cutting. This skill is vital because it allows you to shape each piece precisely to fit your design. Using a glass cutter, you score the surface of the glass or ceramic tile, then gently apply pressure to break it along the score line. As you become more comfortable, you’ll learn to make smooth, clean cuts, guaranteeing each tessera fits snugly into your overall pattern. Proper glass cutting minimizes gaps and creates a seamless look that’s both visually appealing and structurally sound.
Master the art of glass cutting to shape each tessera perfectly for stunning mosaic designs.
After cutting your tesserae, you proceed to the layout phase, where you arrange each piece according to your design. This requires patience and attention to detail, as you may need to adjust the shapes or positions slightly to achieve the desired composition. Once satisfied, you move on to affixing the tesserae onto your chosen surface. Typically, you apply an adhesive or thin layer of mortar, pressing each piece into place. This process demands a steady hand and a keen eye, making sure each piece aligns properly and maintains the flow of your design. As you work, you’ll notice how the colors and textures come alive, transforming raw materials into a cohesive artwork.
Once the tesserae are set, it’s time for grout application. This step is vital because grout fills the gaps between the pieces, providing stability and highlighting the design. You spread the grout evenly across the surface, pressing it into the spaces between tesserae with a squeegee or spatula. Then, using a damp sponge, you carefully wipe away excess grout from the surface, revealing the vibrant mosaic beneath. This process requires patience to avoid smudging the grout onto the tesserae or leaving uneven patches. After the grout dries, you might need to do some final cleaning or touch-up to guarantee your mosaic’s surface is smooth and polished.
Throughout this process, your attention to detail makes all the difference. From precise glass cutting to careful grout application, each step contributes to the overall beauty of your mosaic art. With practice, you’ll develop a sense of how to balance colors, shapes, and textures, creating pieces that are uniquely yours. The satisfaction of seeing your mosaic come together piece by piece is truly rewarding, turning raw materials into a work of art that captures your creativity and dedication.
Frequently Asked Questions
What Are the Best Materials for Creating Durable Mosaic Tesserae?
You should choose durable materials like glass tiles and ceramic shards for creating mosaic tesserae. Glass tiles are tough, resistant to weather, and add vibrant color, making them perfect for both indoor and outdoor projects. Ceramic shards are also sturdy, easy to cut, and come in many colors. Using these materials guarantees your mosaic lasts over time while maintaining an attractive appearance.
How Do I Choose Colors That Complement Each Other in Mosaic Design?
Ever wondered how to pick colors that truly pop? To achieve stunning mosaic designs, focus on color harmony and contrast. Use complementary colors to create vibrant energy, and balance them with analogous shades for harmony. Think about your overall mood—do you want bold excitement or subtle elegance? Carefully selecting colors based on these principles guarantees your mosaic’s palette is visually appealing and cohesive, making your artwork truly stand out.
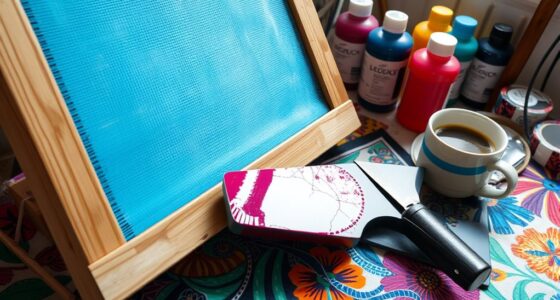
What Tools Are Essential for Assembling Mosaic Tesserae?
You need essential tools like tile nippers or cutters for tesserae handling, which help you shape and position pieces accurately. A palette knife or spatula makes adhesive application easier, so you can secure tesserae firmly. Choose the right adhesive, such as thin-set or mosaic adhesive, based on your material. Keep a damp sponge nearby for cleaning excess adhesive, ensuring your mosaic stays neat and well-assembled.
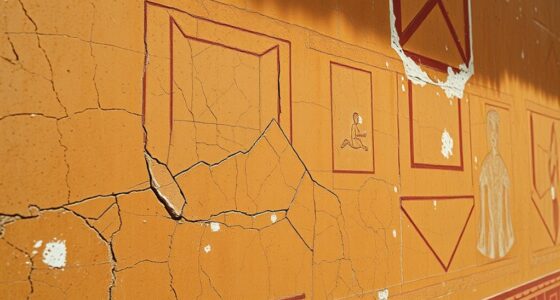
How Can I Fix Damaged or Loose Mosaic Pieces?
Think of your mosaic as a delicate puzzle. To fix damaged or loose tesserae, you should carefully remove broken tiles and clean the area. Use a strong adhesive to secure loose tesserae, pressing them firmly into place until they set. If needed, fill gaps with matching grout or mortar. Restoring broken tiles requires precision and patience, ensuring each piece fits perfectly, so your mosaic regains its original beauty and stability.
What Are Common Mistakes to Avoid in Mosaic Art Projects?
To avoid mistakes in your mosaic project, carefully plan your pattern beforehand to guarantee consistency. Be cautious during grout application, as applying too much or too little can cause issues with tesserae stability. Also, avoid rushing the process; take your time to set pieces properly. Double-check your work regularly to catch loose tesserae early. Proper planning and attentive grout application help create a durable, beautiful mosaic.
Conclusion
As you step back to admire your mosaic, remember that each tiny tessera is like a brushstroke in a grand masterpiece. Your patience and creativity turn scattered pieces into a vibrant story, much like a gardener tending to a blooming garden. Every shard you place is a proof to your skill and vision, transforming chaos into harmony. Keep crafting—your mosaic is a living mosaic, forever evolving and inspiring all who see it.