
To carve relief sculpture in wood or stone, you start by carefully removing material to create varying depths, with shallow cuts for the background and deeper ones for the foreground. You’ll want to focus on smooth surface finishing through sanding or polishing and adjust the depth to control light and shadow effects. Proper planning and precise techniques help your sculpture stand out with clear layers and realistic effects—exploring these methods further will help you master your craft.
Key Takeaways
- Use depth carving techniques to create layered effects, with shallow cuts for background and deeper cuts for foreground details.
- Carefully remove material to establish different relief levels, enhancing the illusion of depth and space.
- Finish surfaces by smoothing and polishing with appropriate tools, such as fine sandpaper for wood or abrasive pads for stone.
- Adjust carving depth and lighting to emphasize shadows and highlights, enhancing the sculpture’s three-dimensional appearance.
- Focus on precise, clean carving and finishing to elevate the artistic quality and ensure a professional, captivating finish.

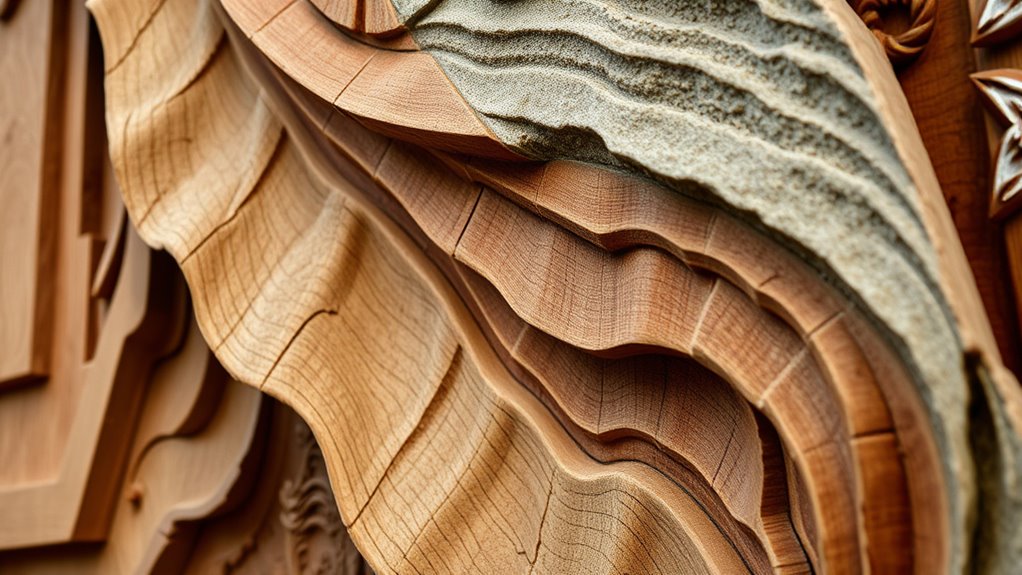
Have you ever noticed sculptures that seem to emerge from a flat surface? That’s the magic of relief sculpture, where artists transform a plain background into a dynamic scene or design. When you’re working with wood or stone, your goal is to create a sense of depth and dimension, making figures and details pop out in a way that captures attention. Depth carving is essential here, as it involves carefully removing material to establish varying levels of relief. You might carve shallowly for background elements, then deepen your cuts for foreground subjects, giving the illusion of layers and space. This technique requires patience and precision, as you need to think in terms of how much material to remove at each stage to achieve the desired depth. Proper planning and visualization are crucial to ensure the final composition has the intended impact.
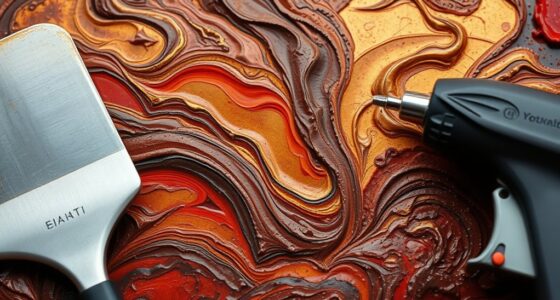
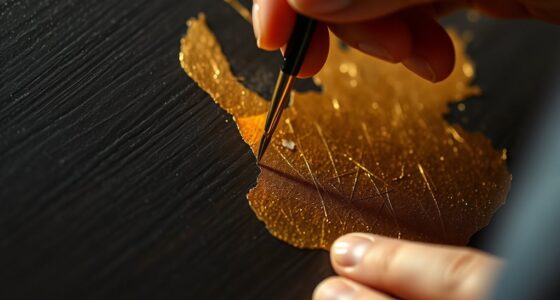
Surface finishing plays a critical role once you’ve carved out the main forms. After the initial carving is complete, you’ll refine the surface to smooth out rough edges, sharpen details, and enhance the overall appearance. Surface finishing can involve sanding, polishing, or applying specific tools to bring out textures, whether you want a matte or glossy look. Proper finishing not only improves the sculpture’s visual appeal but also protects the material from damage over time. When working with wood, you might use fine sandpaper or polishing compounds, while stone carvings benefit from abrasive pads or buffing wheels. The key is to balance between highlighting the carved depths and creating a seamless, professional surface. Additionally, understanding the material properties of your medium helps in choosing the right finishing techniques to achieve the best results.
In relief sculpture, your choice of depth carving influences how viewers perceive the scene. Shallow relief tends to be more subtle, with figures slightly raised from the background, while high relief involves dramatic protrusions that cast deep shadows. Adjusting the depth allows you to control light and shadow, giving your sculpture a lively, three-dimensional quality. As you progress, keep checking your work from different angles and lighting conditions to ensure the depth and surface finish work harmoniously. Remember, the finishing touches can make or break the final piece, so take your time to carefully smooth and polish every detail. Whether you’re working in wood or stone, mastering depth carving and surface finishing will elevate your relief sculpture from simple carving to a captivating work of art that seems to leap off the surface, inviting viewers to explore every nuance.

SakerNeo Deluxe Wood Carving Kit whittling kit, 25 Piece Wood Carving Tools with Thick Leather Storage Bag,wood carving set-Ideal Woodworking Tools and Hobbies for Beginners Enthusiasts Gift DIY
***18+ Only – Age Verification Required 25-PREMIUM WOOD CARVING TOOLS FOR EVERY PROJECT:This comprehensive wood carving kit includes…
As an affiliate, we earn on qualifying purchases.
As an affiliate, we earn on qualifying purchases.
Frequently Asked Questions
What Are Common Tools Used in Relief Sculpture Carving?
You’ll typically use carving tools like chisels, gouges, and rasps for relief sculpture carving. Chiseling techniques involve carefully removing material to create depth and detail. Gouges help shape curved surfaces, while rasps smooth the surface. You should select the right tools based on the material, whether wood or stone, and the desired detail. Practicing proper chiseling techniques guarantees precise, clean results in your relief sculpture work.
How Do Artists Choose Between Wood and Stone for Relief Sculptures?
You choose between wood and stone for relief sculptures based on your artistic intent and the material’s characteristics. If you want a warm, natural look with easier handling, wood’s your go-to. For durability and permanence, stone offers a timeless appeal. Consider the texture, detail, and message you want to convey; these factors guide your material selection, ensuring your sculpture aligns perfectly with your creative vision.
What Safety Precautions Are Necessary During Carving?
When carving relief sculptures, you should wear protective gear like goggles, masks, and gloves to prevent injuries from dust and sharp tools. Keep your workspace clean and well-lit to avoid accidents. Always use proper tools with secure grips, and carve away from your body. Take regular breaks to reduce fatigue, and make certain your work area is stable. Prioritizing safety helps prevent injuries and keeps your creative process smooth.
How Long Does It Typically Take to Complete a Relief Sculpture?
Like a modern artist planning a project with a smartwatch, you’ll find that relief sculpture completion times vary. Typically, you can expect it to take anywhere from a few weeks to several months, depending on complexity and your skill level. For effective project planning, break down the work into stages, allowing extra time for refining details. Patience and consistent effort are key to bringing your carved vision to life.
How Can One Restore or Preserve Damaged Relief Sculptures?
To restore or conserve damaged relief sculptures, you should start with assessment and cleaning to remove dirt and debris. Use appropriate restoration techniques like consolidants for fragile areas and fill in cracks carefully. Preservation methods include controlling environmental conditions, applying protective coatings, and regular maintenance. By taking these steps, you guarantee your relief sculpture stays secure and looks its best for years to come, preventing further deterioration.

STUDIOSTONE CREATIVE DIY Arts & Crafts Carving Kit Kids Adults Bear & Wolf Sculpture Soapstone
🐾ALL SUPPLIES INCLUDED: Our craft kit contains all the tools you need to create your masterpieces: two hand-cut…
As an affiliate, we earn on qualifying purchases.
As an affiliate, we earn on qualifying purchases.
Conclusion
Now that you’ve explored carving techniques for wood and stone, you’re like an artist holding a delicate brush or chisel, ready to bring your vision to life. With patience and practice, your relief sculptures will stand out like a vibrant mosaic in a quiet gallery. Keep experimenting, and let your craftsmanship grow—because each carved detail adds depth and story, just like layers in a beautiful painting waiting to be discovered by curious eyes.
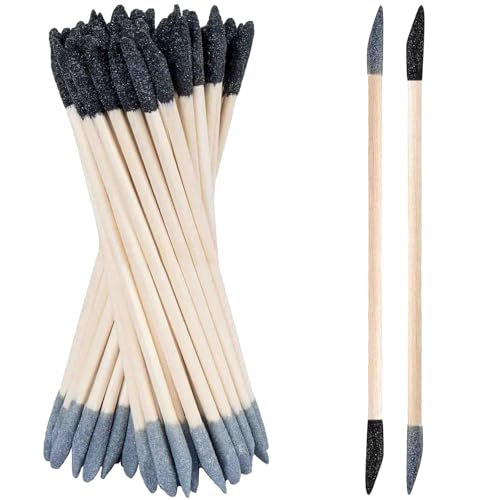
Sanding Sticks 50 Pcs, Double-Ended Sanding Tools for Wood & Plastic Models, 120/280 Grit, 5.4 x 0.2 Inch – Fine Detailing in Tight Spaces with Matchstick Design
50-Piece Value Pack: Includes 50 durable sanding sticks (5.4 x 0.2 inches) for daily DIY projects, woodworking, and…
As an affiliate, we earn on qualifying purchases.
As an affiliate, we earn on qualifying purchases.

4 Inch Diamond Polishing Pads with 5/8’’-11 Backer Pad, 12PCS Wet/Dry Granite Stone Polish Pad Kit for Drill, Grinder, Polisher, 50-6000 Grit Polishing Pad for Concrete Marble Rock Countertop Quartz
HIGH PERFORMANCE GRANITE POLISHING PADS: The granite diamond polishing pads are made of premium diamond and resin. Fast…
As an affiliate, we earn on qualifying purchases.
As an affiliate, we earn on qualifying purchases.