
Exploring linocut printmaking involves designing and transferring your image onto a linoleum block, then carefully carving out the negative spaces with gouges to create your relief surface. Using a roller, you spread ink evenly over your carved block, then press paper onto it to produce bold, textured prints. Practicing techniques like line carving, texture integration, and pressure control can elevate your work. Continue exploring, and you’ll discover how to turn simple blocks into striking pieces of art.
Key Takeaways
- Begin with designing a mirrored image on paper or directly onto the linoleum surface.
- Carefully carve out negative spaces using gouges, maintaining consistent pressure for clean lines.
- Apply an even layer of ink with a brayer or roller onto the carved linoleum surface.
- Place paper onto the inked block and apply even pressure to transfer the image.
- Practice and experiment with different tools, textures, and papers to develop your artistic style.
If you’re interested in exploring printmaking techniques, linocut offers a dynamic and accessible entry point. This art form combines bold visuals with straightforward methods, making it perfect for beginners and experienced artists alike. To start, you’ll want to understand the techniques overview, which involves carving into a linoleum block to create a relief surface. The raised areas will hold ink and transfer to paper, producing your print. You’ll find that the process is both tactile and creative, allowing you to experiment with different lines, textures, and patterns. As you work, it’s helpful to draw inspiration from artist inspiration—studying masters like Picasso or contemporary printmakers who have pushed the boundaries of linocut. Their work can serve as a guide and spark your own ideas, helping you develop a unique style.
Explore the bold, accessible world of linocut printmaking—perfect for beginners and seasoned artists alike.
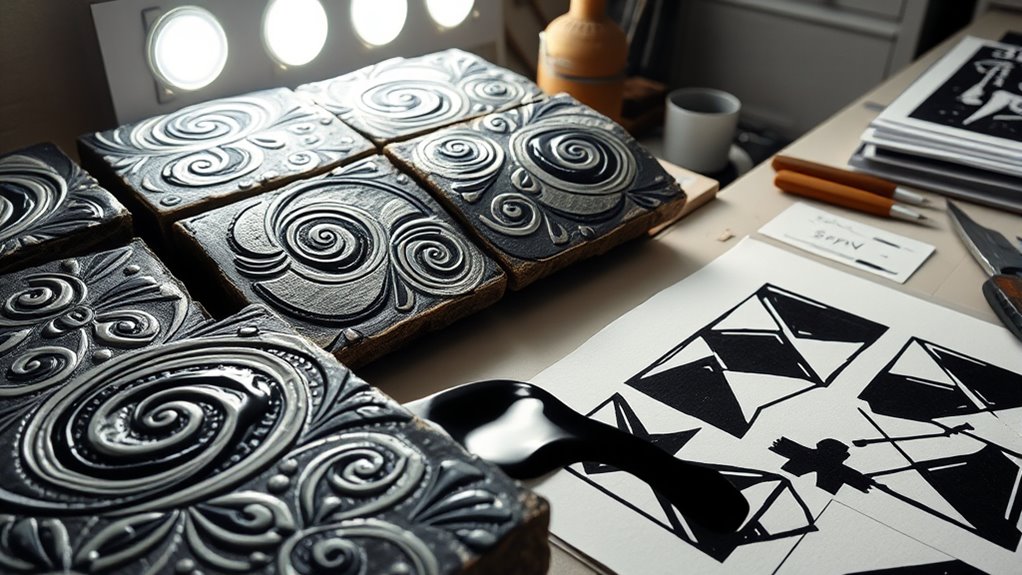
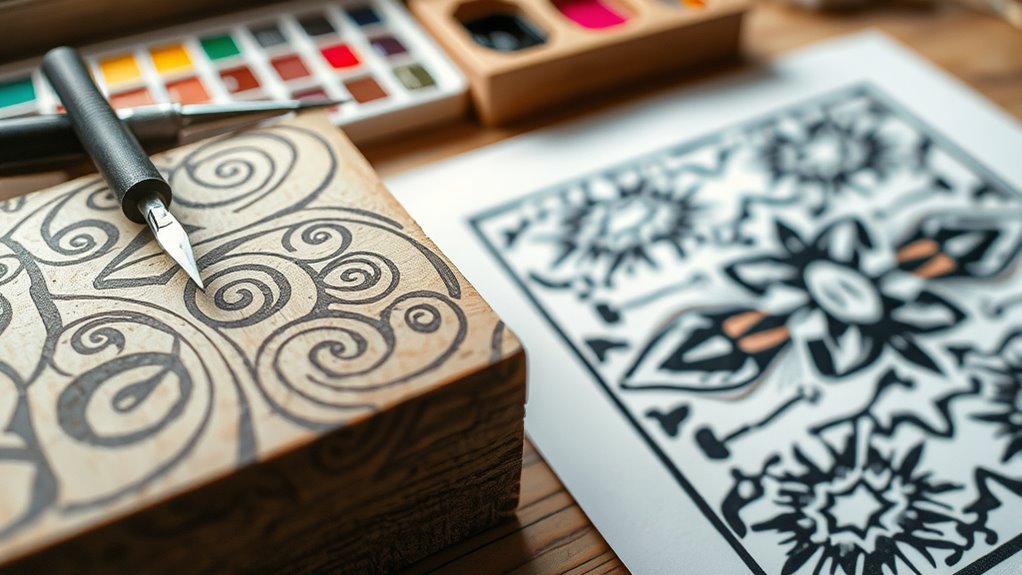
The first step in the process involves designing your image. You can sketch directly onto the linoleum or prepare a drawing on paper first. Keep in mind that because you’re carving away the negative space, your design should be reversed or mirrored if it contains text or directional elements. Once your design is ready, you’ll transfer it onto the linoleum surface using a pencil or transfer paper. When carving, you’ll use a variety of gouges and tools to remove the material carefully, shaping the image you want to print. Be mindful of your pressure and direction to achieve clean lines and textures that reflect your artistic intent. This step demands patience and precision, but it’s also where your creativity truly comes alive. Learning about proper carving techniques can significantly improve your results and safety during the process.
After carving, you’ll move on to inking. Using a brayer or roller, you’ll evenly spread ink onto the surface of your block. It’s important to apply a thin, consistent layer to prevent smudging or uneven prints. When you’re ready, place your paper carefully onto the inked block, applying even pressure with a barren or hand. You might want to experiment with different papers and textures to see how they influence the final look. Once pressed, peel back the paper to reveal your print. The beauty of linocut lies in its ability to produce bold, graphic images with strong contrast, but you can also explore subtle tonal variations with partial inking or multiple color layers.
Throughout this process, draw inspiration from artists who have mastered linocut, and don’t be afraid to push your boundaries. Each print teaches you something new about technique, composition, and your personal style. With practice, you’ll develop a steady hand and a keen eye for detail, transforming simple blocks into striking works of art. Ultimately, linocut offers a rewarding way to express your creativity while engaging directly with each step of the printmaking journey, especially when you understand the importance of pressure and technique in achieving the desired outcome.

Bobblebro Linocut Kit for Printmaking – Arts and Crafts for Adults – Mother's Day Gift DIY Kit – Hobby Kits Birthday Gift for Women, Men, Boys, Girls – Stamp Making Kit – Linoleum Blocks Carving Tools
【Upgrades Linocut Kit】Create unique block printing by hand with our linocut kit for printmaking. Apply rich ink and…
As an affiliate, we earn on qualifying purchases.
As an affiliate, we earn on qualifying purchases.
Frequently Asked Questions
What Are the Best Tools for Beginner Linocut Artists?
For beginner linocut artists, the best tools include a sharp linoleum cutter, a variety of gouges, and a carving block. Make sure to prioritize printmaking safety by wearing gloves and working in a well-ventilated space. Focus on simple carving techniques first, practicing controlled cuts and proper tool handling. These tools and safety measures help you develop your skills and create clean, detailed prints confidently.
How Do I Choose the Right Linoleum for My Project?
Choosing the right linoleum is like selecting a vinyl record—your material sets the tone. Focus on material selection by considering your project considerations: detail level, carving ease, and durability. Softer linoleum is perfect for beginners and intricate designs, while harder options suit bold, simple images. Think about your skill level and the final look you want, and pick a linoleum that aligns with your artistic goals.
Can Linocut Prints Be Created on Fabric or Other Materials?
Yes, you can create linocut prints on fabric and other alternative materials. For fabric printing, use a fabric-safe ink and make certain your fabric is smooth and tightly stretched. You might also experiment with materials like cardboard, foam, or thin wood for unique textures. Just keep in mind that different surfaces may require adjustments in pressure and ink application to achieve the best results.
How Do I Fix Mistakes or Carve Corrections in Linocut?
If you make a mistake or need carving adjustments, carefully use a small, sharp tool to remove or reshape the affected areas. For minor errors, gently carve away excess linoleum, but avoid overdoing it. If you want to correct larger mistakes, consider adding details with a fine carving tool or sanding down the surface slightly. Always work patiently and cautiously to guarantee your mistake correction improves your print rather than damages it.
What Are Some Advanced Techniques to Enhance My Linocut Prints?
To enhance your linocut prints, try layering color to create depth and richness. Experiment with overlapping different carved blocks or ink colors to achieve unique effects. Incorporate textured backgrounds by carving intricate patterns or using textured tools to add dimension. These techniques make your prints more dynamic and visually interesting. Don’t be afraid to mix methods and push your creative boundaries for truly striking results.

WILLBOND 5 Pcs Linocut Carving Tools Set Linoleum Hand Carving Tools Wood Carving Knife Chisel Flat V Shaped Angled Gouge Half Round Carving Tools Set for Linocut Printmaking Woodcarving Woodblock
Woodcarving Tools Set: our package comes equipped with a comprehensive set of carving tools, including 2 triangular v…
As an affiliate, we earn on qualifying purchases.
As an affiliate, we earn on qualifying purchases.
Conclusion
Now that you’ve mastered linocut printmaking, you’re basically an artistic ninja, wielding your carving tools like a sword. With every print, you’re releasing a storm of creative chaos—think Picasso meets a lumberjack. So go ahead, make your prints bold enough to make even the most stoic of inanimate objects blush. Remember, in this craft, the only limit is your imagination—and maybe your ability to resist carving a little too deep. Happy printing!
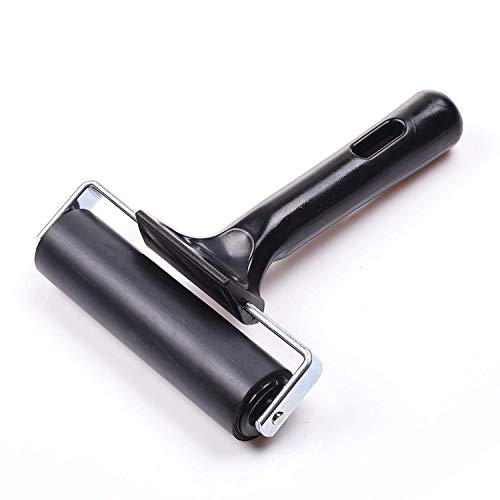
4-Inch Rubber Brayer Roller for Printmaking, Great for Gluing Application Also. (Original Version)
FEATURES: The drum is made of high quality rubber. It is durable and elastic. It can be well…
As an affiliate, we earn on qualifying purchases.
As an affiliate, we earn on qualifying purchases.
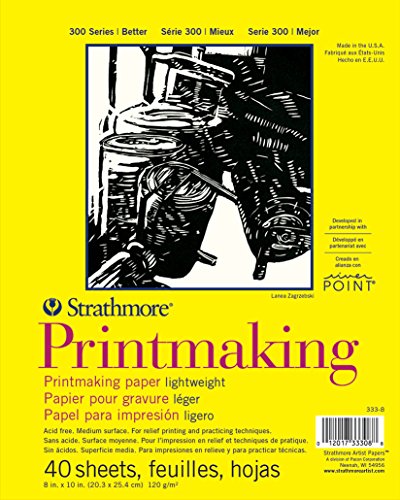
Strathmore 300 Series Printmaking Paper Pad, Glue Bound, 8×10 inches, 40 Sheets (120g) – Artist Paper for Adults and Students – Block Printing, Linocut, Screen Printing
Natural colored and lightweight printing paper
As an affiliate, we earn on qualifying purchases.
As an affiliate, we earn on qualifying purchases.