In printmaking, you’ll encounter terms like relief printing, where you carve into surfaces like wood or linoleum, and intaglio, which etches lines into metal plates for detailed images. Lithography uses oil and water principles on stones, while screen printing involves creating stencils and pressing ink through mesh screens. Understanding editions, registration, and inking processes helps achieve consistent, vibrant prints. Exploring these concepts further reveal the full potential of your printmaking journey.
Key Takeaways
- Definitions of fundamental printmaking techniques such as relief, intaglio, lithography, and screen printing.
- Explanation of key terms like edition, print run, registration, and stencil creation methods.
- Descriptions of materials used, including types of plates, screens, inks, and papers.
- Clarification of process-specific terms like burr formation, embedding, and ink application methods.
- Overview of unique print forms, including monotype and monoprint, and their artistic significance.

FLEXCUT SK130 5-Piece Lino & Relief Printmaking Set, Carbon Steel Blades (SK306, SK309, SK803, SK307), Quick Connect ABS Handle, Tool Roll, Strop & Honing Compound – 12 oz, Made in USA
Complete Printmaking Kit: Includes four high-carbon steel blades (SK306 6×5/16", SK309 #11×1/8", SK803 45° × 1 mm, SK307…
As an affiliate, we earn on qualifying purchases.
As an affiliate, we earn on qualifying purchases.
Relief Printing
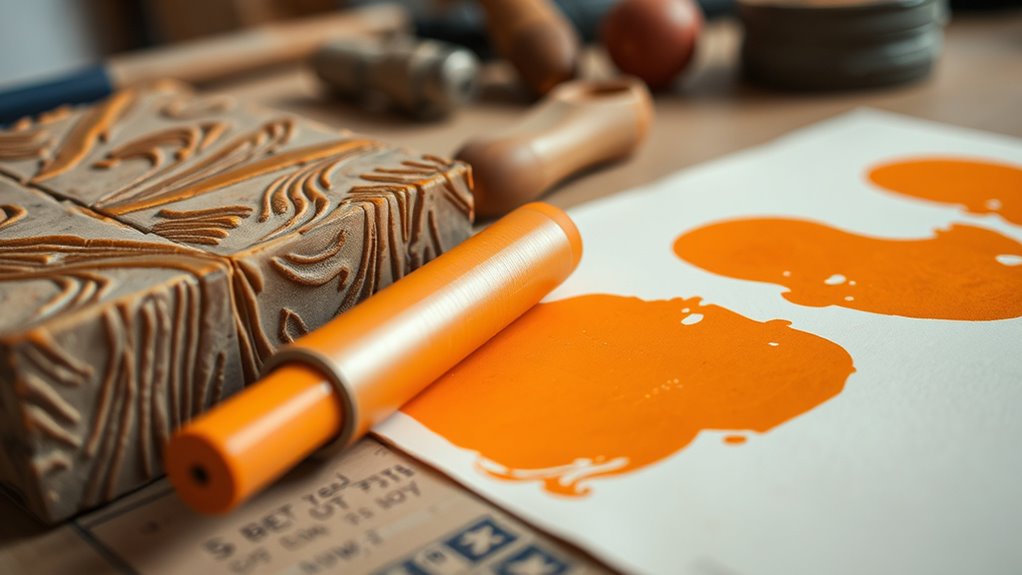
Relief printing is a printmaking technique where the artist carves into the surface of a material, such as wood or linoleum, to create raised areas that hold ink. Choosing the right paper is essential; you want a smooth, absorbent surface that can handle ink without tearing or bleeding. Experiment with different textures to find what works best for your design. Proper tool maintenance is vital for clean cuts and precise details—keep blades sharp and clean to avoid damaging the material or creating uneven surfaces. Regularly check your tools for dullness and clean them thoroughly after each use. When you maintain your tools and select appropriate paper, your relief prints will come out clearer, more consistent, and professional-looking. Additionally, understanding sustainable practices can help reduce environmental impact in your printmaking process.
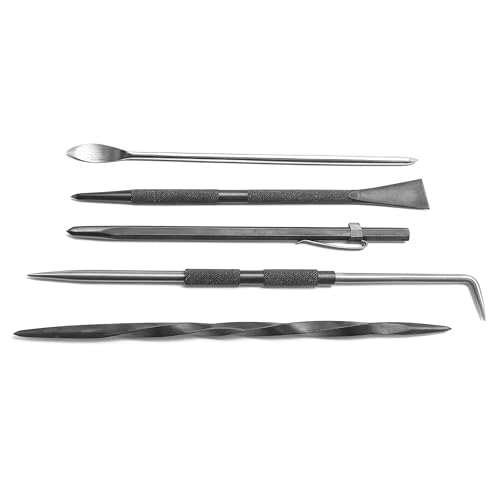
UJ Ramelson Intaglio and Dry Point Etching Scribing Tools Kit, Twisted Scriber, Scraper Burnisher, Hook, and Carbide Scribe, Printmaking Supplies
COMPLETE KIT: This complete metal etching kit contains Hook Style Sharpened Points with knurled center; Chisel Type Scriber…
As an affiliate, we earn on qualifying purchases.
As an affiliate, we earn on qualifying purchases.
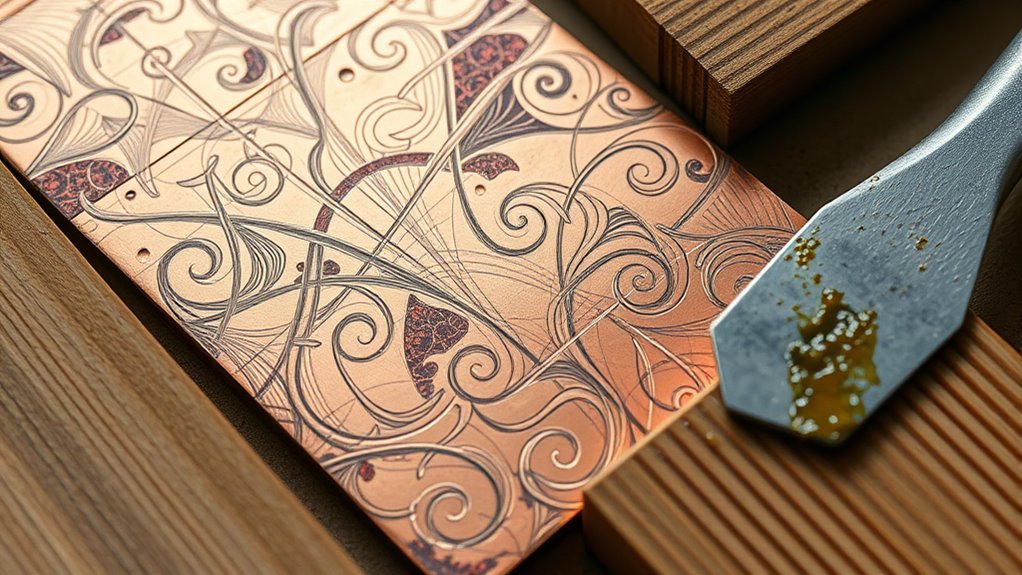
Intaglio
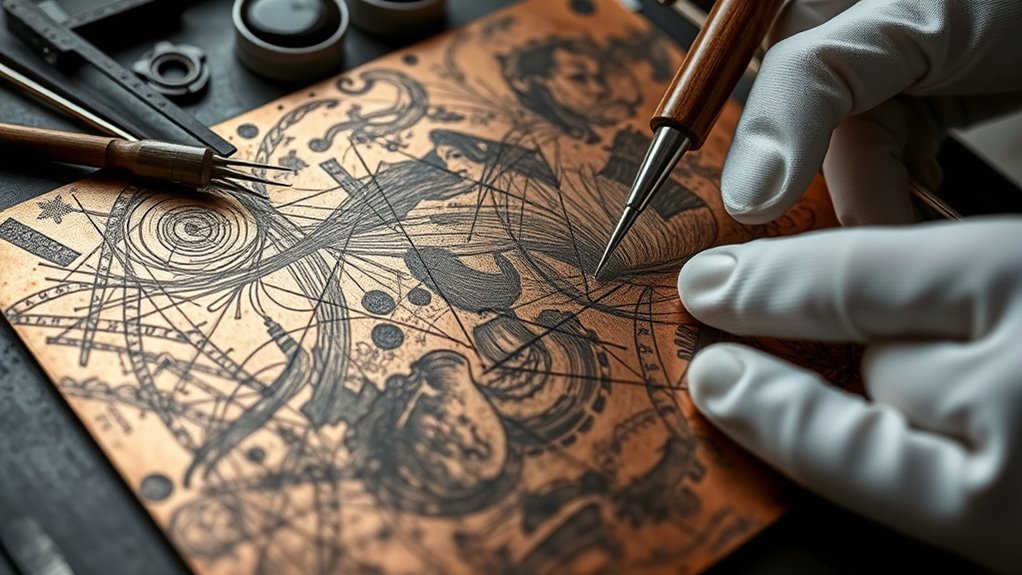
Intaglio printing involves incising lines or areas into a metal plate, typically copper or zinc, to hold ink. You use various etching techniques, like drypoint or aquatint, to create detailed images. Burr formation occurs when sharp edges form along the incised lines, adding texture and depth to your print. Understanding these elements enhances your control over the process.
- Master etching techniques to achieve precise lines and shading.
- Recognize how burr formation influences tonal richness and texture.
- Use tools carefully to control the depth and width of incisions.
- Experiment with different acids and tools to develop unique effects.

Alternative Lithography: A printmaker's guide to working with foil, wood, lino, paper and polyester
As an affiliate, we earn on qualifying purchases.
As an affiliate, we earn on qualifying purchases.
Lithography
When working with lithography, you’ll need to carefully prepare your stone using specific techniques to guarantee a smooth, receptive surface. You’ll also apply ink through a process that relies on the principle of oil and water repelling each other, requiring precision for sharp results. Proper preservation and storage of your lithographic stones and materials help maintain quality and extend their usability over time. Incorporating proper automation techniques can further enhance consistency and efficiency in the printing process.
Stone Preparation Techniques
Preparing a lithographic stone is a crucial step that guarantees the image transfers accurately onto paper. To achieve this, you focus on surface smoothing to eliminate imperfections and create an even drawing surface. Embedding techniques come into play to guarantee the image adheres properly, preventing smudging or misregistration. Here are key steps:
- Clean the surface thoroughly to remove debris and oils.
- Smooth the surface carefully, using abrasive materials to achieve uniformity.
- Apply embedding techniques to embed the drawing media securely into the stone.
- Reassess the surface, making adjustments to maintain consistency throughout the process.
- Regular inspections of your prepared stone are recommended to ensure safety standards are maintained and to prevent issues like overheating risks.
These steps help produce a reliable, high-quality lithograph, ensuring your image transfers sharply and consistently. Proper stone preparation is essential for ideal print results.
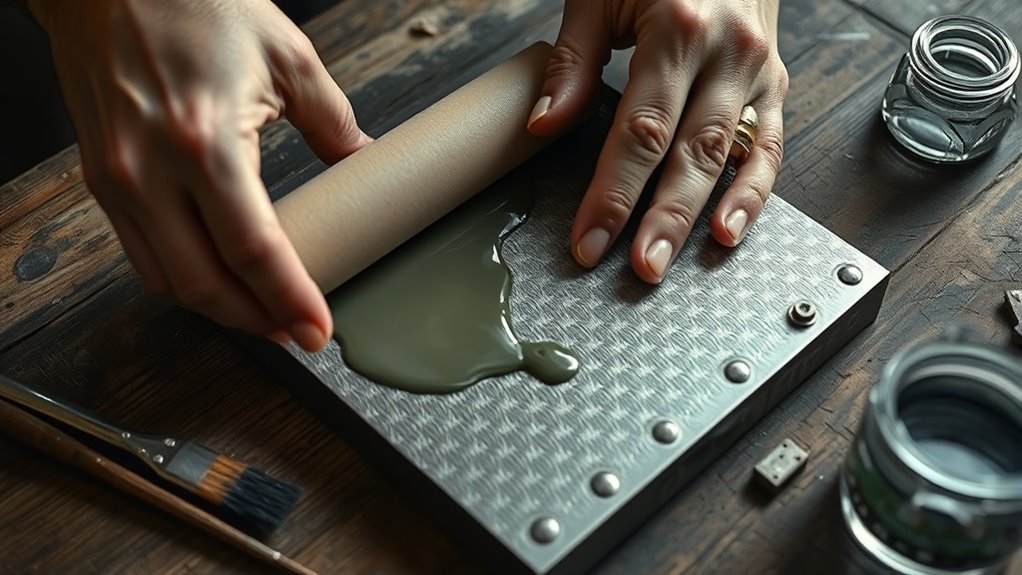
Ink Application Processes
Applying ink in lithography requires precision to guarantee the image transfers clearly and accurately. You must assure the ink consistency is just right—too thick or too thin affects how smoothly it applies. Proper control over drying times is also essential; too quick, and the ink may smudge, too slow, and it might clog details. Use a roller to evenly spread the ink, maintaining a steady, light pressure. The following table highlights key aspects:
| Step | Tip |
|---|---|
| Ink Consistency | Keep it smooth and even for transfer quality. |
| Application Technique | Use gentle, uniform pressure with a roller. |
| Drying Times | Allow adequate time for ink to set before printing. |
Mastering these factors guarantees crisp, clean lithographs. Additionally, understanding the properties of the ink system, such as its viscosity, helps in achieving optimal results.
Preservation and Storage
Proper preservation and storage are essential for maintaining the quality of lithographic works over time. To guarantee longevity, focus on these key aspects:
- Use acid free paper to prevent chemical deterioration of prints.
- Maintain consistent storage conditions, avoiding extreme temperature and humidity fluctuations.
- Store lithographs flat in a cool, dry, dark environment to prevent fading and warping.
- Handle prints with clean, dry hands or gloves to avoid oils and dirt transferring onto the artwork.
- Consider color accuracy when selecting storage and display environments to preserve original hues and visual fidelity.

DGAGA Self Adhesive Silk Screen Printing Stencil Mesh Stencils Farmhouse Kitchen Theme Reusable Silk Screen Stencils for DIY Coffee bar Bakery Signs, Fabric,Home Decor, Crafts Chalks, Chalk Paste
Silk Screen Stencils material: Nylon; Size: 5x7inches/12.7×17.78cm and 8.5×11 inches/21.59×27.94cm, Thickness: 0.03cm/0.01inch. Durable, eco-friendly and easy to store
As an affiliate, we earn on qualifying purchases.
As an affiliate, we earn on qualifying purchases.
Screen Printing
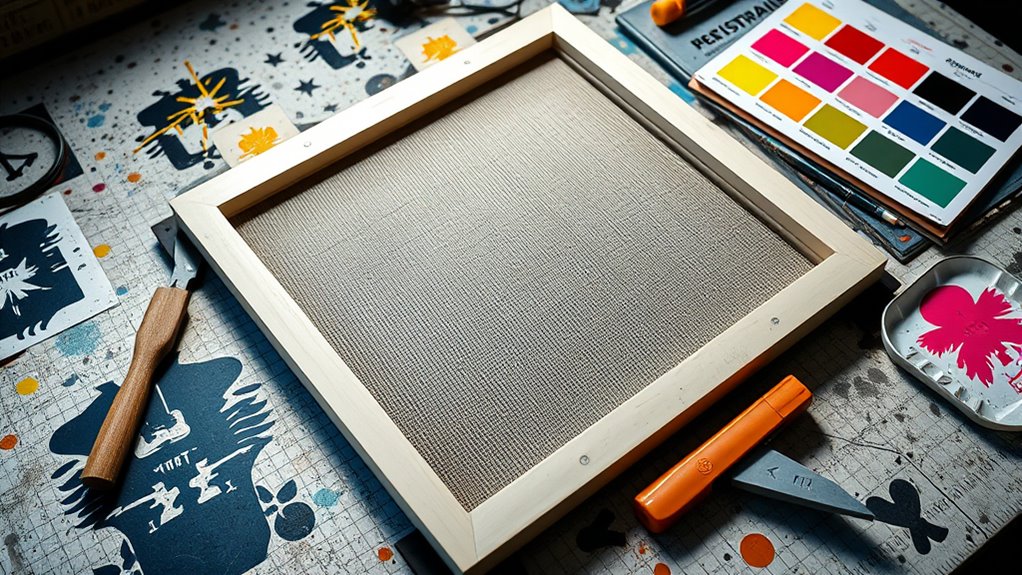
In screen printing, creating a stencil is a vital first step, and you can do this using techniques like hand-cutting or photo emulsion. When applying ink, you might choose methods such as squeegees or spray, depending on your design and material. Common screen materials include nylon, polyester, or fine mesh, each affecting the final print quality. Utilizing natural materials in the process can enhance the sensory experience and align with eco-friendly practices.
Stencil Creation Techniques
Creating a stencil for screen printing involves designing and transferring a pattern onto a mesh screen to block out areas where ink shouldn’t pass. You can achieve this using various techniques:
- Use a spray stencil to quickly apply adhesive or resist materials, creating sharp edges and clean lines.
- Craft hand cut templates from materials like acetate or cardboard for precise, reusable designs.
- Incorporate negative space by carefully cutting out areas, allowing the ink to pass through only where you want color.
- Combine methods, such as spray stencils with hand cut templates, to add complexity and detail to your print.
- Understanding offensive security measures can help in designing more effective and durable stencils for complex images.
Ink Application Methods
When applying ink in screen printing, selecting the right technique is essential to achieve clean, vibrant results. Brush techniques allow for detailed control, ideal for small areas or intricate designs, giving you precision and a smooth finish. Alternatively, roller application offers speed and even coverage across larger surfaces, making it efficient for broader designs. Use a squeegee to push ink through the screen, but vary your approach depending on the effect you want. For finer details, a brush can help you carefully fill in or touch up areas. For larger sections, a roller ensures consistent ink distribution without streaks. Mastering these application methods helps you produce crisp, professional prints with vivid color and sharp edges.
Common Screen Materials
Have you ever wondered what makes a screen suitable for printing? The key lies in choosing the right screen mesh and proper emulsion coating. First, consider the mesh material, typically polyester or nylon, which affects ink flow and detail. Second, the mesh count determines image resolution: higher counts for fine details, lower for bold designs. Third, the tension of the mesh influences print quality, requiring proper stretching. Fourth, the emulsion coating must be even and thin to block unwanted areas while allowing ink to pass through the open mesh. These factors work together to create a durable, precise printing surface. Selecting the right screen materials ensures your print is sharp, consistent, and long-lasting. Additionally, understanding the regional legal resources can help in cases where legal issues arise related to printmaking rights or disputes.
Monotype and Monoprint
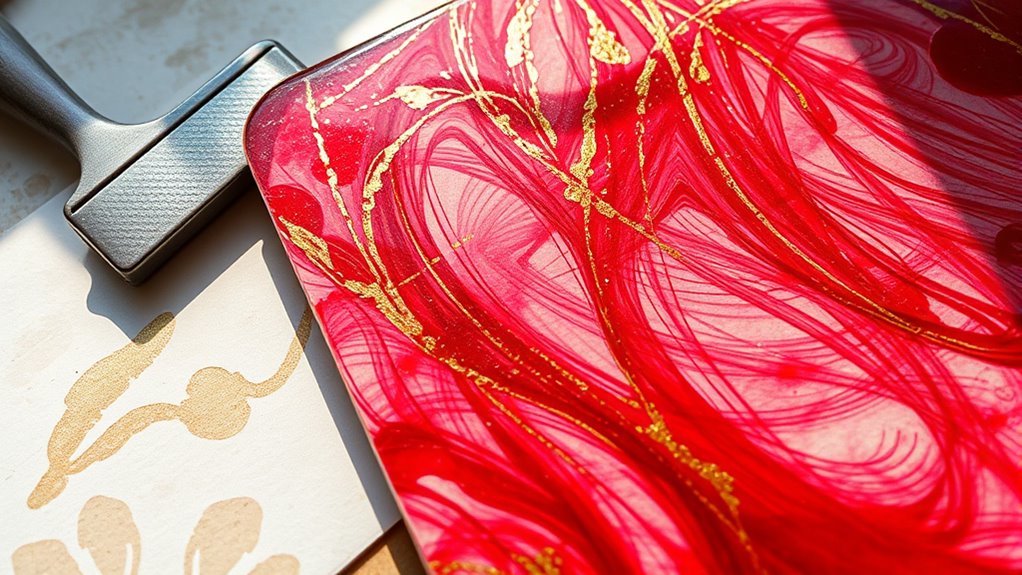
Monotype and monoprint are unique printmaking techniques that produce one-of-a-kind images, making them popular among artists seeking spontaneous and expressive results. These methods stand out because each print is mostly original, with slight variations in every impression. You can create textures, bold colors, and fluid forms that aren’t easily replicated, allowing for direct artist adaptations during the process. In monotype, you typically paint or draw directly onto a smooth surface, then transfer the image onto paper. Monoprints often involve adding elements to a print, then reprinting to achieve subtle differences. Both techniques emphasize spontaneity, giving you the freedom to experiment and develop a highly personal visual language. Their ability to produce distinctive, singular images makes them invaluable tools for expressive artists. Additionally, understanding the unique qualities of each method can help artists choose the most suitable approach for their creative goals.
Edition and Print Run
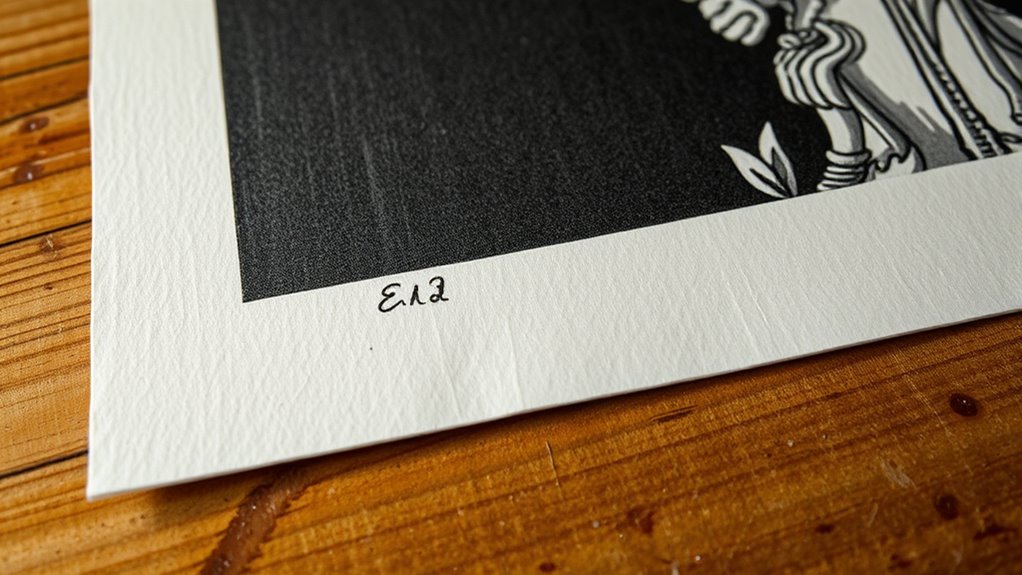
An edition refers to the total number of prints produced from a single plate or image, while a print run is the specific number created in one printing session. When considering collector value, a limited edition (smaller print run) often commands higher prices due to rarity. The edition numbering indicates each print’s position within the total edition, like 3/50, signaling exclusivity. To deepen your understanding:
- Smaller editions tend to increase collector appeal.
- Unique edition numbering emphasizes the print’s rarity.
- Limited print runs enhance the perceived value.
- Consistent edition size can influence long-term worth.
Recognizing these factors helps you gauge an artwork’s significance and potential investment value, making edition and print run essential concepts in printmaking.
Registration

What exactly is registration in printmaking, and why is it so vital? Registration is the process of aligning different colors or images accurately on the print. Precise color registration ensures that each layer of ink lines up perfectly, creating sharp, vibrant images without blurring or misalignment. You’ll often use registration marks—small, intentionally placed marks or lines—on your printing paper or plates to guide this alignment. Proper registration is essential for multi-colored prints, as it guarantees consistency and professional quality. If registration slips, colors may overlap incorrectly, ruining the final piece. Whether you’re working with etching, lithography, or screen printing, mastering registration helps you achieve crisp, clean results that enhance your artwork’s overall impact. Additionally, understanding color registration is crucial for producing high-quality, multi-layered prints.
Block and Plate
In printmaking, a block or plate serves as the primary surface that holds the design or image you want to transfer onto paper. Your choice of material influences the final outcome, shaping layering techniques and detail. Consider these key points:
- Material selection determines how well the image can be carved or etched.
- Different materials allow for varied layering techniques to create depth.
- Smooth surfaces enhance fine details, while textured ones add richness.
- Properly preparing your block or plate ensures consistent ink transfer and image clarity.
- Understanding material properties can help you select the most suitable surface for your desired print quality.
Inking and Printing Process
The inking and printing process transforms your carved or etched surface into a finished image on paper, requiring careful application of ink and precise pressure. You’ll start by applying ink evenly, considering how color blending can enhance depth and vibrancy. Proper technique guarantees smooth progressions between shades and avoids muddy results. Paper selection is essential—choose a surface that absorbs ink well and complements your design’s detail. When printing, apply consistent pressure to transfer the ink cleanly, avoiding smudges or incomplete impressions. Adjusting pressure or ink thickness can improve results, especially when working with multiple colors. By paying attention to these details, you guarantee your print is sharp, vibrant, and accurately reflects your artistic vision. Incorporating diverse printing tools can further elevate the quality and intricacy of your printmaking projects.
Frequently Asked Questions
How Do I Choose the Right Printmaking Technique for My Artwork?
When choosing the right printmaking technique, consider your artistic goals and the effect you want to achieve. Think about the level of detail, texture, and color complexity your artwork needs. Research different methods, like etching or screen printing, and experiment to see which best suits your style. Technique selection should align with your vision, allowing you to express your ideas effectively and create the desired impact on your audience.
What Safety Precautions Are Necessary During Printmaking Processes?
Think of printmaking safety as steering a ship through turbulent waters. You need your personal protective equipment like gloves and masks to shield yourself from harmful chemicals. Proper ventilation systems act as your lighthouse, ensuring fumes don’t build up. Always work in well-ventilated areas, handle inks and solvents carefully, and clean thoroughly. By staying vigilant, you safeguard your creative journey, avoiding hazards and keeping your artistic vessel afloat.
How Do I Preserve and Store Original Prints Properly?
To preserve and store your original prints properly, you should focus on archival storage methods. Use acid-free folders and boxes, and keep prints away from direct sunlight, high humidity, and temperature fluctuations. Always handle prints with clean, dry hands or gloves to guarantee proper handling. Store them flat or rolled carefully, and avoid unnecessary touching to prevent damage. Regularly check your collection to catch any issues early.
Can Printmaking Techniques Be Combined in One Artwork?
Think of your artwork as a culinary dish—mixing ingredients creates complex flavors. Yes, you can combine printmaking techniques in one piece through layering techniques and mixed media applications. You might print, paint, and collage to add depth and texture. Experimenting with different methods allows you to craft unique, dynamic artworks, blending the precision of printmaking with the spontaneity of other media. This fusion enriches your creative expression.
What Are Common Mistakes to Avoid in Printmaking?
When avoiding printmaking errors, you should be mindful of technique pitfalls like uneven ink application or rushed registration. Always test your materials first and keep your workspace organized to prevent smudges or misalignments. Don’t skip proper cleaning, as residual ink can ruin prints. Be patient with drying times, and avoid rushing through steps. These precautions help you prevent common mistakes and achieve cleaner, more professional results.
Conclusion
Understanding these printmaking terms helps you appreciate the craft behind each print. Did you know that limited editions, often only 50 prints, can greatly increase an artwork’s value? By mastering concepts like registration and inking, you can create unique, high-quality prints that stand out. Keep exploring these terms, and you’ll discover new ways to express your creativity and guarantee your printmaking process is both precise and rewarding.