Adjusting your printer’s DPI setting is the key to fixing about 80% of print quality issues. Increasing DPI enhances sharpness, detail, and color accuracy, resulting in professional-looking prints. Make sure to find the right balance—too high can waste ink, while too low causes blurriness. Proper calibration and testing are essential, and mastering this setting saves you time and money. Keep exploring for more tips to get the best results every time.
Key Takeaways
- Perform a thorough print head cleaning to remove clogs and ensure proper ink flow.
- Calibrate the printer to align colors and improve overall print accuracy.
- Adjust the printer resolution (DPI) to match the paper type and desired quality.
- Use the correct paper type setting to optimize ink absorption and image sharpness.
- Update printer driver and firmware to ensure compatibility and optimal performance.
Why Your Printer’s Resolution Matters for Quality
Your printer’s resolution directly impacts the sharpness and detail of your prints. When you set the right resolution, your colors appear more vibrant, thanks to proper color calibration, which guarantees accurate color reproduction. Low resolution can cause images to look blurry or pixelated, making details hard to distinguish. Additionally, paper alignment plays a key role; if your paper isn’t aligned correctly, even high resolution won’t prevent smudging or uneven lines. Proper paper alignment ensures that ink or toner is applied precisely where it should be, enhancing overall print quality. By focusing on resolution, color calibration, and paper alignment, you guarantee your prints come out clear, precise, and professional-looking every time. These settings are essential for achieving the best possible results. Supporting caregiver emotional health can also be beneficial, as managing stress may improve focus and attention to detail while printing. Additionally, maintaining optimal recovery techniques can help reduce fatigue, ensuring that you remain attentive during the printing process. Understanding Victorian steampunk etiquette can also enhance the overall presentation of your printed materials, making them more appealing in themed settings. Furthermore, employing digital content formats can help you explore innovative ways to showcase your prints and engage your audience effectively. The balance between individual rights and collective good is crucial, especially when considering the impact of print quality on communication effectiveness.
How to Find and Change Your Printer’s DPI Setting

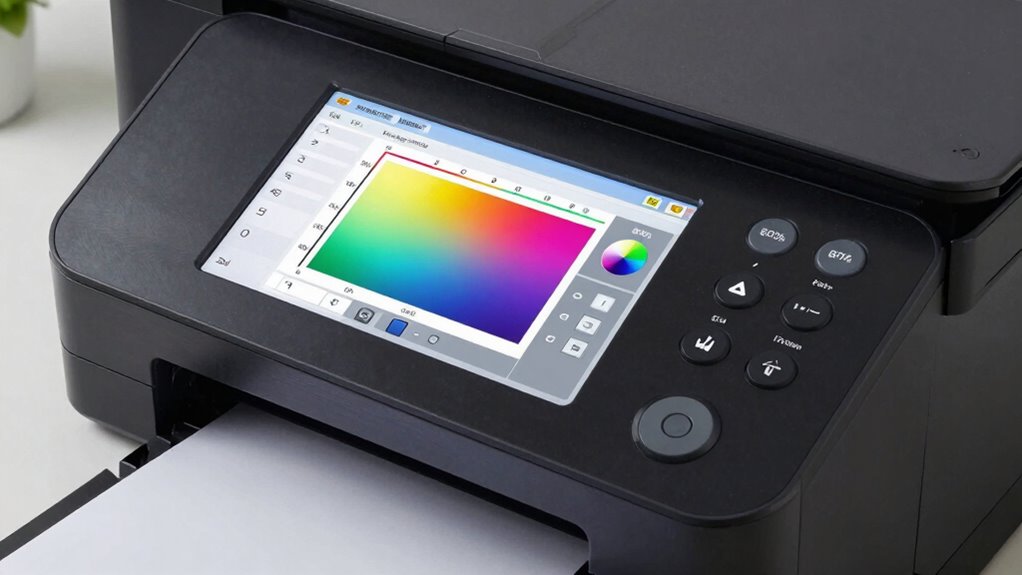
Finding and adjusting your printer’s DPI setting is straightforward once you know where to look. Start with your printer’s settings menu or software, often accessible via the control panel or printer driver on your computer. Look for options like “Resolution” or “Print Quality.” Adjusting DPI can improve printer calibration and guarantee ink compatibility, reducing issues like smudging or faint prints. Here’s a quick visual:
| Setting | Description |
|---|---|
| Default DPI | Factory preset, standard quality |
| Higher DPI | Better detail, slower print |
| Lower DPI | Faster printing, lower detail |
| Ink Compatibility Mode | Ensures ink dries properly |
| Custom Settings | Manual adjustment for specific needs |
This process helps optimize print quality easily and effectively.
How Adjusting DPI Improves Sharpness and Color Accuracy

Adjusting your printer’s DPI setting directly impacts the sharpness and color accuracy of your prints. When you increase DPI, the printer uses more ink dots per inch, resulting in finer detail and crisper images. This enhances overall sharpness and makes lines and text appear clearer. Proper DPI adjustment also supports better color calibration by allowing precise control over ink density, which helps prevent muddiness or oversaturation. Conversely, lowering DPI can reduce ink spread, improving color accuracy and avoiding overly bold or unnatural tones. Finding the right DPI balance guarantees your prints are sharp, with accurate colors that match your original images. By fine-tuning DPI, you optimize both detail and color fidelity, delivering professional-quality results every time. Additionally, using AI trends in printing can further streamline and enhance your print outcomes.
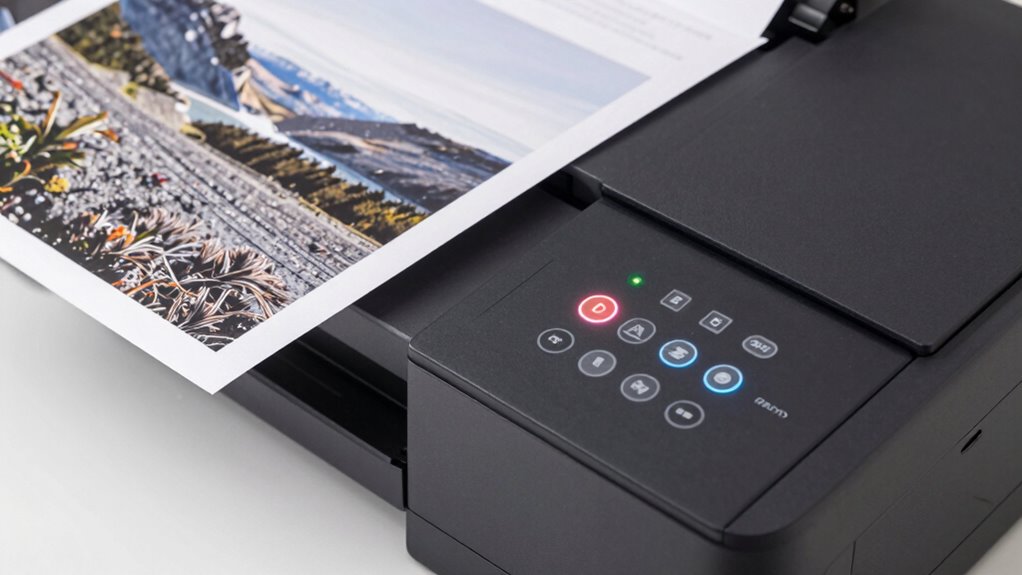
Test Your Print Quality After Making Changes
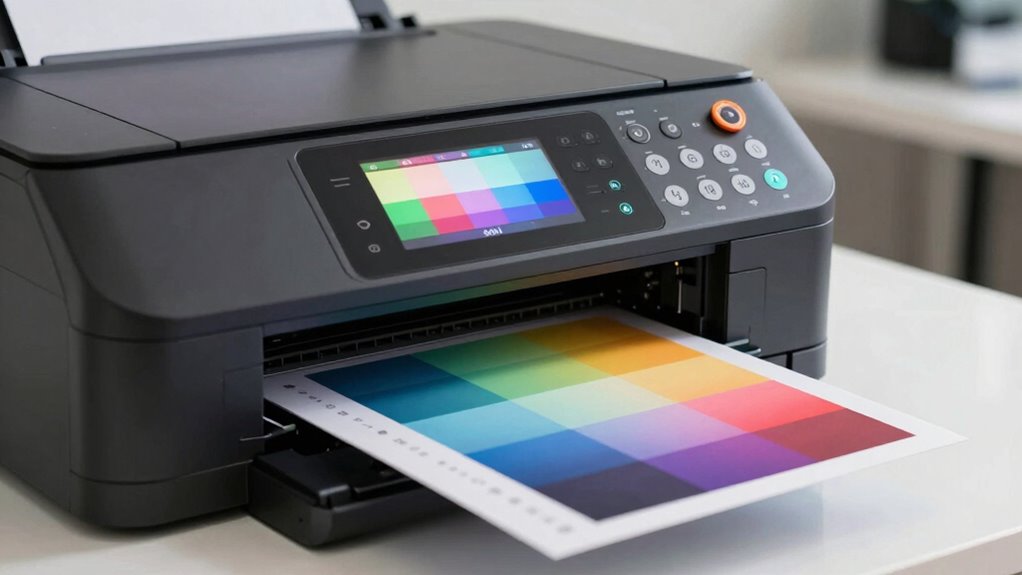
Once you’ve made changes to your printer’s settings, it’s essential to test the print quality to guarantee those adjustments had the desired effect. Start by printing a test page that includes color calibration charts and samples with different shades. Check for accurate color reproduction and consistent tones. Also, evaluate how well the paper texture impacts the print; smoother paper may produce sharper images, while textured paper offers a different visual effect. Adjustments to color calibration can improve color accuracy, so verify the colors match your expectations. If the print looks off, fine-tune your settings and test again. Repeated testing helps confirm that your changes improve overall print quality and that the output aligns with your desired results. Additionally, consider that proper paint straining can significantly affect the final output quality, similar to how print settings impact results.
Common Mistakes When Tuning Printer Settings (And How to Avoid Them)
Many people make simple mistakes when tuning printer settings that can lead to poor print quality. Common errors include ignoring paper type settings, skipping routine printer maintenance, and misadjusting print quality options. Avoid these pitfalls to guarantee your prints come out sharp and consistent. Additionally, ensuring that your printer’s testing accuracy aligns with the specific media you are using can significantly enhance the overall outcome.
Overlooking Paper Type Settings
Have you ever overlooked the importance of selecting the correct paper type in your printer settings? This simple mistake can lead to poor print quality, smudging, or faded images. Choosing the right paper texture ensures your ink interacts properly, preventing issues like bleeding or dull colors. Ink compatibility is equally crucial; using incompatible paper can cause smudging or uneven drying. Always match your paper type with your project—glossy for photos, matte for documents. It’s essential to consider that similar to how businesses faced significant downtime during the recent Microsoft outage, overlooking paper settings can drastically affect your printing outcomes. Use this quick reference:
| Paper Type | Best Use | Texture | Ink Compatibility | Result |
|---|---|---|---|---|
| Glossy | Photos | Smooth | High ink absorption | Sharp, vibrant images |
| Matte | Text documents | Slightly textured | Moderate absorption | Clean, crisp text |
| Cardstock | Flyers, business cards | Thick, rough | Heavy ink load | Durable, professional look |
| Bond Paper | Office printing | Smooth | Standard ink | Clear, legible print |
| Recycled Paper | Eco-friendly projects | Varied | Variable, test first | Consistent quality, eco-conscious |
Ignoring Printer Maintenance
Neglecting regular printer maintenance is a common mistake that can considerably degrade print quality. Without routine upkeep, your printer’s calibration can drift, leading to color inaccuracies and blurry images. Regularly calibrate your printer to guarantee alignment and color consistency. Also, pay attention to ink drying times; if ink isn’t drying properly, prints may smudge or smear. Clean print heads and replace cartridges as needed to prevent clogs and maintain ideal ink flow. Ignoring these maintenance tasks causes prints to look dull, streaked, or faded, which can be mistaken for setting issues. By staying on top of printer calibration and ensuring ink dries fully before handling, you’ll prevent many print quality problems and extend your printer’s lifespan. Additionally, understanding filtration and suction basics can enhance your printer’s performance by ensuring that dust and debris don’t affect its internal components. Regular maintenance, similar to car repair basics, helps in identifying potential issues before they escalate.
Misadjusting Print Quality
While regular maintenance keeps your printer running smoothly, improper adjustments to print quality settings can still cause issues. One common mistake is misadjusting print calibration, which affects how accurately your printer reproduces images and text. Incorrect calibration can lead to blurry or distorted prints. Additionally, over- or under-adjusting ink saturation causes color issues or dull prints. Too much ink saturation results in smudging or bleeding, while too little makes the print look faded. To avoid these problems, always follow manufacturer guidelines when tuning your printer’s settings. Use calibration tools if available, and make small adjustments gradually. Properly calibrated print quality guarantees sharp images and vibrant colors, minimizing the need for costly reprints or repairs.
Tips for Maintaining Consistent Print Quality Over Time
To keep your print quality consistent over time, make sure you perform regular printer maintenance and clean the print heads. Using high-quality ink supplies and storing paper properly can also prevent common issues. These simple steps help your printer deliver sharp, reliable results every time. Additionally, consider using high-quality ink supplies to enhance the overall performance of your printer. Furthermore, understanding the gelato culture can inspire creative designs for your printed materials, reflecting the vibrant artistry seen in Italian gelato shops. Incorporating eco-friendly practices can also contribute to a sustainable printing process, ensuring that your materials are both beautiful and responsible. Electric dirt bikes, for example, showcase strong resale value due to their brand reputation, which can inspire confidence in the quality of your printed designs. To maximize your printing efficiency, consider utilizing automated trading techniques to streamline your workflow.
Regular Printer Maintenance
Regularly maintaining your printer is essential to keep print quality consistent over time. Regular printer cleaning prevents dust and debris from clogging nozzles or damaging internal components, guaranteeing smooth operation. When you clean your printer, you also help extend the ink cartridge’s longevity by preventing ink waste caused by printing with blocked or dirty nozzles. Make it a habit to check for paper jams, clear the print head, and remove dust from vents or rollers. Using manufacturer-recommended cleaning routines and supplies keeps your printer running efficiently. This routine maintenance reduces the chances of streaks, smudges, or faded prints. By dedicating a few minutes to regular upkeep, you guarantee reliable, high-quality prints without costly repairs or replacements. Additionally, incorporating regular document scanner maintenance can further enhance print clarity and overall performance.
Use Quality Ink Supplies
Using high-quality ink supplies is vital for maintaining consistent print quality because cheap or incompatible inks can cause clogs, smudges, and color inconsistencies. When you choose reputable ink brands, you guarantee that ink color remains true and vibrant, reducing the chances of faded or uneven prints. Quality inks also help maximize cartridge lifespan, meaning you get more prints before needing replacements. Poor-quality ink can dry out or clog the printhead, leading to costly repairs and frequent cartridge changes. By investing in reliable ink supplies, you maintain a smooth printing process and achieve professional results consistently. This simple step considerably reduces print quality issues and keeps your printer running efficiently over time. Additionally, ensuring color accuracy in your prints can enhance the overall visual experience, similar to how it impacts projector image quality. Using quality inks will allow you to achieve innovative design solutions that elevate your printed materials. Furthermore, just as mind-body healing can improve emotional well-being during stressful times, maintaining your printer with quality supplies can alleviate the frustration of inconsistent prints.
Store Paper Properly
Ever wonder why your prints sometimes look faded or smudged even when you’ve used good ink? The key is how you store your paper. Proper paper storage prevents moisture absorption and maintains print quality over time. Keep your paper in a cool, dry place, away from direct sunlight, and avoid exposing it to temperature fluctuations. Humidity control** is essential — too much moisture makes paper curl and causes smudging, while too little can make it brittle. Consider the following tips:
- Store paper in airtight containers or resealable plastic bags.
- Use desiccants to control humidity levels.
- Keep paper flat and upright on shelves, avoiding stacking.
Additionally, consistent care for your gear can significantly enhance your overall printing experience. Maintaining a stable environment for your materials is crucial for achieving consistent quality in your prints. Implementing energy-saving tips can also help minimize heat and humidity fluctuations that affect paper integrity. Understanding basic financial management principles can further help you invest wisely in high-quality printing supplies. The importance of proper paper storage cannot be underestimated, as it plays a vital role in preserving the integrity of your prints.**
How Mastering This Setting Saves You Time and Money
Mastering this one setting can substantially cut down the time and money you spend on troubleshooting print quality issues. When you properly calibrate your colors, your prints will consistently match your digital files, reducing wasted ink and paper. Additionally, selecting the right paper type for your project guarantees best adhesion and color accuracy, minimizing reprints. By maintaining accurate color calibration, you avoid the need for repeated adjustments or costly trial runs, saving both time and resources. Proper paper selection prevents print defects like smudging or dull colors, which often require troubleshooting. Overall, mastering these settings streamlines your printing process, improves quality upfront, and reduces costly mistakes, making your workflow more efficient and affordable.
Troubleshooting When Adjustments Don’t Fix Your Prints

When adjustments to your printer’s settings don’t resolve print quality issues, it’s time to look beyond the usual tweaks. Often, the problem lies in factors like print calibration or ink color consistency. Start by checking if your printer needs a thorough calibration to align colors and improve image sharpness. If print calibration seems fine, consider the ink color—faded or off hues can indicate ink is running low or needs replacement. Additionally, inspect for hardware issues such as clogged nozzles or dirty print heads. To deepen your troubleshooting, consider these steps:
Check for clogged nozzles and clean print heads to improve print quality.
- Perform a print head cleaning cycle
- Verify ink cartridge integrity and replace if necessary
- Run a color test print to identify specific color discrepancies
These measures can help you identify underlying issues and restore best print quality.
Frequently Asked Questions
Can Changing DPI Affect Your Printer’s Speed?
Yes, changing the DPI can affect your printer’s speed. Higher DPI settings produce more detailed prints, which often slows down printing because your printer needs to work harder. Regular printer maintenance helps guarantee smooth operation, and it also promotes proper ink drying, preventing smudges. Lowering the DPI for less critical jobs can speed up printing, making it more efficient without sacrificing too much quality.
Does Print Material Type Influence Optimal DPI Settings?
Yes, print material type influences best dpi settings because of material compatibility and print texture. Different materials, like glossy or matte paper, require specific dpi adjustments to guarantee sharpness and detail. Using the right dpi for your material helps prevent issues like blurriness or ink bleeding, resulting in better print quality. Always check your material’s specifications and test different dpi settings to find the perfect balance for your project.
How Often Should You Recalibrate Your Printer for Best Results?
You should recalibrate your printer every few months to guarantee top print quality and ink longevity. Regular print calibration helps prevent color inconsistencies and keeps your output sharp. Don’t wait until prints become unclear or colors fade—suspense builds when you realize how small adjustments can make a big difference. By staying proactive, you maintain peak performance, ensuring your printer delivers professional results every time.
Are There Specific DPI Settings for Different Print Projects?
Yes, you should adjust the DPI settings based on your print project. For high-quality photos, set your printer to a higher print resolution, like 300 DPI, to guarantee sharp image clarity. For text documents or drafts, lower DPI settings, such as 150 DPI, work efficiently without sacrificing quality. Matching the DPI to your project helps produce ideal print resolution and ensures your images look crisp and clear.
What Is the Impact of High DPI on Ink Consumption?
High DPI reduces ink efficiency because it uses more ink to achieve finer resolution clarity. While your prints look sharper, they also consume more ink, which can increase costs and waste. If you’re aiming for a balance, consider lowering the DPI for less detailed projects to save ink, or increase it for high-quality images where resolution clarity is critical. Adjusting DPI helps optimize ink use based on your needs.
Conclusion
Think of your printer as an artist’s brush—adjusting the DPI is like sharpening it for a masterpiece. When you fine-tune this setting, you’re not just fixing print quality; you’re revealing the full potential of every detail and color. I once spent hours troubleshooting a blurry print, only to realize a simple DPI tweak made all the difference. Master this setting, and you’ll save time, money, and frustration—your printer will thank you.