You can easily start screen printing at home with simple DIY methods using basic materials like mesh screens, stencils, squeegees, and suitable inks such as water-based or plastisol. Choose the right stencil technique, like emulsion or vinyl cutouts, and make sure to secure your materials well for clean results. Practice consistent ink application and proper cleaning to improve your projects. Keep exploring for detailed tips to master this fun, creative process.
Key Takeaways
- Choose the right ink type (water-based or plastisol) based on your surface and project needs.
- Use emulsion or adhesive stencil techniques for detailed and durable designs.
- Secure your screen properly and apply ink evenly with a squeegee for best results.
- Select the appropriate mesh count for your design’s detail level.
- Clean your screen thoroughly after each use to maintain quality and stencil longevity.
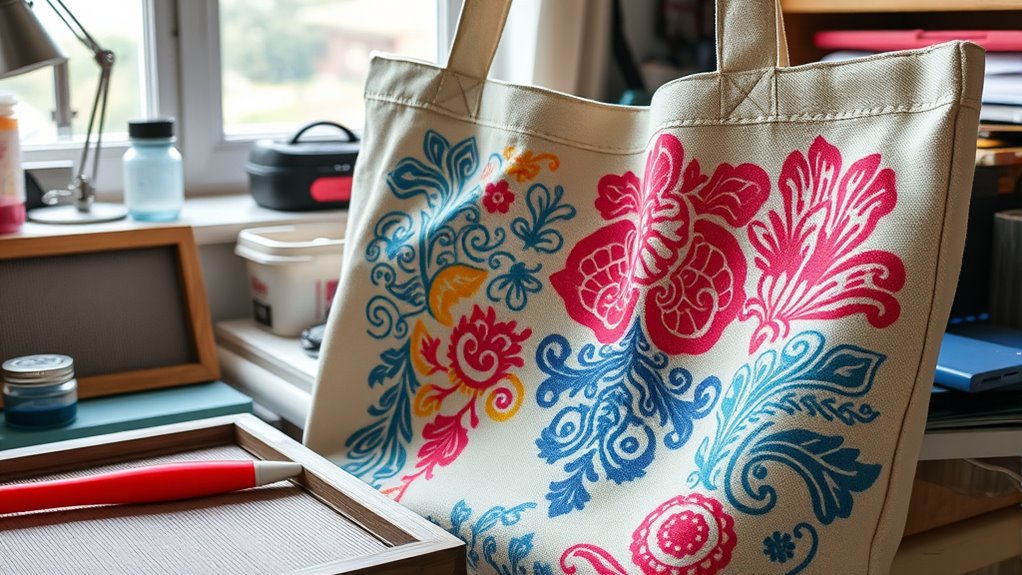
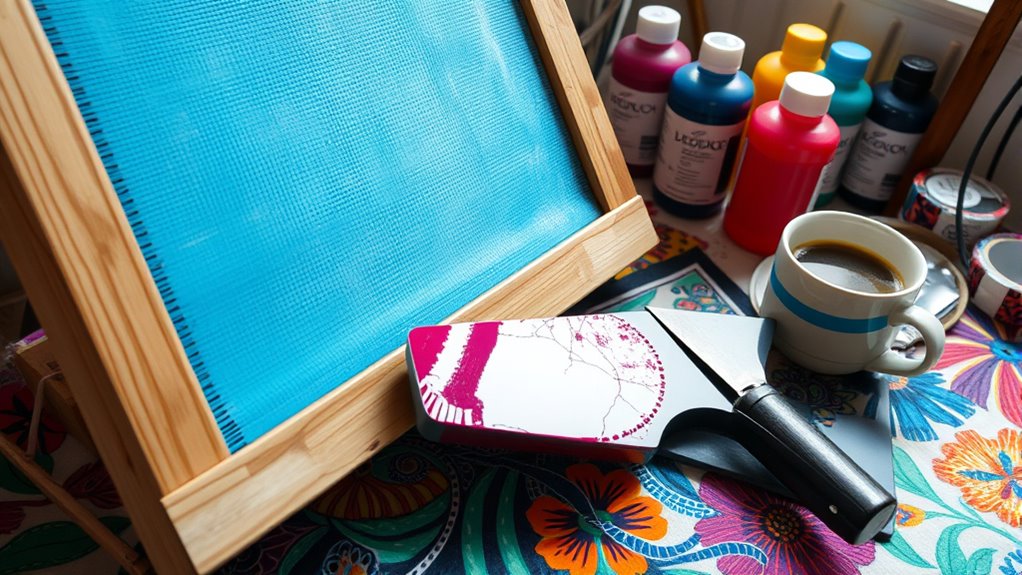
Screen printing at home is a fun and cost-effective way to create custom designs on various surfaces. Whether you want to personalize t-shirts, tote bags, or posters, mastering the basics of ink types and stencil techniques can help you achieve professional-looking results without the need for expensive equipment. The key to successful DIY screen printing starts with understanding the different ink types available. Water-based inks are popular for their ease of use and eco-friendliness, making them ideal for soft fabrics like cotton. Plastisol inks, on the other hand, are more durable and vibrant, perfect for projects that need a longer-lasting finish. Solvent-based inks are less common but useful for printing on non-porous surfaces such as plastics or metals. Choosing the right ink depends on the surface you’re printing on and the desired outcome, so take some time to research which type suits your project best.
Once you’ve selected your ink, you’ll need to focus on stencil techniques to create your designs. The stencil is the heart of screen printing, controlling where the ink passes through the mesh. You can create stencils using various methods, but the most straightforward for beginners is using emulsion or adhesive stencils. With emulsion, you coat a screen with a light-sensitive liquid, then expose it to light through your design, washing away the unexposed areas to reveal your stencil. This method produces durable, detailed stencils suitable for multiple prints. Alternatively, adhesive stencils or vinyl cutouts are simpler for small projects or one-off designs; you stick them onto your screen and paint over them with ink. Whichever technique you choose, guaranteeing your stencil adheres well and has clean edges will greatly influence the quality of your print. Additionally, understanding the importance of fineness of mesh and how it affects detail can improve your results significantly.
When working with ink types and stencil techniques, preparation is essential. Use the right mesh count for your project—finer meshes for detailed designs and coarser ones for bold, solid images. Make sure your stencil is securely attached and free of air bubbles or gaps, as these can cause ink to bleed or your design to blur. When applying ink, use a squeegee at a consistent angle and pressure to ensure even coverage. Clean your screen thoroughly after each use to maintain the integrity of your stencils and prevent ink from drying in the mesh. With practice, you’ll find that adjusting your ink choice and refining your stencil process makes a noticeable difference in the clarity and durability of your prints. Mastering these foundational elements will make your home screen printing projects more successful and enjoyable.
screen printing kit for beginners
As an affiliate, we earn on qualifying purchases.
As an affiliate, we earn on qualifying purchases.
Frequently Asked Questions
What Safety Precautions Should I Take During DIY Screen Printing?
When DIY screen printing, you should wear personal protective equipment like gloves and masks to protect your skin and lungs from inks and chemicals. Make certain your workspace is well-ventilated to avoid inhaling fumes. Keep your area clean and organized, and handle chemicals carefully. By taking these precautions, you reduce health risks and create a safer environment for your screen printing projects.
Can I Reuse Stencils or Screens Multiple Times?
You absolutely can reuse stencils and screens, like a favorite T-shirt that gets a second life. With proper care, stencil durability and screen longevity improve, letting you create multiple prints. Clean your screens thoroughly after each use, avoid harsh chemicals, and store them in a dry place. This way, your tools stay in top shape, and your DIY projects become more cost-effective, just like finding a hidden gem on a second visit.
What Are the Best Types of Ink for Home Screen Printing?
You should use plastisol or water-based inks for home screen printing, as they offer excellent ink formulations for DIY projects. Plastisol inks provide durable, vibrant results, while water-based inks are eco-friendly and easy to clean. To guarantee the best results, follow proper drying techniques—air drying or using a heat gun—to prevent smudging and ensure the ink cures correctly, giving you professional-looking prints every time.
How Do I Fix Common Screen Printing Mistakes?
You can fix common screen printing mistakes by inspecting your work closely. If you notice ink smudging, verify your squeegee is at the right angle and pressure, then reapply ink smoothly. For mesh tears, patch or replace the damaged sections, or reinforce with mesh repair tape. Always clean your screen thoroughly before reusing it to prevent future issues. Regularly maintaining your equipment minimizes errors and improves your results.
What Environmental Considerations Should I Keep in Mind?
When focusing on environmental considerations, you should use sustainable inks and eco-friendly solvents to minimize your ecological impact. Always work in well-ventilated areas to reduce inhalation risks, and dispose of waste responsibly, following local regulations. Consider using water-based inks over solvent-based ones, as they are less harmful to the environment. By making these choices, you help protect the planet while enjoying your home screen printing projects.
DIY screen printing mesh screens
As an affiliate, we earn on qualifying purchases.
As an affiliate, we earn on qualifying purchases.
Conclusion
Now that you’ve uncovered the secrets of DIY screen printing, you’re ready to transform your workspace into a vibrant artist’s studio. With a little patience and the right materials, you can turn blank canvases into eye-catching masterpieces, like a magician pulling colorful rabbits from your sleeve. So roll up your sleeves, get creative, and let your imagination run wild—because with your newfound skills, every t-shirt or poster is just waiting to tell your story.
water-based textile ink for screen printing
As an affiliate, we earn on qualifying purchases.
As an affiliate, we earn on qualifying purchases.
silkscreen stencil making supplies
As an affiliate, we earn on qualifying purchases.
As an affiliate, we earn on qualifying purchases.