To explore monotype techniques for unique prints, start by applying ink, paint, or dye directly onto a smooth, non-absorbent surface like acrylic or glass. Use brushes, sponges, or your fingers to manipulate and blend colors, creating spontaneous textures and gradients. Layers can be added for complexity, and tools like palette knives help build depth. Emphasizing tactile, hands-on work, you’ll produce one-of-a-kind artworks that reflect your personal style—get ready to uncover more creative possibilities.
Key Takeaways
- Use non-absorbent surfaces like acrylic or glass to apply inks or paints directly for rich, textured prints.
- Blend inks on the surface with brushes, sponges, or fingers to create seamless color transitions and depth.
- Layer multiple colors and textures, allowing each layer to dry partially for complex, multi-dimensional effects.
- Incorporate spontaneous gestures and tools like palette knives to produce unpredictable, unique mark-making.
- Emphasize the tactile, hands-on process to capture fleeting inspiration and produce one-of-a-kind artworks.
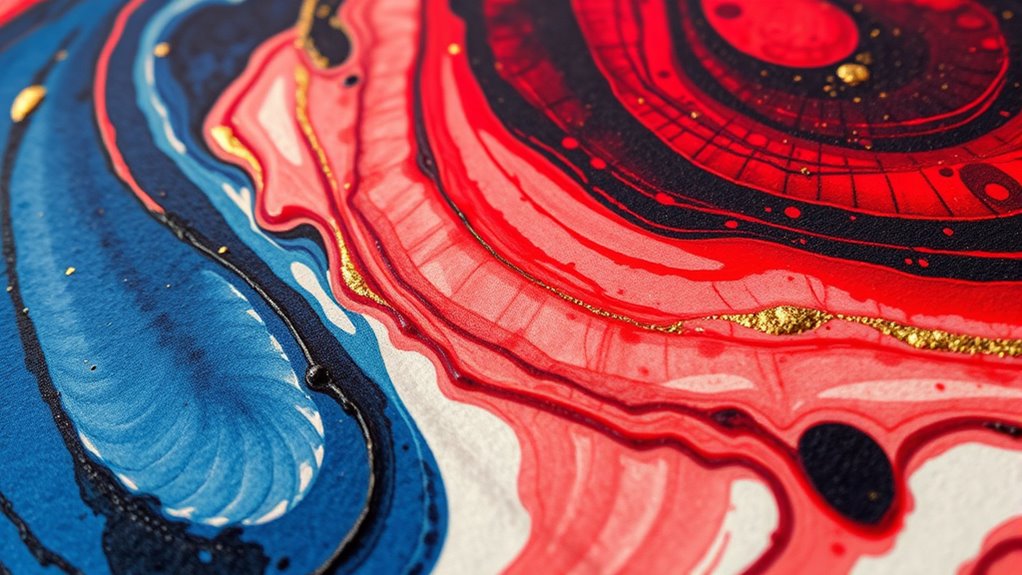
Have you ever wondered how artists create one-of-a-kind prints that blend painting and printmaking? Monotype techniques make this possible, offering a unique way to produce expressive and unpredictable images. Unlike traditional printmaking, where you carve or etch into a plate, monotype involves painting or drawing directly onto a smooth surface, then transferring that image onto paper. This process results in a single, one-of-a-kind print that can’t be exactly replicated. The magic lies in the spontaneity and the tactile engagement with materials, allowing you to experiment freely and capture your artistic intuition.
Monotype art combines spontaneity, tactile engagement, and unique prints that capture the artist’s intuitive expression.
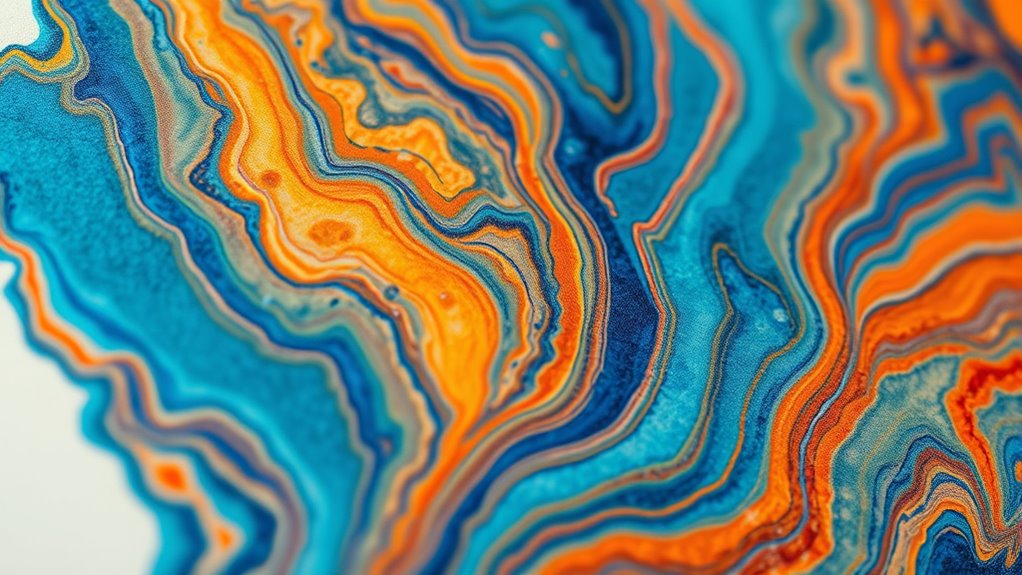
One of the key aspects in creating mesmerizing monotypes is ink blending. You start with a smooth, non-absorbent surface—such as a acrylic or glass sheet—and apply various inks, paints, or dyes. Using brushes, sponges, or even your fingers, you blend these colors together directly on the surface. Ink blending lets you create seamless transitions and subtle color gradients, which add depth and richness to your print. As you work, you can manipulate the inks by smudging, dragging, or layering them, giving you control over the tonal variations. The process is highly intuitive, encouraging you to explore different combinations and techniques to achieve the desired visual effects.
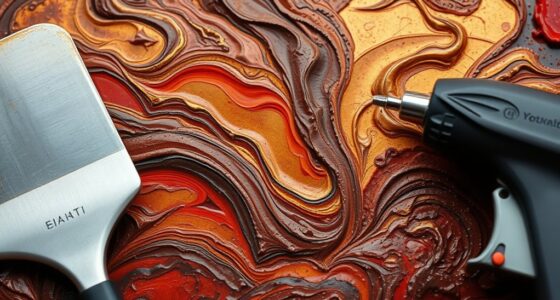
Color layering is equally important for creating complexity in your monotypes. After applying the initial layer of ink or paint, you can let it dry or partially dry before adding additional layers. This layering builds up textures and hues, resulting in a vibrant, multi-dimensional image. Each layer can be manipulated with tools like palette knives or brushes, allowing you to introduce textures or subtle shifts in color. When you transfer the image onto paper, these layers come together, creating a rich tapestry of colors and forms that seem to glow with life. The unpredictability of how colors interact during layering often leads to surprising, serendipitous results, which is part of the charm of monotype art.
Throughout this process, your hands-on approach and willingness to experiment with ink blending and color layering will influence the final print. You might notice that some areas blend smoothly while others have more textured, tactile qualities. Each print becomes a unique piece, shaped by your choices and spontaneous gestures. With practice, these techniques allow you to develop your personal style, capturing fleeting moments of inspiration on paper. The beauty of monotype lies in its ability to combine controlled artistry with unpredictable outcomes, making every print a singular expression of your creative vision. Additionally, understanding the materials used can help you better control the results and push the boundaries of your artistic expression.
Frequently Asked Questions
Can Monotype Printing Be Combined With Other Printmaking Methods?
You can definitely combine monotype printing with other printmaking methods, creating exciting mixed media pieces. Layering techniques allow you to add depth by overlapping monotypes with techniques like etching or screen printing. This approach enhances your artwork’s texture and complexity, giving you unique, dynamic results. Experimenting with different methods together can push your creativity further and produce one-of-a-kind prints that stand out.
What Are the Best Tools for Beginners in Monotype Printing?
Think of your beginner supplies as the seeds for your creative garden. For monotype tools, start with a smooth plexiglass or glass plate, soft brushes, and a palette knife. Use oil-based or water-based inks to explore different textures. These monotype tools help you experiment without overwhelm. As you grow confident, you’ll discover more advanced supplies, but initially, keep it simple and let your artistic voice blossom.
How Long Does It Take for a Monotype Print to Dry?
Drying time for your monotype print varies based on environmental factors like humidity, temperature, and the type of ink used. Typically, it takes anywhere from a few hours to overnight for the print to dry completely. To speed up drying, guarantee good air circulation and avoid stacking prints. Keep in mind that thicker layers of ink or damp conditions can extend drying time, so patience is key for a perfect finish.
Are There Eco-Friendly or Non-Toxic Materials for Monotype Techniques?
You’ll be glad to know there are eco-friendly options for monotype techniques. You can use biodegradable inks, which break down naturally and reduce environmental impact, and natural substrates like handmade papers or fabric instead of synthetic materials. These options are non-toxic, safe for you, and sustainable for the planet. Incorporating biodegradable inks and natural substrates into your process helps create beautiful, environmentally conscious prints without compromising quality or artistry.
How Can I Preserve and Store My Monotype Prints Effectively?
To preserve your monotype prints, you should use archival storage materials like acid-free sleeves or folders to prevent deterioration. Store them flat in a cool, dry place away from direct sunlight. When displaying, employ framing techniques that include UV-protective glass and acid-free mats to prevent damage. Regularly check your prints for signs of aging, and handle them with clean hands or gloves to maintain their quality over time.
Conclusion
By experimenting with monotype techniques, you discover endless possibilities for creating one-of-a-kind prints that truly reflect your artistic voice. As you explore different methods, you’ll find that each print offers a fresh perspective and a unique rhythm, proving that spontaneity often leads to the most mesmerizing results. Embrace the process, trust your instincts, and let your creativity flow freely—because in monotype printing, every mark you make contributes to a beautiful, authentic masterpiece.
