
To build a washout area at home without flooding, choose a spot near your work zone but away from electrical outlets and high traffic. Install proper drainage or a bucket system, use waterproof surfaces, and add splash guards or absorbent mats. Regularly check for leaks, clean the area, and keep debris clear. Taking these steps helps prevent floods and keeps your studio safe; explore further for detailed tips on perfecting your setup.
Key Takeaways
- Select a waterproof, well-drained location away from electrical outlets and high traffic areas.
- Install proper drainage systems with barriers to contain and divert excess water safely.
- Use splash guards and absorbent mats to prevent spills from spreading beyond the designated zone.
- Regularly inspect seals, pipes, and drainage for leaks or blockages, and maintain water containment features.
- Keep materials and tools organized to minimize clutter and reduce overflow risks during cleaning processes.

Splat Mat for Under High Chair/Arts/Crafts, WOMUMON Washable Spill Mat Waterproof Anti-Slip Floor Protector Splash Mat, Messy Mat and Table Cloth
SAFE MATERIAL – The fabric of our splash mat is polyester, lead free, phthalate and BPA free, odor…
As an affiliate, we earn on qualifying purchases.
As an affiliate, we earn on qualifying purchases.
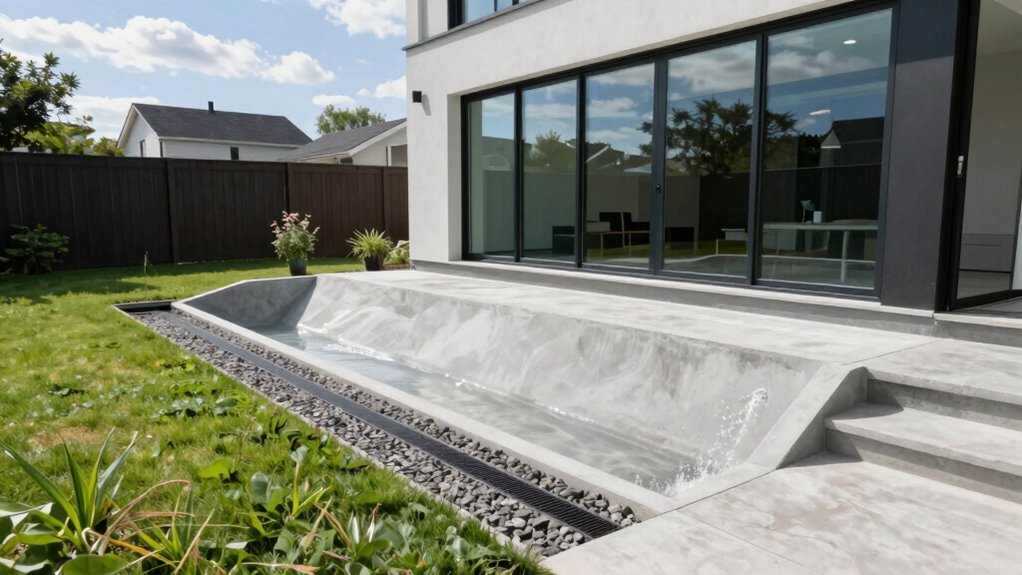
Why a Proper Washout Area Matters for Your Art Studio

Having a proper washout area in your art studio is essential for maintaining a clean, safe, and efficient workspace. It helps you manage messy materials like paints, inks, and solvents without cluttering your creative space. When your studio layout includes an organized washout zone, you can quickly rinse brushes or dispose of excess paints, preserving your artistic inspiration. A dedicated area minimizes the risk of spills or contamination, keeping your workspace safe and hygienic. Plus, it supports a smoother workflow, so you spend less time cleaning and more time creating. The right layout emphasizes practicality, making your studio a place where inspiration flows freely. In short, a well-designed washout zone enhances your overall artistic process and keeps your studio tidy. Additionally, implementing eco-friendly practices can further enhance the sustainability of your creative environment, while incorporating top car protection accessories can help safeguard your vehicle during transport. By prioritizing digital concepts, you can also explore innovative solutions to optimize your workspace effectively.
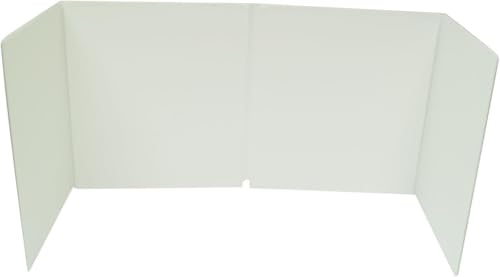
Mr. Splash Grinder Splash Guard – 4-Panel Vinyl Shield for Glass Grinders – Protects Work Area from Debris – 21" x 8" x 11.25" – Easy to Set Up and Clean
Meet Mr. Splash – A vinyl splash guard that surrounds your grinder and shields your work area from…
As an affiliate, we earn on qualifying purchases.
As an affiliate, we earn on qualifying purchases.
How to Choose the Best Location for Your Washout Zone
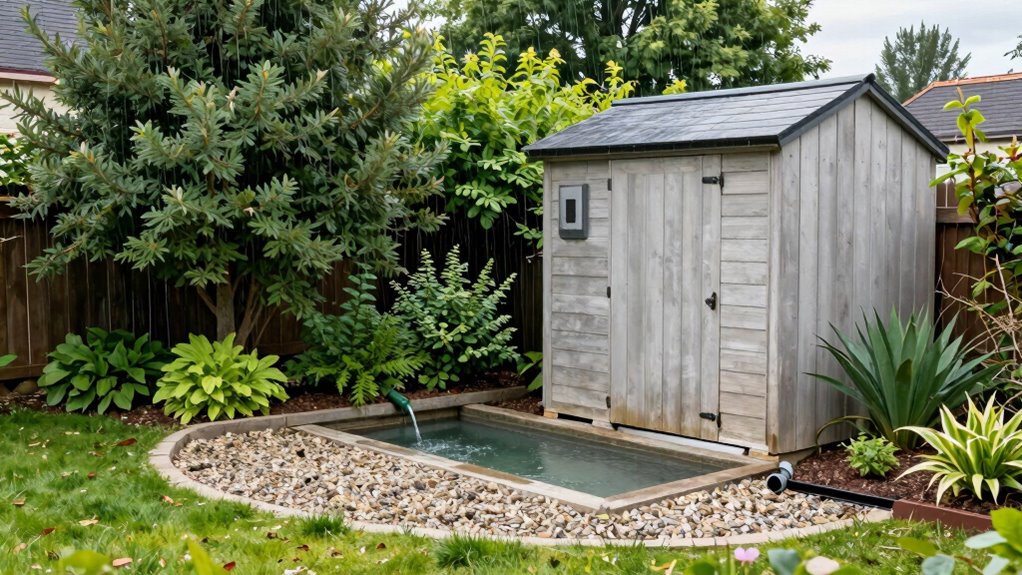
Where should you place your washout zone to guarantee it’s functional and convenient? Choose a spot near your work area but away from direct sunlight and high-traffic zones. This location should allow easy access for color mixing and brush cleaning without disrupting your workflow. Position it on a waterproof surface, like tile or sealed concrete, to prevent damage from spills. Make certain there’s proper drainage or a bucket system to handle excess water. Keeping your washout area organized with supplies within reach, such as brushes, rags, and cleaning solutions, is essential for efficiency. Additionally, consider the importance of proper drainage to avoid water buildup and potential hazards. Incorporating a sustainable design can enhance both functionality and environmental responsibility in your workspace. Having a well-planned workspace layout will further streamline your cleaning processes. Avoid placing it near electrical outlets or equipment to prevent electrical hazards. The ideal spot strikes a balance between practicality and safety, making clean-up quick and efficient without risking water damage or flooding in your studio. Consider incorporating Victorian-inspired design elements to enhance the overall aesthetic of your workspace. Utilizing interactive murals can also inspire creativity in your environment, making the washout zone more enjoyable to use.
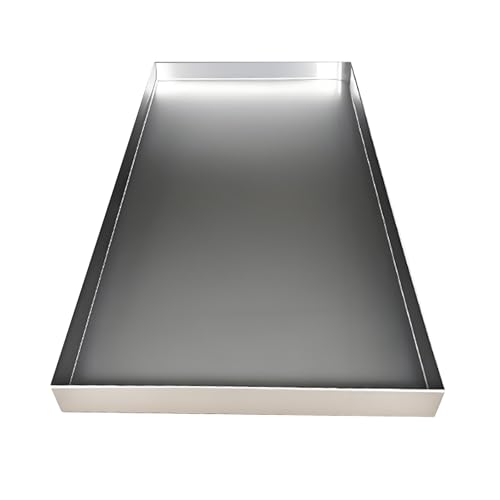
Heavy Duty Stainless Steel Drip Tray – 30x80cm Water Catcher for AC Units, Refrigerators, HVAC Systems & Art Studios – Durable Drainage Solution for Indoor Use
Multi-Functional Household Tray: This versatile Tray serves as an Air Conditioner Drain Pan, Refrigerator Drip Tray, Plant Tray,…
As an affiliate, we earn on qualifying purchases.
As an affiliate, we earn on qualifying purchases.
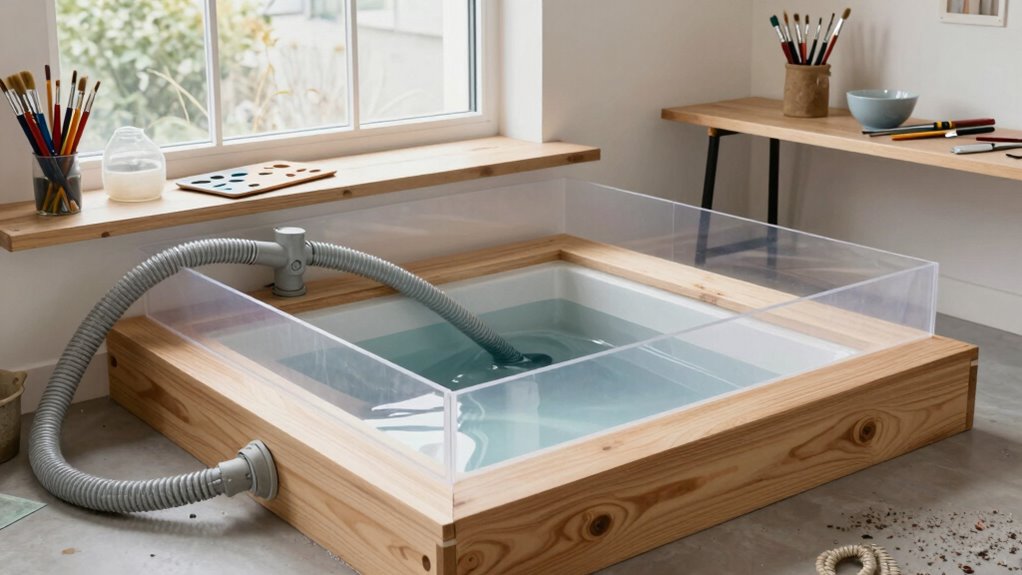
Designing a Water Containment System That Works
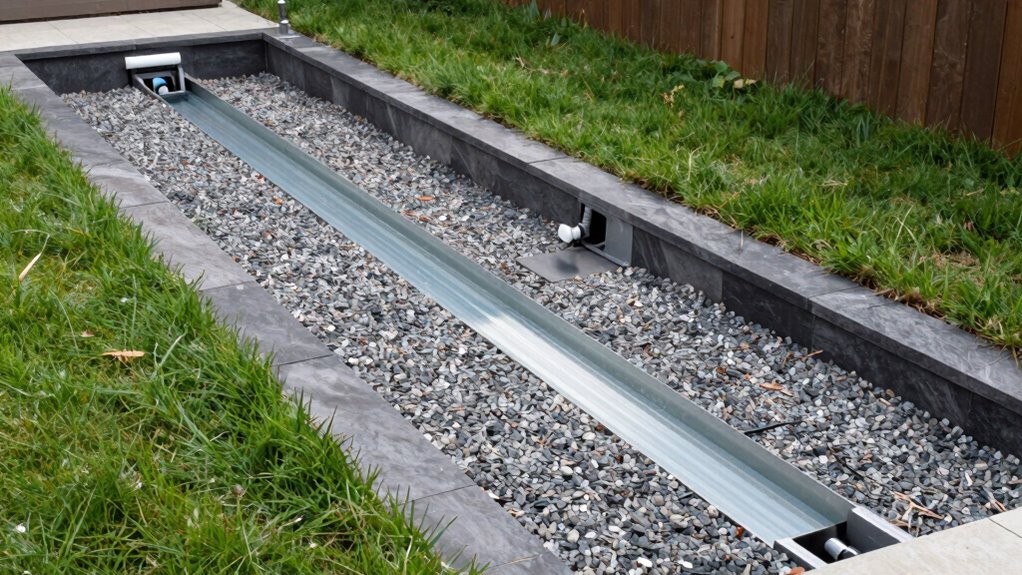
Creating an effective water containment system is essential to prevent spills from spreading and causing damage. To achieve this, design a system that captures water efficiently and allows for reuse or safe disposal. Incorporate water recycling techniques to minimize waste, such as filtering and repurposing runoff for other tasks. It’s important to be aware of early detection methods that can help you manage spills before they escalate. Use eco-friendly materials like recycled plastics, biodegradable liners, or natural stone to build your containment area. Guarantee your design includes a stable base and proper sealing to prevent leaks. Consider the flow of water, directing it toward collection points without overflows. This approach not only ensures functional design but also promotes work-life harmony by reducing stress associated with potential water damage. Additionally, employing AI surveillance technology can help monitor the area for any potential leaks or spills. Adding a hydrotherapy element can also enhance relaxation and recovery after work. Keep maintenance simple by choosing durable, sustainable materials. A well-designed system not only safeguards your studio but also promotes environmental responsibility through water recycling and eco-conscious choices. Additionally, integrating smart pool automation can enhance your overall water management efficiency.

Nuanchu 36 Pcs Peel and Stick Shower Waterproof Tiles Wall Panels 12 x 12 Inch Self Adhesive Backsplash with Ruler Knife & 2 Scrapers for Washroom Bathroom Living Room, Not Real Tile (Grey Marble)
PVC Wall Panels: you will receive 36 peel and stick wall tiles, each measuring about 12 x 12…
As an affiliate, we earn on qualifying purchases.
As an affiliate, we earn on qualifying purchases.
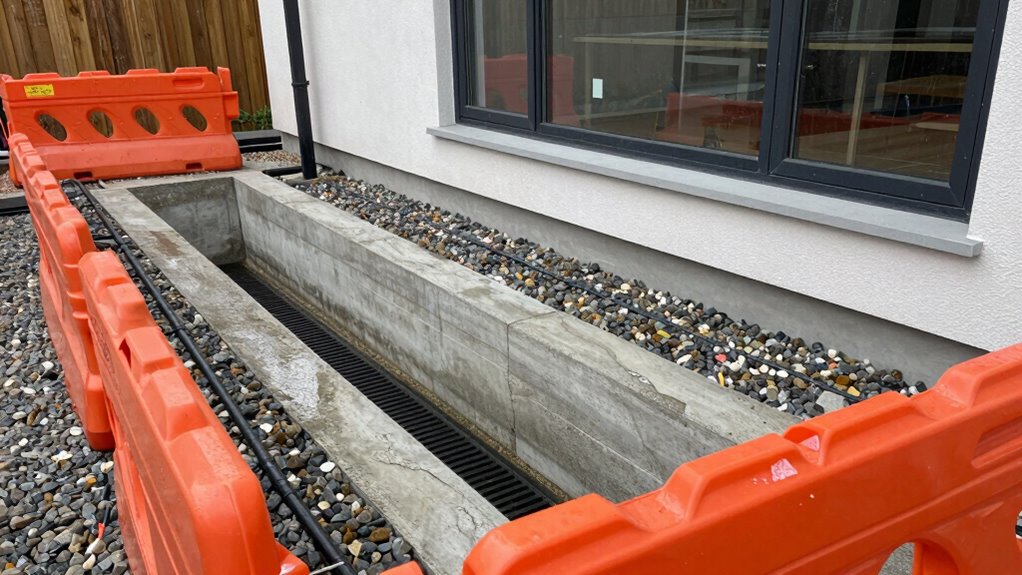
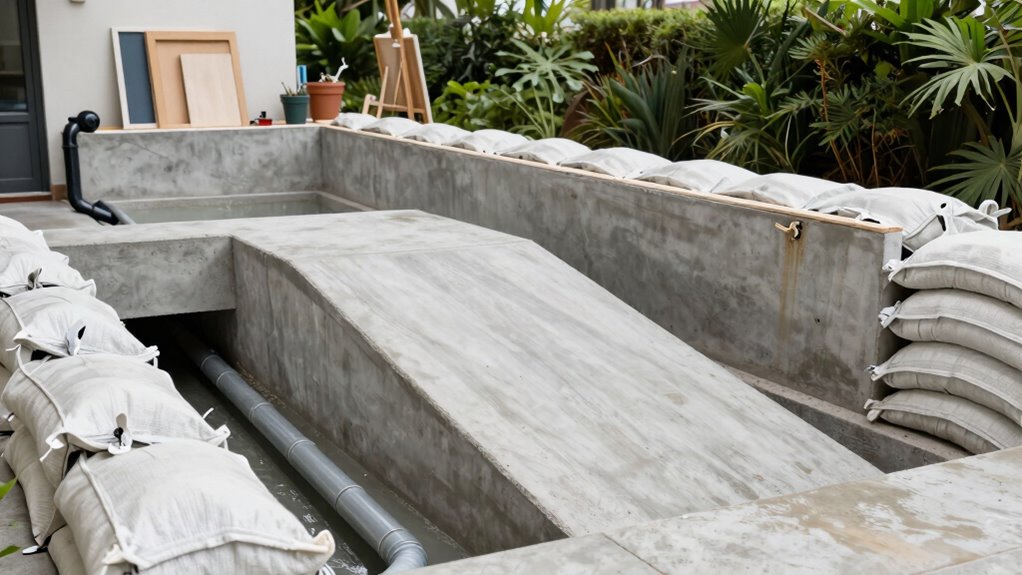
Installing Drains and Barriers to Prevent Flooding
Sure! Here’s the revised content with the requested changes:
—
How can you effectively prevent flooding around your washout area? Installing drains and barriers is key. Place a well-designed drain system to channel excess water away from your workspace. Use barriers like raised edges or flood barriers to contain spills, especially during color mixing or brush cleaning, preventing water from seeping into unwanted areas. Ensuring that your workspace is equipped with essential safety tips can further enhance your protection against water damage. A well-planned digital publishing project can help you explore the best materials and methods for your setup. Additionally, consider integrating sound healing techniques in your workspace, as they can promote relaxation and focus during creative sessions. Having a cozy atmosphere can also make your washout area more inviting and functional.
| Barrier Type | Best Use Case |
|---|---|
| Raised Edges | Contain splashes during color mixing |
| Flood Barriers | Protect adjacent areas from overflow |
| Drain Grates | Efficiently direct water away |
Consider positioning your drains strategically near frequently wet zones. Proper barriers keep your studio dry, ensuring you can clean brushes or mix colors without risking flood damage. Additionally, ensure that the area is well-ventilated to prevent essential oils for respiratory health issues from accumulating moisture.
—
Let me know if you need any further adjustments!
Selecting Materials That Keep Water Inside
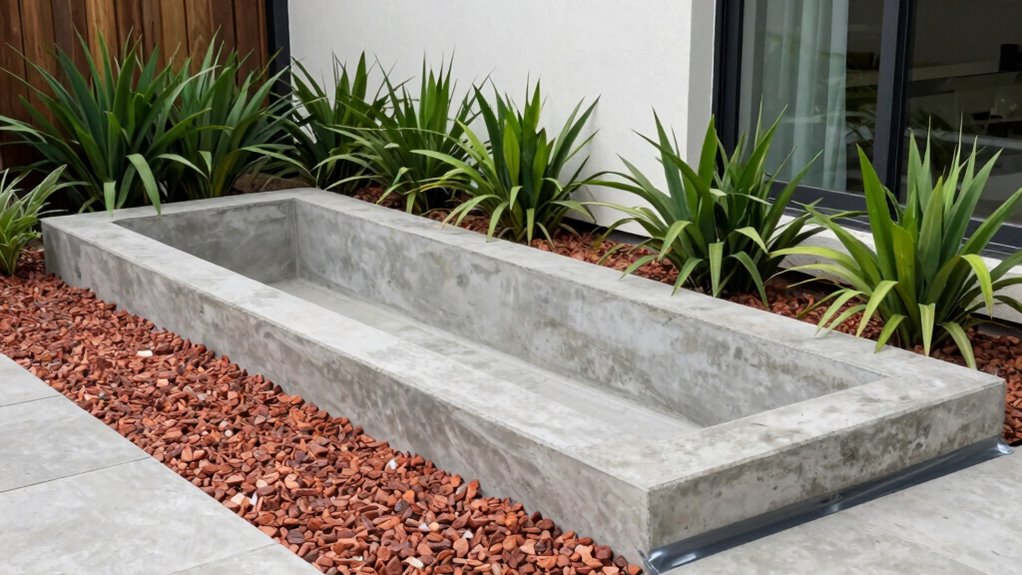
Choosing the right materials is essential to effectively keep water inside your washout area. You need durable, reliable options that prevent leaks and manage water flow. Waterproof seals are crucial—they create a tight barrier around edges and joints, stopping water from escaping. Additionally, understanding dream symbolism can help you design a space that resonates with personal meaning. High-quality waterproof sealants can also enhance color accuracy, ensuring that not only is your area protected, but visually appealing as well. Incorporating risk management strategies can further ensure the longevity and effectiveness of your washout area. Utilizing effective paint straining techniques can also prevent unwanted debris from contaminating your workspace. Absorbent barriers can help contain spills and minor leaks, preventing water from seeping into unwanted areas. The materials you select should resist wear and environmental damage over time, ensuring long-lasting performance. Additionally, considering family-friendly attractions can inspire creative designs for your washout area that cater to various needs.
- High-quality waterproof sealant for joints and edges
- Heavy-duty rubber or vinyl liners
- Absorbent barriers like sandbags or specialized mats
- Weather-resistant, flexible sealing tapes
Daily Tips to Maintain and Use Your Washout Area Safely

To keep your washout area safe and effective, make sure to clear debris regularly so water flows smoothly. Always wear proper safety gear when working in or around the area to protect yourself. Remember not to overload the space, as it can lead to spills or accidents. Additionally, understanding informal language can help you communicate effectively with others about safety practices in your washout area. Implementing effective email strategies can also enhance coordination with team members regarding maintenance schedules and safety updates.
Regularly Clear Debris
Have you ever considered how quickly debris can accumulate in your washout area if you don’t stay on top of it? Regularly clearing debris keeps your space functional and reduces environmental impact. It also helps with water conservation by preventing blockages that cause unnecessary water waste. When debris builds up, contaminants can seep into the ground, risking pollution, so consistent removal minimizes this risk. Additionally, keeping your washout area clean ensures efficient operation and prevents foul odors.
- Remove leftover materials and solids daily
- Check for and clear any blockages in drainage
- Dispose of debris responsibly to avoid pollution
- Inspect for signs of erosion or damage regularly
Staying vigilant helps maintain a safe, eco-friendly, and efficient washout area that protects your home and the environment.
Use Proper Safety Gear
Keeping your washout area clean isn’t just about removing debris; it’s also about protecting yourself while working. Always wear personal protective equipment, such as gloves, goggles, and a mask, to shield against splashes and fumes. Proper safety gear minimizes skin contact with hazardous materials and prevents inhalation of harmful particles. Use spill containment measures like drip trays and absorbent pads to catch leaks or spills before they spread. This not only keeps your workspace safe but also makes cleanup easier. Remember, safety gear isn’t optional—it’s vital to prevent accidents and health issues. Before starting any work, check that your protective equipment fits well and is in good condition. Taking these precautions helps ensure your washout area remains a safe, efficient space.
Avoid Overloading Area
Since an overloaded washout area can lead to spills, accidents, and inefficient cleaning, it’s important to avoid piling too much material or equipment in one spot. Overloading can cause water runoff, wasting water and increasing environmental impact. To prevent this, only keep necessary supplies nearby, and regularly clear unused items. Use containers to contain excess materials, reducing spill risks. Be mindful of water conservation by minimizing unnecessary rinsing and waste. Distribute tools and materials evenly to maintain balance and safety. Proper organization helps prevent overflow during cleaning, saving water and reducing pollution. Keeping the area manageable ensures safer use, less waste, and a smaller environmental footprint. Ultimately, thoughtful management safeguards your workspace while supporting eco-friendly practices.
Troubleshooting Common Flooding and Leak Problems
Flooding and leaks can quickly turn into major problems if you don’t address them promptly. To troubleshoot effectively, start by inspecting your water filtration system; clogged filters can cause leaks or inadequate drainage. Use leak detection tools or simple visual checks to identify the source of leaks early. Regularly inspect pipes, fittings, and seals for cracks or corrosion. Ensuring your drainage is clear prevents water from pooling around your washout area. If you notice persistent leaks, tighten fittings or replace damaged parts immediately. Installing a water alarm can alert you to leaks before they cause significant flooding. Consistent maintenance and close monitoring help you catch problems early, avoiding costly repairs and protecting your studio from water damage.
Safety Tips to Protect Your Artwork and Studio
To protect your artwork and studio, start by securing valuable pieces in safe locations. Elevate essential equipment to prevent water damage, and keep emergency supplies nearby for quick access. Taking these steps helps guarantee your creative space stays safe during unexpected floods or leaks.
Secure Valuable Artworks
Protecting your valuable artworks is essential to guarantee they stay safe during construction or renovation activities. To assure proper art preservation and maintain display security, take proactive steps. First, move artworks to a secure, climate-controlled storage area away from dust, debris, and potential damage. Use sturdy, padded containers for fragile pieces. Second, install temporary barriers or protective coverings around your display areas to prevent accidental bumps or spills. Third, document each piece with high-quality photos for insurance and recovery purposes. Finally, keep a detailed inventory of all artworks, noting their locations and condition. These measures help safeguard your collection, minimize risk, and guarantee your art remains in pristine condition during your home improvements.
Elevate Essential Equipment
Ensuring your artworks and studio equipment stay safe during construction requires more than just moving items to secure locations. Elevate essential equipment to prevent water damage and preserve your artistic inspiration. Use sturdy stands or shelves above potential flood levels, reducing the risk of water exposure. This simple step also conserves water by avoiding frequent cleanup or replacements. Protecting your tools and materials now means less stress later, allowing you to focus on your creative flow.
| Protect Your Art | Prevent Water Damage |
|---|---|
| Elevate paintings and sculptures | Keep brushes and paints dry |
| Secure fragile equipment | Minimize water-related accidents |
| Use waterproof containers | Save time and water |
| Maintain clear pathways | Ensure quick access |
Prepare Emergency Supplies
Preparing emergency supplies is essential to safeguard your artwork and studio quickly when disaster strikes. Being ready helps protect your artistic inspiration and guarantees your color mixing tools stay intact. Gather essential items like waterproof containers for paints and brushes, a portable first aid kit, durable plastic sheeting, and backup power sources for digital work. Keep a stash of archival-quality storage for your favorite pieces and a clean, organized space for your supplies. Consider including a camera or smartphone to document your work before evacuation. These supplies will help you act swiftly, minimizing damage and preserving your creative process. Staying prepared ensures you can focus on protecting your art and studio, even amid chaos. Quick response can make all the difference in safeguarding your creative assets.
Adapting Your Washout Setup for Different Art Projects
Adapting your washout setup for different art projects means tailoring your space to handle various materials and techniques efficiently. For color mixing, you might need a larger, shallow basin to blend hues smoothly without contamination. When it comes to brush cleaning, use specific brushes or brushes designated for certain mediums to prevent cross-contamination. Adjust your setup by adding separate containers for water or solvents, guaranteeing you can switch between mediums easily. Incorporate splash guards or absorbent mats to contain messes during vigorous cleaning or mixing. Keep your tools organized so you can quickly switch between projects. By customizing your washout area, you’ll assure a cleaner workspace, better color control, and more efficient brush maintenance, all while avoiding flooding or mess.
Frequently Asked Questions
How Often Should I Clean and Inspect My Washout Area?
You should clean and inspect your washout area at least once a week to guarantee proper maintenance. Follow a regular maintenance schedule and increase inspection frequency after heavy use or storms. Check for clogs, leaks, or standing water, and clean out any debris promptly. Staying consistent helps prevent flooding and keeps your studio safe. Remember, regular inspections and cleaning are key to avoiding costly issues down the line.
Can I Use Natural or Eco-Friendly Materials for Containment?
Yes, you can definitely use eco-friendly containment and natural material options for your washout area. Materials like clay, sand, gravel, or recycled rubber are sustainable choices that prevent flooding and are safe for the environment. These natural options help absorb and contain excess water and contaminants effectively. By choosing eco-friendly containment, you protect your studio, reduce environmental impact, and create a safer, more sustainable washout area at home.
What Signs Indicate My System Is Failing or Leaking?
You’ll notice signs like wet spots or puddles near waterproof barriers, indicating leaks. Unusual odors or mold growth can also signal system failure. Regular leak detection checks help you catch issues early, preventing flooding. If you see cracks, water seepage, or inconsistent performance in your containment, it’s time to inspect your waterproof barriers closely and perform leak detection tests. Prompt repairs keep your washout area safe and dry.
How Do I Prevent Odors From Developing in the Washout Zone?
To prevent odors from developing in your washout zone, focus on odor control and good ventilation. You should install a reliable ventilation system that continuously circulates fresh air and removes foul smells. Regularly clean the area to eliminate residue, and consider using deodorizing agents or sealed covers to contain odors. Proper ventilation and cleanliness are key to keeping your washout zone odor-free and comfortable.
Is It Necessary to Get Permits or Comply With Local Regulations?
Getting permits and following local regulations is like steering a map—you need to know the rules to avoid getting lost. You should definitely check permit requirements before building your washout area. Local regulations vary, but they often include safety standards and environmental protections. Ignoring them can lead to fines or project delays. So, contact your local building department to guarantee your project complies and proceeds smoothly.
Conclusion
Creating a well-designed washout area keeps your studio safe and functional. Did you know that improper containment can lead to costly water damage, with some studios facing repairs totaling thousands of dollars? By choosing the right location, installing effective barriers, and maintaining your setup regularly, you prevent flooding and protect your artwork. A reliable washout zone isn’t just convenient — it’s essential for preserving your studio’s integrity and your creative flow.