
To photograph artwork accurately, start by using consistent, daylight-like lighting around 5000K to prevent color shifts and avoid reflections with diffused, angle-adjusted lights or polarizing filters. Set your camera to high resolution, a narrow aperture for depth, and the lowest ISO to keep details sharp. Use a sturdy tripod for stability and position yourself to eliminate glare. Careful post-processing, including calibrated monitors and subtle adjustments, guarantees true colors. Keep exploring to uncover more professional tips.
Key Takeaways
- Use consistent, daylight-balanced lighting at around 5000K with diffusers to minimize glare and color distortion.
- Capture images at high resolution with a small aperture (high f-number) and low ISO for sharp, detailed photos.
- Stabilize your camera on a tripod and employ remote shutter release to prevent shake and ensure clarity.
- Position lights to avoid reflections, and utilize polarizing filters and diffusers to reduce glare on glossy surfaces.
- Calibrate your monitor and work within standard color profiles like Adobe RGB or sRGB during post-processing for accurate colors.
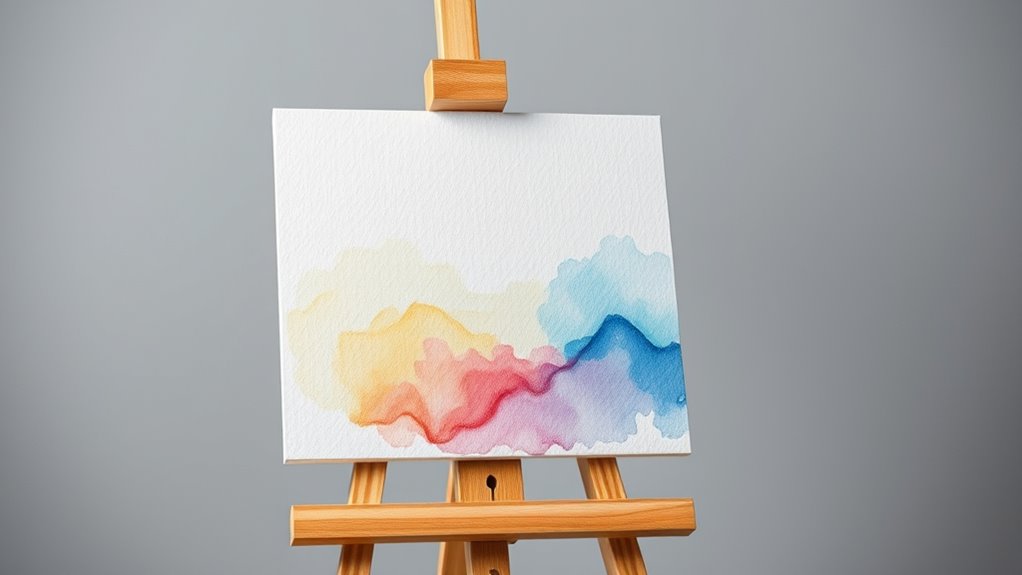
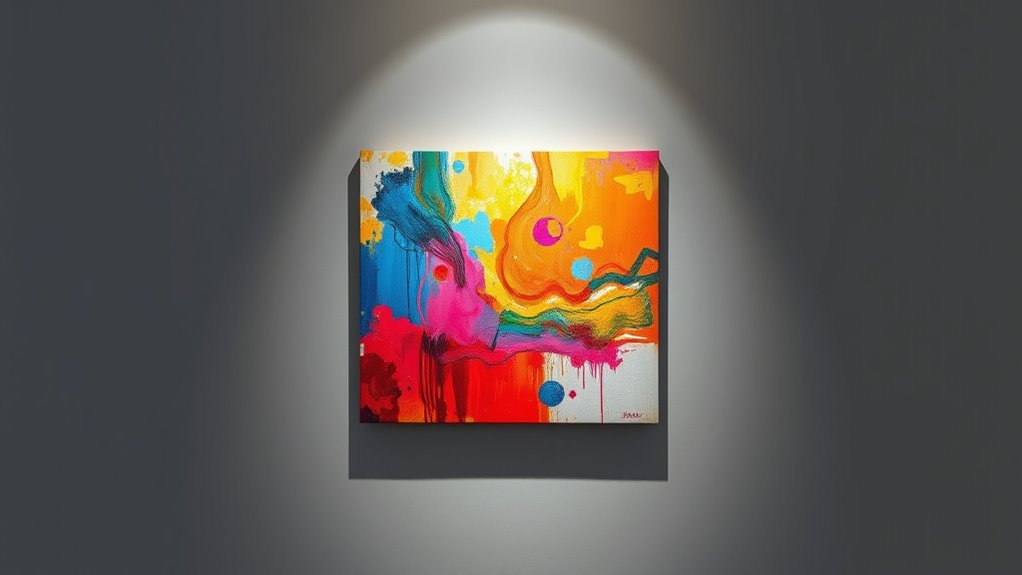
Optimizing Lighting Conditions for True Colors
Lighting plays a essential role in capturing the true colors of artwork. To do this effectively, you need to focus on proper color calibration and consistent color temperature. Start by ensuring your lighting setup has a stable color temperature, ideally around 5000K to mimic natural daylight. This prevents color shifts and maintains accuracy. Use calibrated light sources or filters to achieve consistent lighting, so your photos reflect the artwork’s original hues accurately. Avoid mixed lighting, which can distort colors, and test your setup with a color calibration chart before shooting. Properly calibrated lighting conditions help you reproduce colors faithfully, ensuring that the final image truly represents the artwork’s vibrancy and subtleties. Additionally, understanding the importance of light quality can further optimize your photography results.
Choosing the Right Camera Settings for Detail and Accuracy
Once you’ve established consistent and accurate lighting, selecting the appropriate camera settings becomes vital to capturing artwork’s fine details and true colors. Start by choosing a high camera resolution to guarantee sharpness and clarity, especially for intricate textures. Use the lowest ISO setting possible to reduce noise and maintain image quality. Adjust your aperture settings to control depth of field; a narrower aperture (higher f-number) keeps more of the artwork in focus, revealing fine details without blurring. Avoid wide apertures that create shallow depth of field, which can obscure important elements. Take test shots and review them carefully, adjusting settings as needed. Properly calibrated camera resolution and thoughtful aperture choices are essential for producing accurate, detailed representations of artwork.
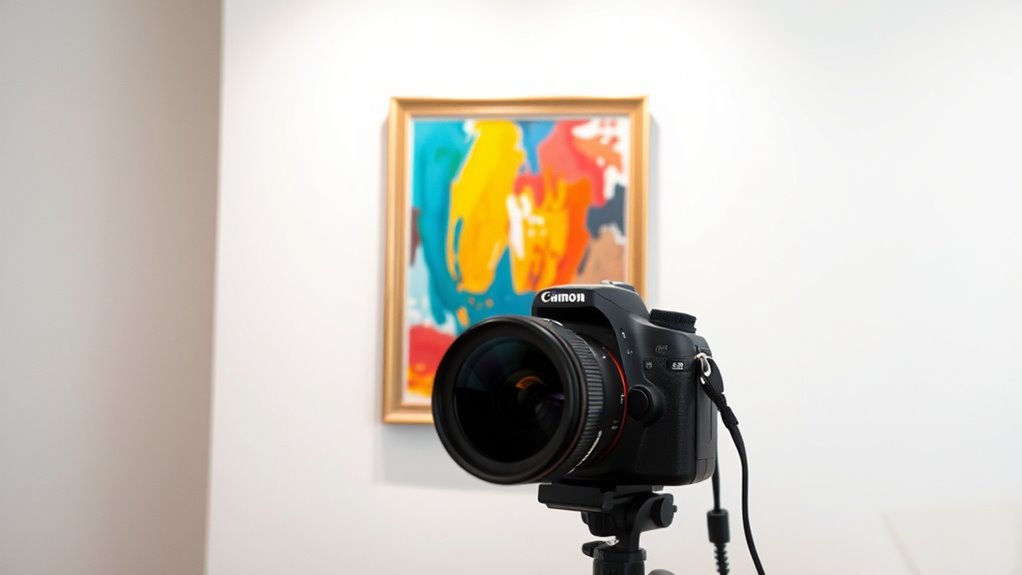
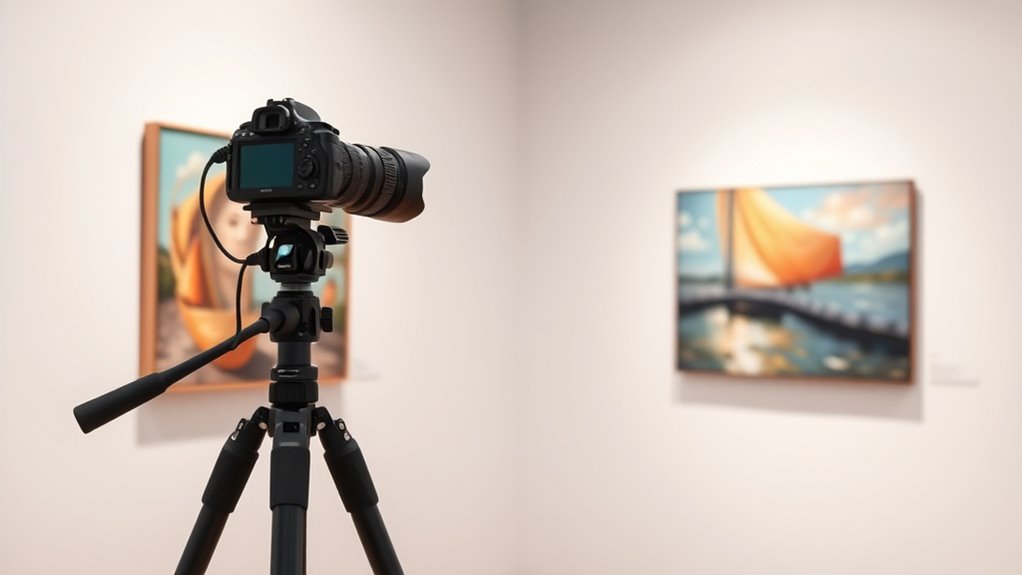
Using Proper Equipment and Stabilization Techniques

To guarantee sharp, accurate images of artwork, using the right equipment and stabilization techniques is essential. Start with a sturdy tripod to ensure tripod stability, preventing camera shake during long exposures or detailed shots. Choose a lens suited for artwork, such as a macro or a prime lens with minimal distortion, to capture fine details and color accuracy. Avoid handheld shots, as even slight movements can blur the image. Secure your camera firmly on the tripod, and consider using a remote shutter release or timer to eliminate vibrations from pressing the shutter button. Proper stabilization combined with the right lens selection allows you to achieve crisp, true-to-life photographs that accurately represent the artwork’s texture and colors. Additionally, understanding color accuracy can help ensure your photos faithfully reproduce the artwork’s hues and shades.
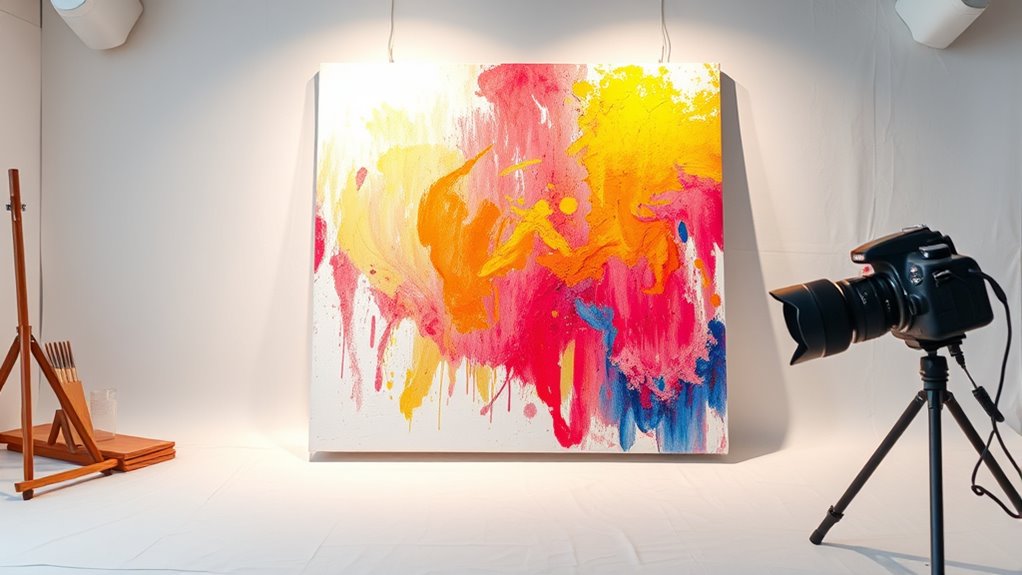
Managing Reflections and Glare on Artwork Surfaces
Managing reflections and glare on artwork surfaces is essential for capturing true-to-life images, especially when dealing with glossy or glass-covered pieces. Gallery reflections can obscure details or distort colors, making it harder to accurately represent the artwork. To minimize surface glare, position your lights at angles that avoid direct reflection into your camera lens. Use diffused lighting or softboxes to soften harsh light sources, reducing shiny spots. Adjust your camera angle slightly or change your position to prevent reflections from bouncing back into the lens. Polarizing filters are highly effective; they help cut down on glare and reflections from reflective surfaces. By controlling lighting angles and employing appropriate filters, you ensure your photographs accurately depict the artwork’s true colors and textures without unwanted reflections. Additionally, understanding the specific properties of different surfaces, such as Kia Tuning modifications, can inform your approach to lighting and reflection control to achieve optimal results.
Editing and Post-Processing for Authentic Representation
After capturing your artwork with proper lighting, the next step is to use editing and post-processing techniques that preserve its true appearance. Start by ensuring accurate color calibration, which aligns your monitor’s display with standard color profiles. This step guarantees you see the artwork’s colors correctly, preventing unintended shifts. When editing, avoid over-saturation or excessive adjustments that could distort the original hues. Use color profiles like Adobe RGB or sRGB to maintain consistency across devices and platforms. Adjust contrast and sharpness carefully to enhance details without altering the artwork’s intent. Always compare your edits to the original image, and if possible, use a calibrated monitor. Incorporating color tuning methods can further refine your images for true-to-life representation. These practices help you produce an authentic digital representation, faithfully reflecting the artwork’s true colors and details.
Frequently Asked Questions
How Do Ambient Light Conditions Affect Artwork Photography Accuracy?
Ambient light conditions greatly impact your artwork photography accuracy. Poor lighting considerations can cause color shifts or uneven exposure, making your images less true to the original. You should pay attention to color temperature, as it influences how colors appear in photos. Using consistent, neutral lighting helps guarantee accurate color representation, while avoiding mixed or overly warm/cool light sources will give you clearer, more precise images of your artwork.
What Are Common Mistakes to Avoid When Photographing Artwork?
Forget perfect lighting setup and correct camera settings? Think again! You’ll want to avoid common mistakes like using harsh, uneven lighting that creates glare, or neglecting proper focus, making your art look blurry. Ignoring color accuracy or relying on auto settings can turn your masterpiece into a digital disaster. Always double-check your exposure and white balance—otherwise, your photo might look like it’s from another universe!
How Can I Photograph Textured or Three-Dimensional Artwork Effectively?
To photograph textured or three-dimensional artwork effectively, you should use lighting techniques that highlight surface details and create depth perception. Position your light source at an angle to cast gentle shadows, emphasizing texture without overexposing. Use a tripod for stability and shoot in RAW format for better edits. Adjust your camera’s aperture to balance sharpness and depth, capturing the artwork’s dimensionality authentically.
What Are Recommended Storage Practices for Digital Artwork Files?
You might find that storing digital artwork files requires careful planning, especially since a single file format like JPEG or TIFF can impact quality. To safeguard your work, you should implement backup strategies such as cloud storage and external drives. Regularly updating and organizing your files guarantees easy access and security. By choosing the right file format and maintaining consistent backups, you protect your art for the long term.
How Do Different Camera Lenses Impact Color Accuracy and Detail?
Different camera lenses considerably impact color fidelity and detail in your artwork photos. Wide-angle lenses may introduce lens distortion, affecting proportions and clarity, while macro lenses capture fine details with precision. To guarantee accurate color reproduction, avoid lenses with color shifts and use proper white balance. Choosing high-quality lenses helps maintain true color fidelity and sharpness, giving you clear, detailed images that accurately reflect the artwork’s original appearance.
Conclusion
So, now that you’ve mastered the art of capturing artwork perfectly, go ahead and ignore the basics. Who needs proper lighting or stable shots when you can just hope for the best? After all, a quick snap with your phone and some Photoshop magic should do the trick, right? Just remember, if your photos look like a toddler’s doodle, don’t blame the methods—blame your artistic talent. Happy “editing”!