
To create depth with layered print techniques, build multiple ink layers to enhance color richness and texture, aligning each precisely to avoid muddiness. Use transparent inks for subtle depth and opaque ones for bold contrast, combining spot and process colors to add vibrancy. Incorporate textures like embossing or debossing to add tactile dimension. Mastering registration ensures sharp, clean results. Keep exploring these methods to access the full potential of layered printing effects.
Key Takeaways
- Use multiple ink layers with varying opacities to build visual depth and dimensionality.
- Incorporate shadow effects and color blending to simulate light and create a sense of space.
- Combine transparent and opaque inks strategically for contrast and layered richness.
- Employ precise registration techniques to ensure alignment and enhance layered depth.
- Add tactile textures or embossing alongside layered inks to increase both visual and physical dimension.

DINGSEN Gel Printing Plate Kit, Complete Printmaking Set with 5” X7” Gel Plate, Brayer, Watercolor Paints, A5 Printmaking Paper, and Essential Tools for Mixed Media Art, Monoprinting, Card Making
Comprehensive Printmaking Kit: Includes everything you need to dive into the world of gel plate printing. The reusable…
As an affiliate, we earn on qualifying purchases.
As an affiliate, we earn on qualifying purchases.
Understanding the Basics of Layered Printing
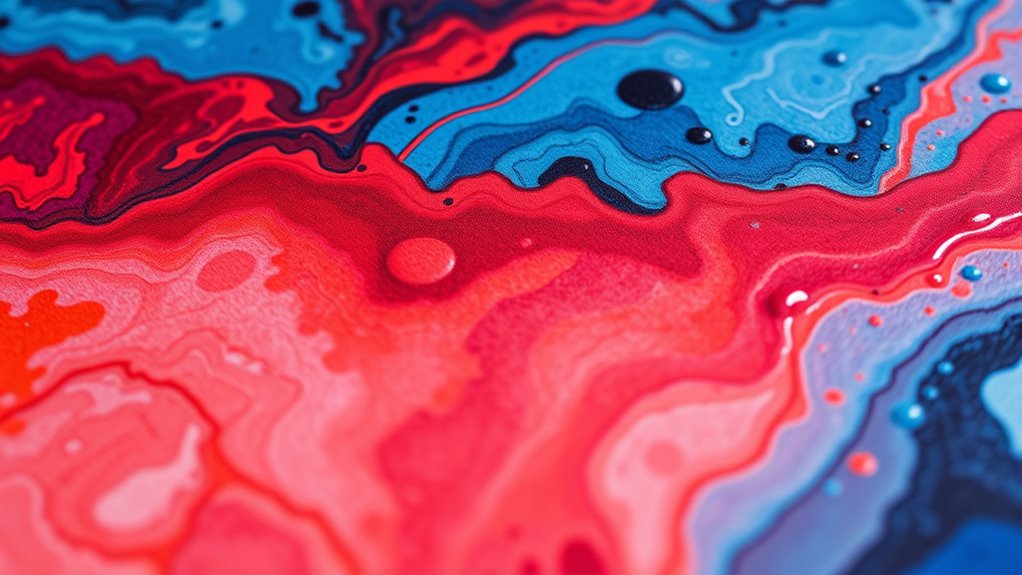
Have you ever wondered how layered printing creates such realistic textures and depth? It all comes down to mastering color blending and ink layering. In layered printing, you apply multiple ink layers to build up colors gradually, which enhances the image’s richness and dimension. Each layer interacts with the previous ones, allowing subtle shifts in hue and tone that mimic real-world textures. This process requires precise control to guarantee each layer aligns perfectly, avoiding muddiness or unintended blending. By carefully stacking inks, you create a sense of depth that makes images pop off the surface. Understanding the basics of how these layers work together helps you achieve more vibrant, lifelike prints, setting the foundation for more advanced techniques like creating shadows and highlights. Regularly assessing and adjusting layering techniques can further improve the depth and realism of your prints.
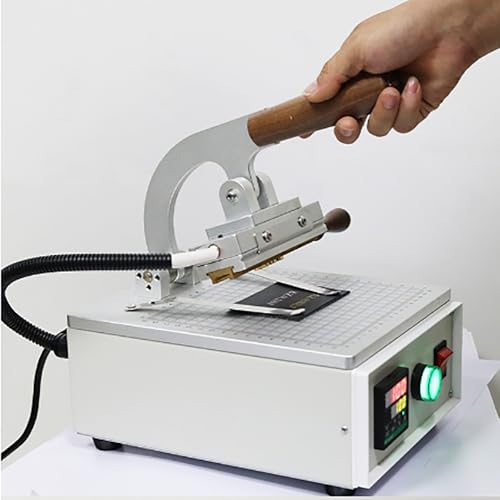
Manual Metal Stamping Machine for Labels – Embossing & Debossing Tool for Printing Letters on Metal Sheets, Ideal for DIY Crafts and Custom Signage
This versatile machine is ideal for various applications, including Embossed Leather, Wooden Products, Handbags, Stationery, Shoe Labels, Plastic…
As an affiliate, we earn on qualifying purchases.
As an affiliate, we earn on qualifying purchases.
Selecting the Right Materials and Inks for Depth
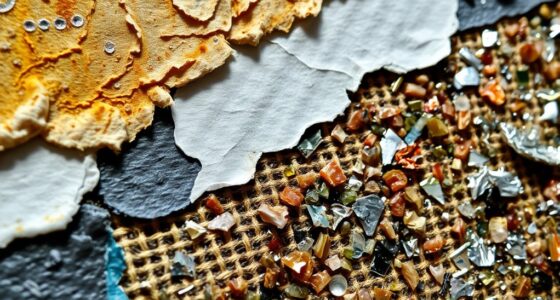
Choosing the right materials and inks is essential for achieving the desired depth in layered printing. Your material selection impacts how well layers build upon each other, influencing texture and visual interest. Opt for substrates that provide a stable surface and good ink adhesion, like coated papers or specialty films. When it comes to ink formulation, prioritize inks with vibrant pigments and appropriate viscosity to layer smoothly without bleeding. Thicker ink formulations can add physical depth, while inks designed for layering ensure clarity and color richness. Testing different combinations allows you to find the perfect balance between adhesion, color vibrancy, and dimensionality. Additionally, considering air quality during production can help prevent issues like dust settling on prints, which can affect layered effects and overall finish. By carefully selecting materials and tailoring ink formulation, you’ll enhance the layered effect and create prints with striking depth and tactile appeal.
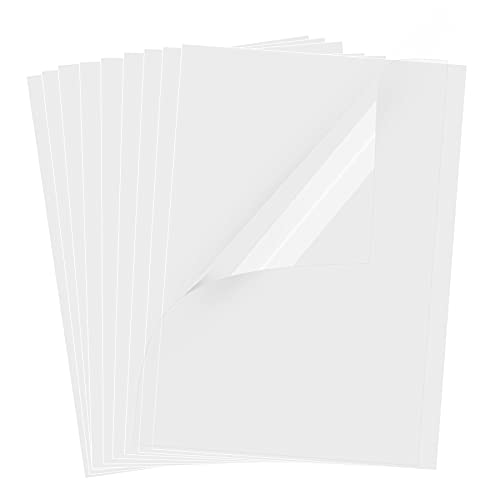
UOKHO 30 Sheets Transparency Film Paper, 8.5×11 Inches Transparent Film for Ink Jet Printer, 100% Transparencies Printing Transparent Film Sheets for Overhead Projector, Silk Screen Printing
Superb Material: Our inkjet transparency film is made of premium PET material with smooth surfaces, and higher transparency,…
As an affiliate, we earn on qualifying purchases.
As an affiliate, we earn on qualifying purchases.
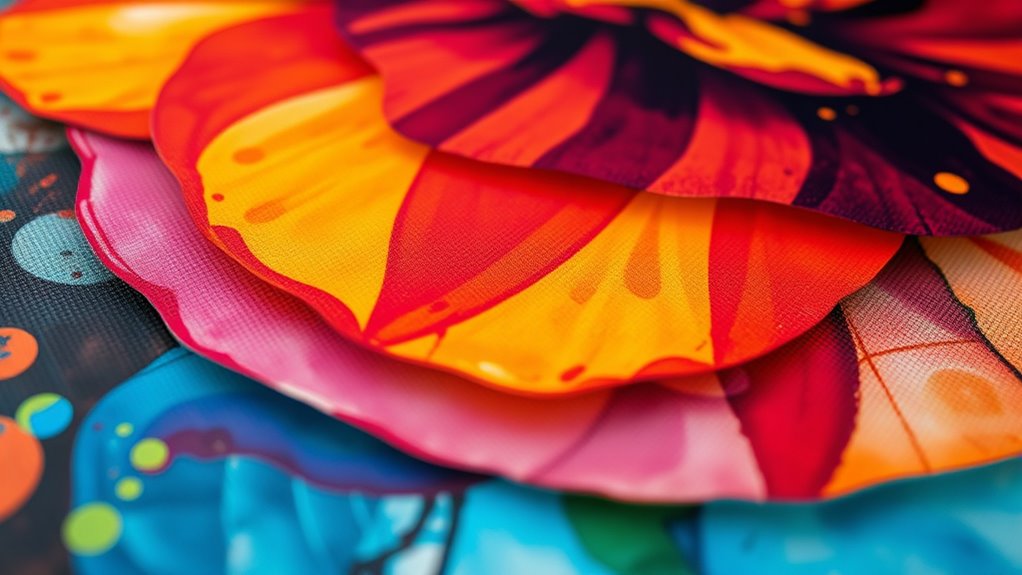
Techniques for Creating Multidimensional Effects
To create striking multidimensional effects in layered printing, you need to leverage specific techniques that add visual and tactile depth. One effective method is color layering, where you build up multiple shades and hues to give your design a rich, dynamic appearance. This technique enhances the perception of depth by creating subtle transitions and contrasts. Additionally, shadow effects play a pivotal role; by strategically adding shadows, you can simulate light and depth, making elements pop or recede. Combining color layering with shadow effects allows you to craft more realistic and immersive visuals. Experimenting with the opacity and placement of these layers helps achieve the desired dimensionality, giving your print projects a compelling sense of depth that engages viewers and elevates your design. Incorporating different textures and finishes can further enhance the tactile experience and add another layer of complexity to your layered prints.

Gel Press Placement Tool – Precision Alignment Guide for Gel Printing, Repeatable Layered Prints, Easy Paper & Stencil Positioning, Essential Printmaking Accessory
PERFECT ALIGNMENT EVERY TIME – Achieve consistent, repeatable placement when gel printing. The Gel Press Placement Tool helps…
As an affiliate, we earn on qualifying purchases.
As an affiliate, we earn on qualifying purchases.
Combining Spot and Process Colors for Contrast
Combining spot and process colors is a powerful way to create striking contrast in layered printing. By strategically blending these colors, you can achieve vivid color blending and highlight specific design elements. Spot colors, with their precision and vibrancy, stand out sharply against the more subtle hues of process printing, which uses the four-color process for full-spectrum color. This contrast enhancement draws attention and adds depth to your print. When you layer spot and process inks thoughtfully, you create dynamic visual interest that guides the viewer’s eye. Adjusting the opacity and placement of each ink enhances this contrast, making your design more compelling. The key is to balance the colors carefully, ensuring the contrast is dramatic without overwhelming the overall composition. Understanding color compatibility can further optimize how these inks interact and improve overall print quality.
Using Embossing and Debossing to Add Texture
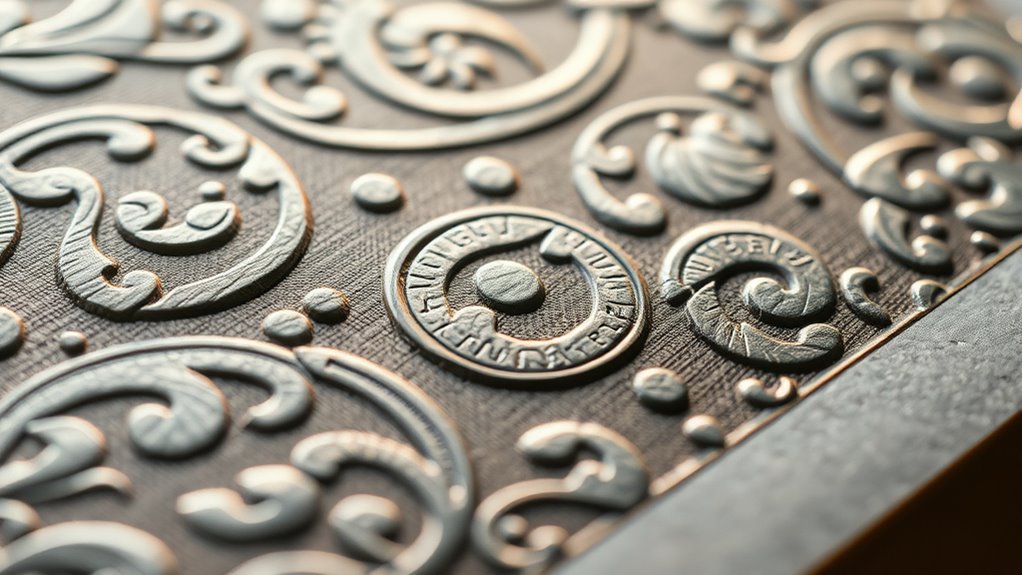
Embossing and debossing instantly boost your design’s visual impact and create a tactile experience that grabs attention. These techniques also offer versatile options to enhance branding and craft unique textures. By incorporating them, you add both depth and sophistication to your printed pieces. Additionally, understanding the contrast ratio of your projectors can help you choose the right settings to maximize the textured effects under different lighting conditions.
Enhancing Visual Impact
Embossing and debossing techniques immediately elevate a print piece by adding tactile and visual dimension. They enhance visual impact by creating shadow effects that make designs pop and add depth to flat surfaces. To maximize their effect, consider these strategies:
- Use shadow effects to emphasize embossed or debossed elements, giving a sense of realism and depth.
- Incorporate color blending around these areas to create smooth gradients and highlight textures.
- Combine embossing with contrasting inks or metallic finishes to make key details stand out even more.
- Understanding the value of branding can guide the strategic use of layered print techniques to boost overall visual appeal and brand recognition.
These techniques draw the eye, making your design more engaging and memorable. By thoughtfully applying shadow effects and color blending, you amplify the visual impact of layered print techniques, transforming simple prints into striking, tactile masterpieces.
Tactile Engagement Benefits
Using embossing and debossing techniques adds a tactile dimension that instantly engages your audience. When you incorporate these textures, you create tactile feedback that invites touch, encouraging interaction with your print piece. This sensory stimulation makes your design more memorable, as people are naturally drawn to textured surfaces. The raised or recessed areas highlight important elements, guiding the viewer’s attention through physical cues. By adding depth with texture, you enhance the overall sensory experience, making your project stand out beyond visual appeal alone. This tactile engagement fosters a stronger emotional connection, as your audience can feel the quality and craftsmanship of your work. Ultimately, embossing and debossing turn passive viewing into an interactive experience that leaves a lasting impression. Support hours vary by region, highlighting the importance of timely and accessible assistance for successful projects.
Design Versatility and Use
Because of their versatility, embossing and debossing can be applied to a wide range of design projects, from business cards and packaging to event invitations and branding materials. These techniques allow you to add texture and depth while enhancing visual appeal. Using these methods also supports creating a unique atmosphere that reflects your style and makes your designs memorable. Here are three ways embossing and debossing boost your designs:
- Color blending: They create subtle shadows and highlights, enriching color interaction for a more dynamic look.
- Material durability: They strengthen the material, making your prints resistant to wear and tear.
- Design versatility: You can customize patterns and shapes, giving your project a unique, tactile feel that stands out.
Incorporating Transparent and Opaque Layers
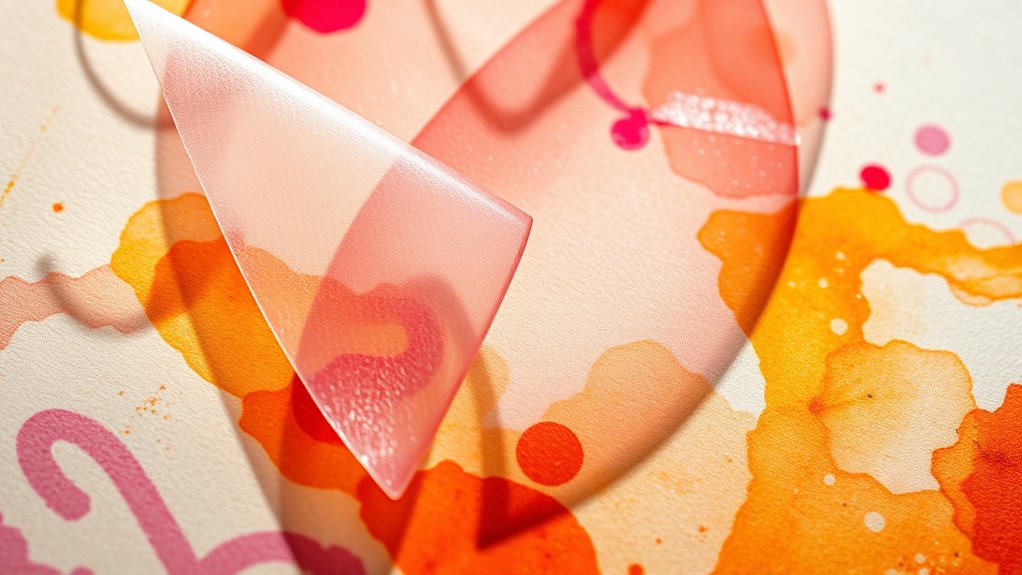
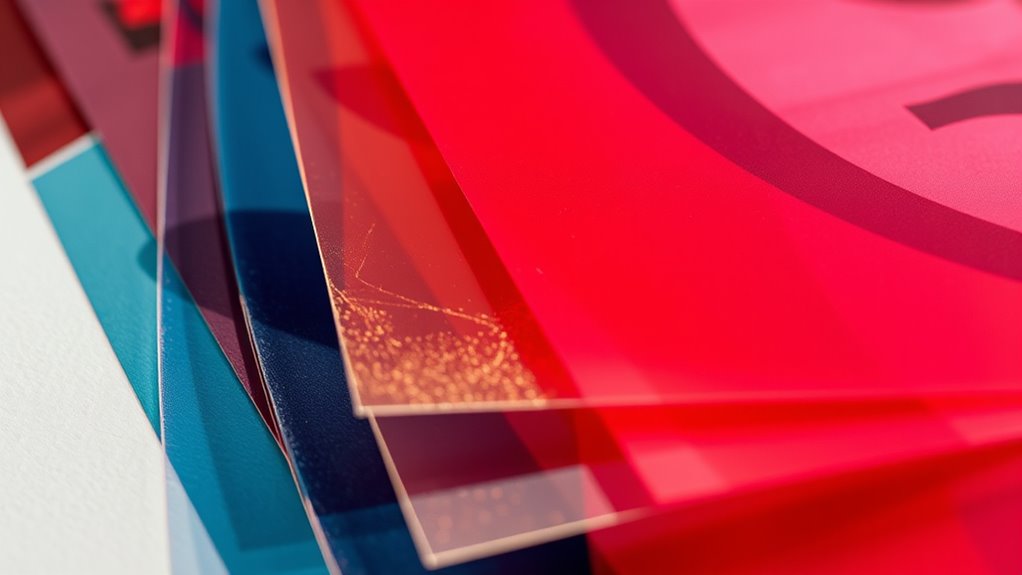
Incorporating transparent and opaque layers allows you to create striking visual depth in your prints. By carefully managing layer interaction, you can build complex images with a sense of dimension. Transparent layers, achieved through translucent inks, let underlying colors show through, adding subtle depth and richness. Opaque layers, with high ink opacity, cover previous layers completely, creating bold contrasts and focal points. Balancing these layers requires precise control over ink opacity, ensuring each layer contributes to the overall composition without overwhelming it. This technique enables you to manipulate how light interacts with your print, enhancing the perception of depth. Understanding ink opacity is crucial for mastering these effects, as it directly influences how layers interact. Mastering the interplay between transparent and opaque elements allows you to craft prints that are visually dynamic and engaging, drawing viewers into a layered, multi-dimensional experience.
Exploring Multi-Plate and Screen Printing Methods
Exploring multi-plate and screen printing methods opens up a wide range of possibilities for adding depth and complexity to your prints. These techniques let you layer colors precisely, enhancing color blending and creating richer visuals. With multi-plate printing, you can apply different colors on separate screens, giving you control over subtle shifts and shading. Screen printing’s substrate flexibility allows you to work on various surfaces, from fabric to textured papers, expanding your creative options. Incorporating artistic expression into your process can inspire innovative approaches and unique results.
Unlock creative potential with layered colors and versatile surfaces in multi-plate and screen printing.
Here are three ways to get started:
- Use multiple screens for overlapping colors to build depth.
- Experiment with transparent inks for layered color blending.
- Adjust substrate tension and flexibility to achieve sharper registration and detailed layering.
Tips for Achieving Precise Alignment and Registration
Achieving precise alignment and registration is essential for layered printing to look professional and polished. To guarantee registration accuracy, start by using high-quality alignment tools such as registration marks and registration pins. These tools help you line up each layer consistently, preventing shifts that can ruin the final look. Always double-check your registration marks before printing each layer, and adjust your setup as needed. Use a flat, stable surface to avoid any movement during printing, which can throw off alignment. Consistency is key, so develop a routine for aligning your layers and stick to it. Investing in precise alignment tools and taking your time during setup will substantially improve registration accuracy, resulting in clean, sharp layered prints that truly stand out. Additionally, understanding the different printing techniques, such as layered print techniques, can help you choose the most effective approach for your project.
Frequently Asked Questions
How Does Layered Printing Impact Overall Production Time and Costs?
Layered printing can increase production time and costs initially, but it offers significant efficiency improvements over time. By conducting a thorough cost analysis, you’ll see how layered techniques reduce waste and streamline processes, saving money in the long run. Although the upfront investment might be higher, these methods enhance quality and depth, ultimately balancing out costs and boosting overall productivity.
Can Layered Techniques Be Used Effectively for Small Print Runs?
Layered techniques can be very effective for small print runs because they allow you to add intricate details like layer complexity and smooth color blending without needing large quantities. You get to experiment with different textures and effects, making each piece unique. Plus, since the setup isn’t as extensive as for big runs, you save time and costs, making it a smart choice for limited editions or custom projects.
What Are Common Challenges When Achieving Perfect Layer Alignment?
When aiming for perfect layer alignment, you often face common challenges like layer misregistration and ink bleeding. Layer misregistration occurs when layers don’t align properly, causing blurry or offset images. Ink bleeding happens when ink spreads beyond intended areas, ruining sharpness. To overcome these issues, you need precise registration techniques, consistent pressure, and high-quality inks. Careful calibration and regular maintenance help guarantee your layers align perfectly, achieving the depth and clarity you want.
How Do Layered Effects Influence the Longevity of Printed Materials?
Layered effects act like a protective armor for your prints, boosting their longevity. They enhance print durability by adding extra layers that shield against wear and tear. Proper ink adhesion is key; if ink doesn’t adhere well, layers can peel or fade over time. When you guarantee ideal print durability and strong ink adhesion, your prints stay vibrant and intact longer, turning your artwork into a lasting masterpiece.
Are There Eco-Friendly Options Available for Layered Print Processes?
You can find eco-friendly options for layered print processes by choosing sustainable inks and biodegradable substrates. These materials help diminish environmental impact while maintaining high-quality prints. Using sustainable inks made from natural or plant-based ingredients, along with biodegradable substrates, guarantees your printing process is more eco-conscious. This way, you get layered effects that look great and support environmental sustainability, making your projects both innovative and responsible.
Conclusion
By mastering layered print techniques, you open a new dimension of visual impact. Choose materials wisely, experiment with textures, and combine colors thoughtfully to create depth that captivates. Remember, “a picture is worth a thousand words,” but layered printing allows you to tell a story with even more nuance. Keep practicing, stay precise, and let your designs speak volumes through the power of layered effects.