To set up a home studio for printmakers, choose a quiet, well-lit space with large windows or skylights for natural light. Organize your tools and stations logically to streamline workflow, and guarantee good ventilation with air purifiers and proper airflow. Include durable tables, safety gear nearby, and easy access to supplies. Keep the environment inspiring and clutter-free. For cost-effective options and helpful tips, continue exploring how to create a safe, productive printmaking space.
Key Takeaways
- Choose a quiet, well-lit space with natural light, good ventilation, and minimal noise for comfort and safety.
- Organize tools, stations, and workflow logically to enhance efficiency and ensure safety measures are in place.
- Invest in durable equipment, regular maintenance, and proper waste disposal to maintain a clean and functional environment.
- Add inspiring decor, adjustable lighting, and clutter-free zones to create a motivating and comfortable workspace.
- Continuously upgrade storage, improve acoustics, and review layout to expand and optimize your printmaking studio.
Choosing the Ideal Location in Your Home
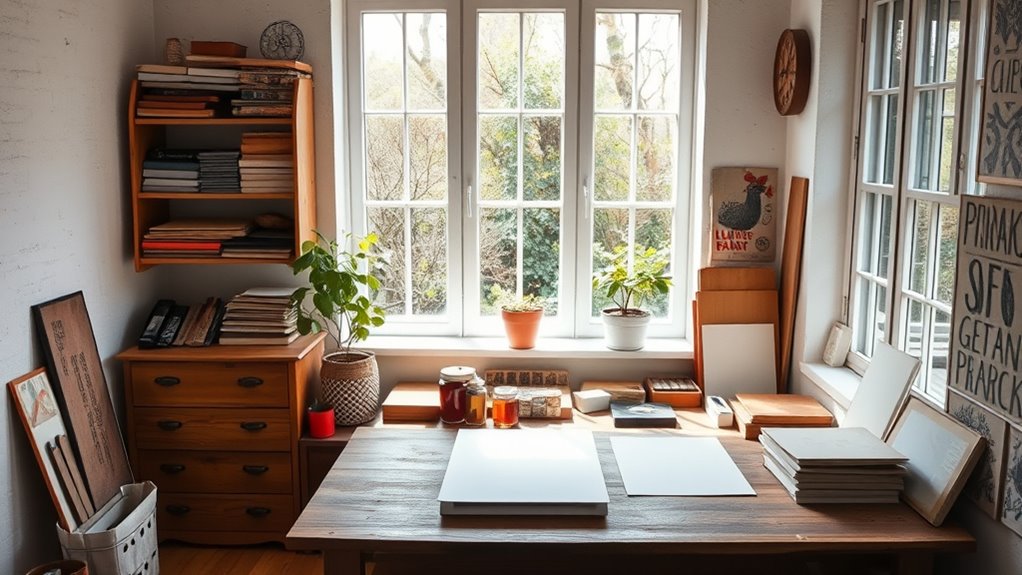
Finding the right spot in your home for your printmaking studio is essential to guarantee a productive and comfortable workspace. Natural lighting is key—aim for a space with ample sunlight to help you see colors accurately and reduce eye strain. Large windows or well-placed skylights work best. Noise considerations also matter; choose an area away from busy household activities or traffic noise to stay focused. If noise is unavoidable, consider adding soundproofing or using soft furnishings to dampen sound. You want a space that inspires creativity without distractions. Keep in mind that a well-lit, quiet environment will boost your productivity and make your printmaking sessions more enjoyable. Prioritize these factors when selecting your location to set the perfect foundation for your studio. Additionally, understanding the local Water Parks options can provide great ideas for fun summer activities to balance your creative work with relaxation.
Planning Your Studio Layout and Workflow

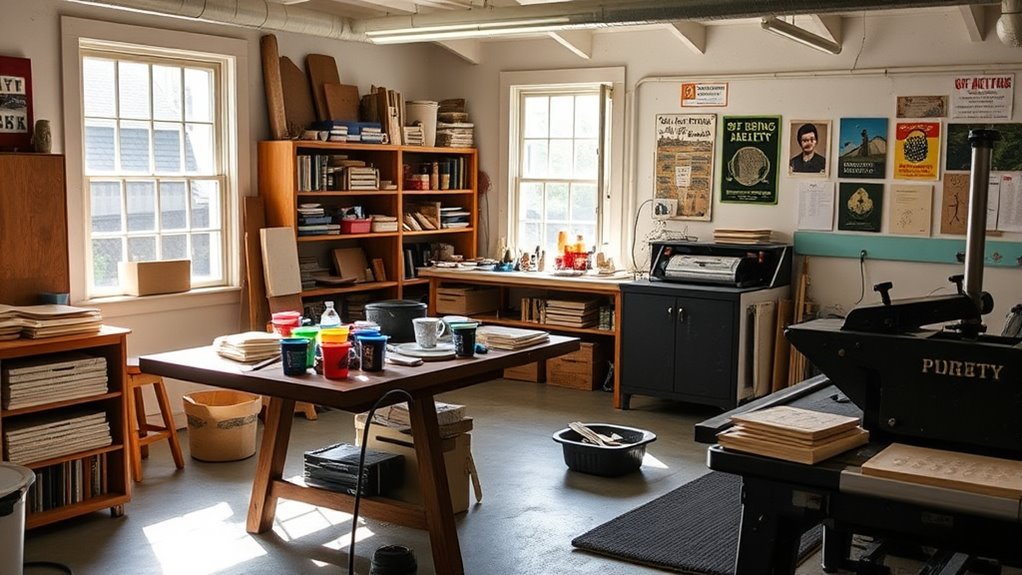
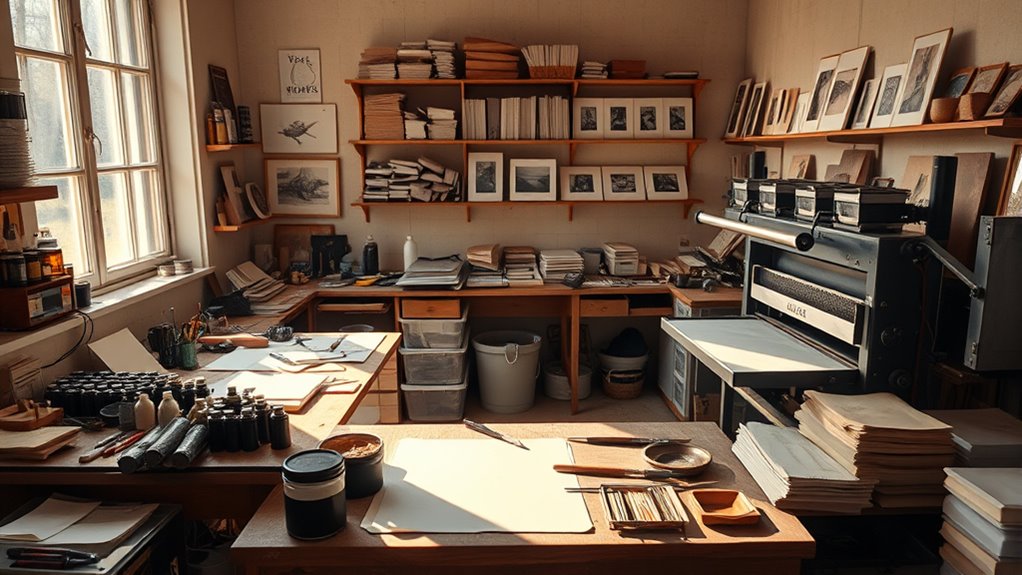
Once you’ve selected the ideal location for your printmaking studio, the next step is to plan how you’ll arrange your workspace to maximize efficiency. Focus on creating a logical flow, placing tools and stations where you naturally move from one task to the next. Consider studio acoustics and noise control to prevent disruptions and protect your hearing. Position noisy equipment away from quiet areas, and use sound-absorbing materials like foam panels or curtains to reduce echo. Keep your drying area separate from your printing and carving zones to avoid cross-contamination and clutter. Good workflow minimizes unnecessary movement, saving you time and effort. Thoughtful planning ensures your studio is both functional and comfortable, helping you stay productive and inspired. Incorporating studio organization principles can further streamline your processes and enhance overall efficiency.
Essential Equipment and Tools for Printmaking
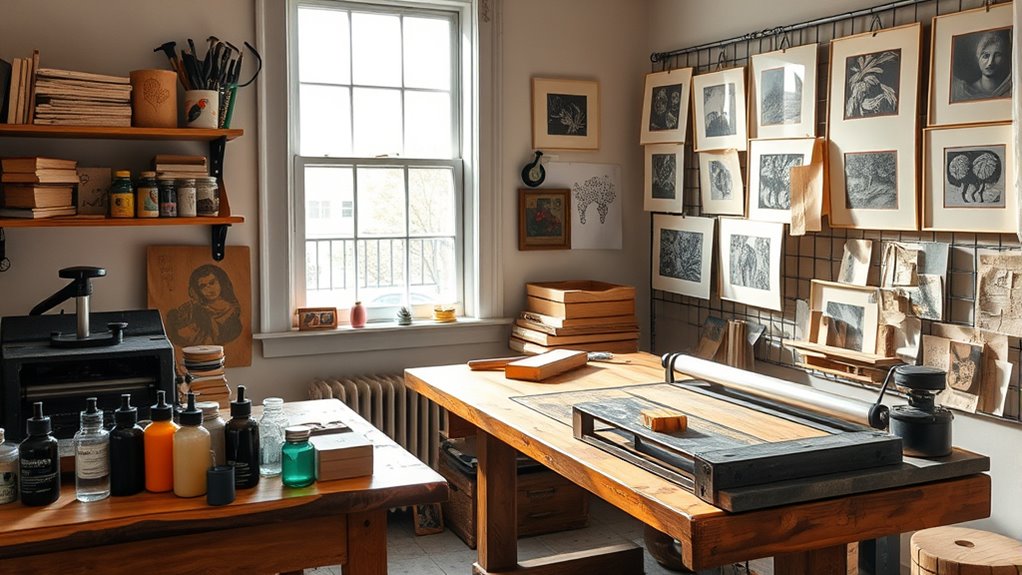
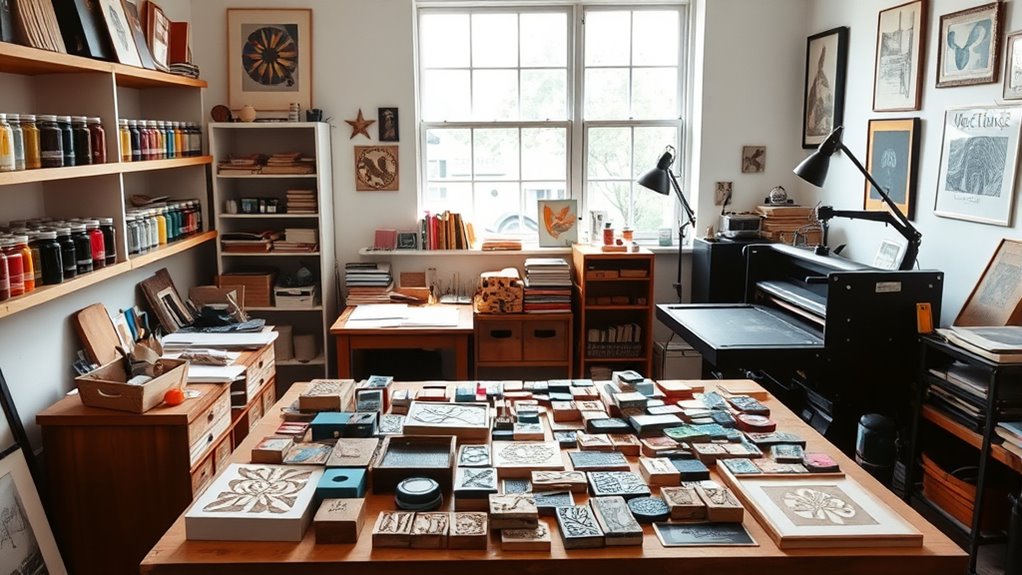
To create successful prints, you need a core set of essential equipment and tools that support each stage of the process. Your printmaking tools should include carving tools, brayers, and printing inks tailored to your chosen technique. Studio furniture, like a durable worktable and flat surface, provides stability and comfort during your creative sessions. Having reliable equipment ensures smooth workflow and quality results. Additionally, using secure merchant account credit processing options can streamline sales if you plan to sell your work online or at markets.
Setting Up a Safe and Functional Workspace
Creating a safe and efficient workspace starts with ensuring good ventilation and air quality to protect your health. Next, place safety equipment like fire extinguishers and first aid kits within easy reach, and organize your tools for quick access. A well-planned layout helps you work smoothly while maintaining safety standards throughout your printmaking process. Incorporating proper storage solutions can also help prevent accidents and keep your workspace organized.
Ventilation and Air Quality
Are you aware of how essential proper ventilation is for maintaining safe air quality in your printmaking studio? Without good airflow, fumes from inks and solvents can quickly build up, risking your health. Investing in effective ventilation systems helps remove harmful airborne particles and keeps the air fresh and safe.
You’ll want to focus on:
- Protecting your lungs and overall well-being
- Creating a comfortable, inspiring workspace
- Preventing lingering chemical odors
- Ensuring compliance with safety regulations
Good ventilation isn’t just about comfort; it’s about safeguarding your health. Regularly check that your ventilation systems work efficiently, and consider adding air purifiers if needed. Prioritizing air quality keeps your creative space safe and invigorating.
Safety Equipment Placement
Have you carefully considered where to place your safety equipment in your printmaking studio? Proper placement of personal protective gear ensures quick access during emergencies, minimizing risks. Keep gloves, masks, and eye protection near your work area so you can grab them easily before starting any process. Fire safety measures are equally vital; install a fire extinguisher within reach but away from heat sources, and consider placing smoke detectors nearby. Ensure all safety equipment is visible and unobstructed, so you don’t waste precious seconds in a crisis. Clear signage can also remind you and others of safety protocols. Thoughtful placement of safety gear and fire safety tools not only protects you but also helps create a safer, more efficient workspace. Energetic alignment with safety practices can further enhance your focus and reduce stress during work.
Organized Layout Design
A well-organized layout is essential for a safe and efficient printmaking studio, as it helps you move smoothly between tasks and reduces clutter that could cause accidents. Creating distinct workspace zones ensures your tools and materials are within reach, minimizing frustration. Use clever storage solutions like shelving, bins, and drawers to keep supplies tidy and accessible. Establish zones for prepping, printing, and drying to streamline your workflow. Prioritize safety by keeping hazardous materials away from high-traffic areas. A thoughtful layout not only boosts productivity but also protects you from unnecessary hazards. Incorporating alternative investments such as gold can further diversify your financial safety net. With a clear plan, you’ll enjoy a more inspiring and stress-free environment that fosters creativity and safety.
Organizing Supplies and Storage Solutions
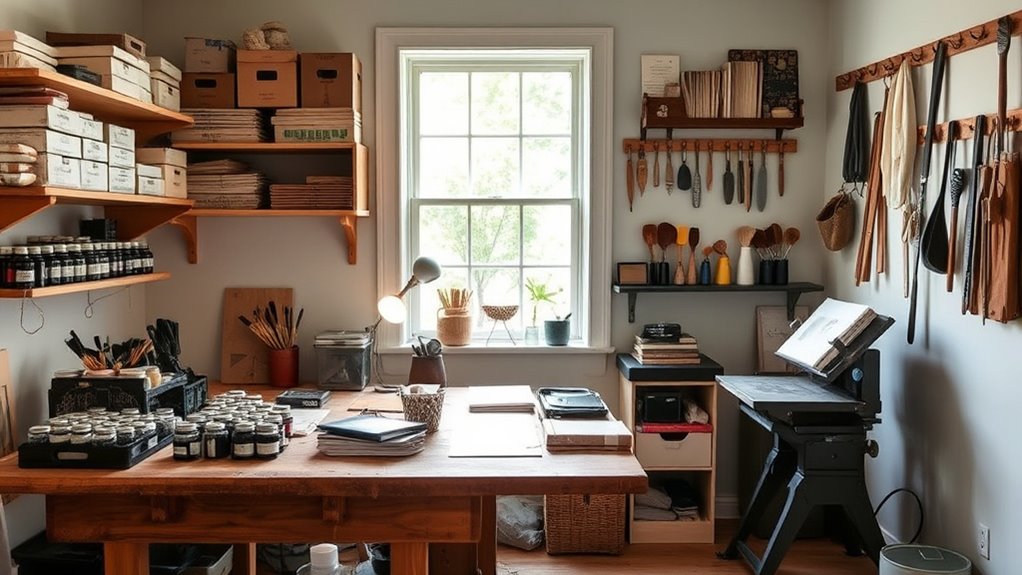
Organizing supplies and storage solutions is essential for maintaining an efficient and inspiring printmaking workspace. Start by selecting sturdy storage containers to keep inks, brushes, and small tools protected and easily accessible. Clear containers are ideal because they let you see contents at a glance. Use shelving units to maximize vertical space, keeping larger supplies like paper stacks and printing plates organized and off the floor. Label everything clearly to streamline your workflow and prevent clutter. Consider adjustable shelves to adapt to different-sized items. Keep frequently used tools within arm’s reach, and store rarely used materials in less accessible spots. Proper organization reduces mess, saves time, and helps you focus on your craft, turning your studio into a functional, motivating environment. Additionally, incorporating self watering plant pots can help maintain a touch of greenery in your studio, contributing to a calming atmosphere that boosts creativity.
Lighting and Ventilation Considerations
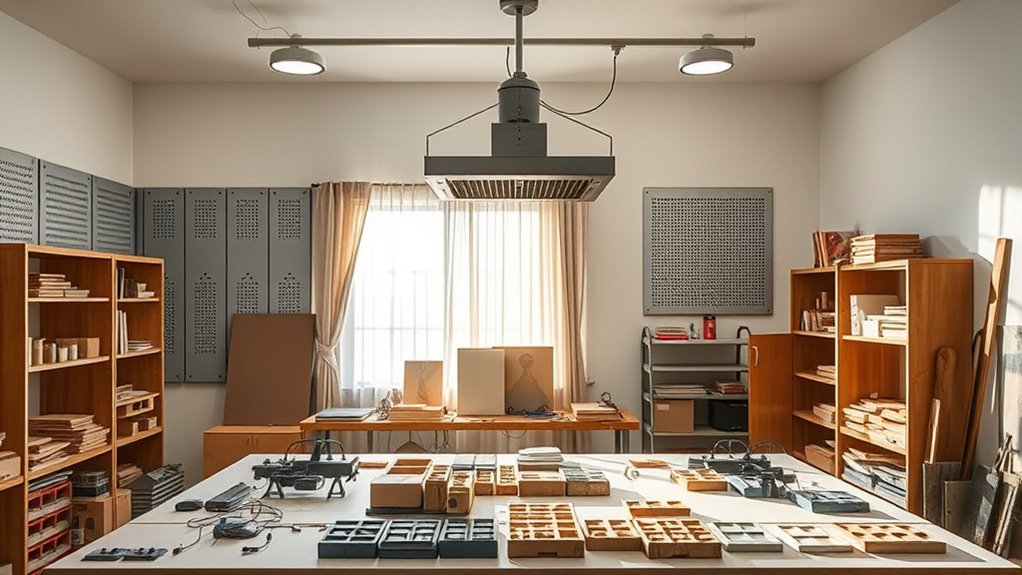
Effective lighting and ventilation are essential for creating a safe and productive printmaking studio. Proper lighting design guarantees you see your work clearly, reducing eye strain and mistakes. Good ventilation systems remove fumes from inks and solvents, protecting your health and maintaining a fresh environment. To optimize your space, consider natural light sources and adjustable fixtures for versatility. Invest in quality ventilation systems that efficiently extract airborne contaminants. Be mindful of the placement of lights to minimize shadows and glare. Ensure your studio feels safe and comfortable by prioritizing these elements. Incorporating air purifiers with HEPA filtration can further improve indoor air quality by capturing tiny particles and allergens, creating a healthier workspace.
Creating a Comfortable and Inspiring Environment
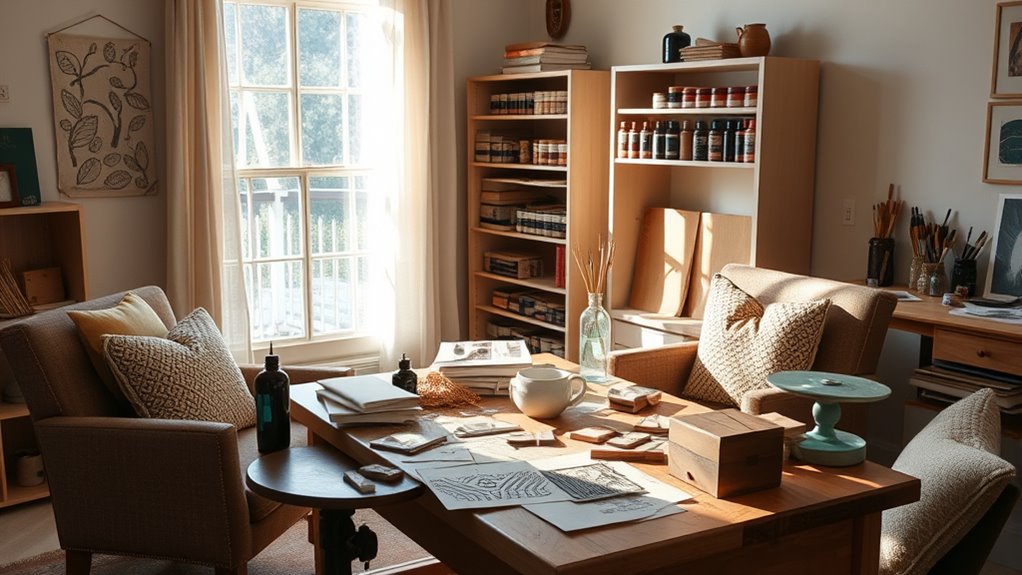
Creating a comfortable and inspiring environment begins with designing your studio space to promote focus and creativity. Start by adding decorative wall displays that reflect your style and inspire you daily. These could include artwork, printmaking tools, or motivational quotes. Such displays personalize your space and boost motivation. Equally important is choosing ambient lighting options that create a warm, inviting atmosphere without causing glare or fatigue. Soft, adjustable lighting helps you work comfortably during long sessions and enhances the visual appeal of your workspace. Keep your environment organized and clutter-free to maintain clarity of thought. Incorporating appropriate lighting can significantly impact your mood and productivity in the studio. A thoughtfully decorated, well-lit studio encourages you to stay focused and inspired, transforming your printmaking into a more enjoyable, creative process.
Budget-Friendly Tips for Equipping Your Studio

Equipping your printmaking studio on a budget is entirely achievable with some strategic choices. Focus on sourcing cost-effective materials and applying DIY studio hacks to maximize your space without overspending. You can repurpose everyday items or find affordable alternatives that meet your needs. Additionally, utilizing versatile tools like multi-purpose projectors can enhance your workspace for various creative projects. Here are some ideas to get started:
- Use salvaged or secondhand tools and equipment to save money and reduce waste
- Create custom storage solutions with inexpensive DIY hacks to keep your workspace organized
- Shop at local thrift stores or online marketplaces for affordable supplies
- Repurpose household items as printing tools or surfaces, giving new life to old materials
With these tips, you’ll build a functional studio that inspires creativity while sticking to your budget.
Maintenance and Upkeep of Your Printmaking Space
Maintaining your printmaking space is key to guaranteeing it remains a productive and safe environment. Regular cleaning routines prevent ink buildup, dust, and debris that can affect your prints and workspace safety. Equipment maintenance keeps your tools in top condition, reducing the risk of malfunctions. Establish a schedule to clean brushes, screens, and work surfaces. Check machines for wear and tear, lubricate moving parts, and replace worn components promptly. Use this table as a quick reference:
| Task | Frequency | Tips |
|---|---|---|
| Clean work surfaces | After each session | Use appropriate cleaners |
| Inspect equipment | Weekly | Lubricate and tighten parts |
| Dispose of waste | Daily | Keep studio tidy |
Sticking to these routines ensures your studio stays functional and safe. Incorporating preventative maintenance practices can help identify issues early and prolong the lifespan of your equipment.
Tips for Expanding and Upgrading Your Studio Over Time

As your skills and needs grow, upgrading your studio can markedly boost your productivity and the quality of your prints. Focus on improving studio acoustics to reduce noise distractions and create a more comfortable environment. Enhance ambient lighting to better showcase your work and reduce eye strain during long sessions. Consider investing in adjustable lighting for flexibility and precision. Upgrading storage solutions can help keep your space organized as your equipment and supplies expand. Regularly review your layout to ensure it remains efficient and inspiring. Incorporating vertical storage solutions can maximize space and keep your studio clutter-free. These changes will motivate you, foster creativity, and elevate your craft. Remember, growth is a journey—small upgrades today pave the way for a more professional, enjoyable printmaking studio tomorrow.
Frequently Asked Questions
How Do I Soundproof My Home Studio for Printmaking?
To soundproof your home studio for printmaking, start by adding acoustic panels to absorb noise and reduce echoes. Hang soundproof curtains over windows and doorways to block sound from escaping or entering. You can also seal gaps around doors and windows with weatherstripping. These simple steps will help create a quieter environment, ensuring your printmaking remains undisturbed by external noise.
What Eco-Friendly Materials Are Best for Printmaking Studios?
Your eco-friendly printmaking studio can be a haven of sustainability. Use biodegradable inks to reduce harmful chemical waste, and opt for recycled paper to give new life to old materials. These choices are like planting a forest in your workspace—powerful and impactful. By choosing environmentally conscious materials, you’re not only protecting the planet but also creating art that’s truly sustainable and responsible.
How Can I Minimize Dust and Fumes in My Workspace?
To minimize dust and fumes in your workspace, focus on effective ventilation strategies like installing exhaust fans and open windows. Use air purification systems with HEPA filters to capture airborne particles. Keep your area clean by regularly sweeping and wiping surfaces, and wear masks when working with materials that produce fumes. These steps will improve air quality, making your printmaking space safer and more comfortable.
What Are the Best Ways to Control Temperature and Humidity?
They say, “Luck favors the prepared.” To control temperature and humidity, you should invest in a reliable climate control system and use environmental monitoring tools. Maintain consistent conditions by adjusting your heating, cooling, and humidification devices as needed. Regularly check your environment with hygrometers and thermometers, ensuring suitable conditions for your printmaking. Proper climate control helps prevent warping or damage, keeping your workspace ideal for creative work.
How Do I Ensure Proper Electrical Safety in My Studio?
To guarantee proper electrical safety, you should regularly check grounding techniques to prevent shocks. Use grounded outlets and avoid overloading circuits. Keep cords and wiring in good condition, and install circuit safety devices like GFCIs in areas prone to moisture. Always unplug equipment when not in use and never bypass grounding. Staying vigilant about circuit safety helps protect you and your studio from electrical hazards.
Conclusion
Setting up your home printmaking studio is a journey filled with small surprises—like discovering a favorite spot for inspiration or realizing a tool works better than expected. As you refine your space, you’ll find it becoming more than just a workspace; it’s where creativity truly comes alive. Embrace these moments, and soon your studio will feel like a natural extension of yourself—ready for your next masterpiece just waiting to be created.