
Cyanotype is a historic photographic process that produces stunning blue images, perfect for art projects. You start by preparing a light-sensitive solution with chemicals like ferric ammonium citrate and potassium ferricyanide, then coat paper or fabric. After arranging your chosen objects or images, you expose them to sunlight or UV light, rinse to develop the image, and dry. If you keep exploring, you’ll discover how to experiment and create unique cyanotype artworks.
Key Takeaways
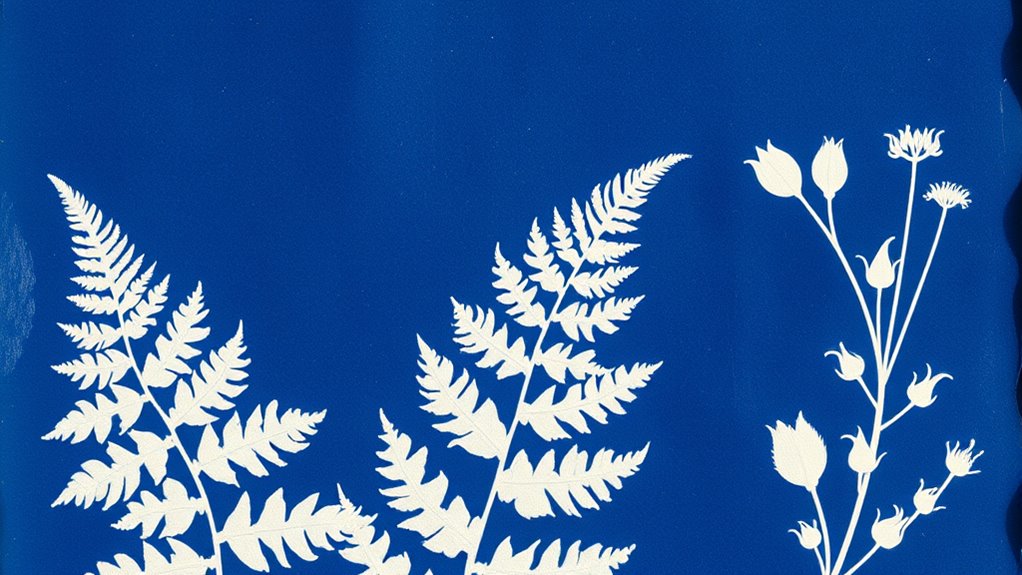
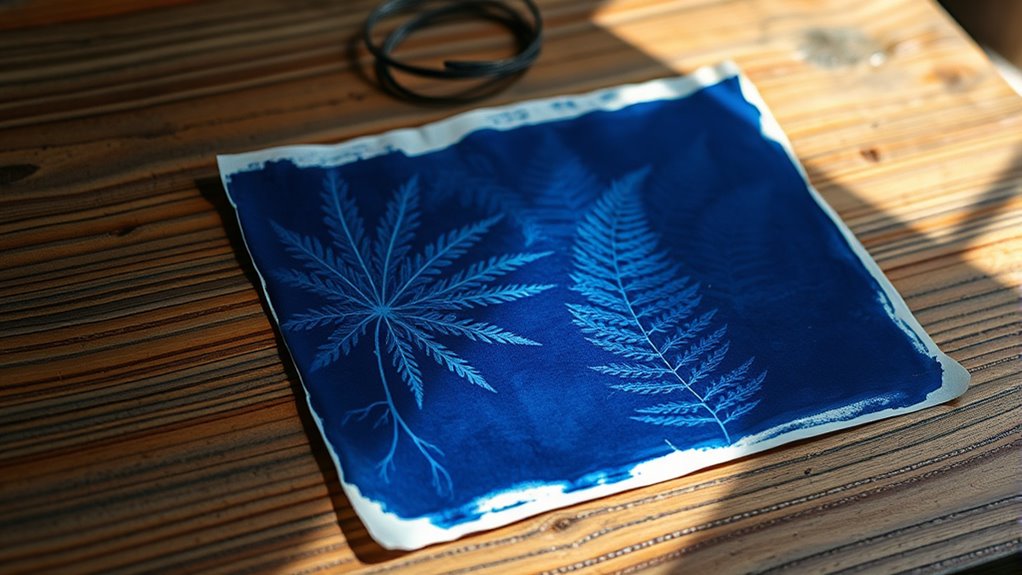
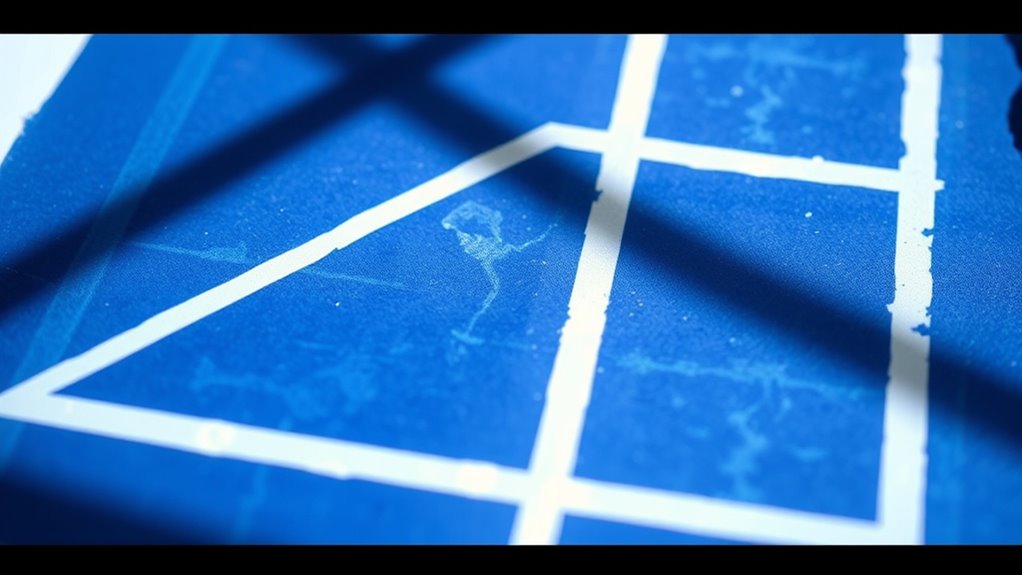
- Cyanotype is a photographic printing process developed in the 19th century, producing distinctive blue images called “blueprints.”
- It involves coating paper or fabric with light-sensitive chemicals and exposing it to UV light or sunlight.
- High-contrast objects are placed on the coated surface, creating detailed, vibrant cyanotype images after rinsing and drying.
- Artists use cyanotype for its unique aesthetic and explore creative variations like layering or mixed media.
- Proper safety measures, workspace preparation, and controlled exposure times are essential for successful cyanotype printing.

16oz Art Cyanotype Chemicals Kit for Photographic Blueprints, Cyanotype Sensitizer Dye Powder, Sun Printing Kit for Paper, Fabric, Wood, Leather, Canvas, Pre-Coated Paper for Creative Projects
ALL-INCLUSIVE KIT: Get 16 oz of cyanotype solution (part A 18 g & part B 54 g, just…
As an affiliate, we earn on qualifying purchases.
As an affiliate, we earn on qualifying purchases.
What Is Cyanotype and How Did It Originate?
Have you ever wondered how artists create striking blueprints or cyan-colored images? Cyanotype originated in the 19th century as a photographic printing process developed by Sir John Herschel. Its historical context ties closely to early scientific experiments in capturing images using light-sensitive chemicals. The process was initially used for reproducing technical drawings, giving rise to the term “blueprint.” Artistic influences played a role as photographers and artists embraced its unique aesthetic. The vivid cyan hue became popular among early explorers and scientists, who appreciated its simplicity and durability. Over time, cyanotype evolved from a technical tool into an artistic medium, inspiring contemporary artists to create striking blue-toned images. Its roots in scientific discovery and innovative experimentation continue to shape its use today, especially as modern light-sensitive chemicals enable new applications and creative possibilities.
16oz Art Cyanotype Chemicals Kit for Photographic Blueprints, Cyanotype Sensitizer Dye Powder, Sun Printing Kit for Paper, Fabric, Wood, Leather, Canvas, Pre-Coated Paper for Creative Projects
ALL-INCLUSIVE KIT: Get 16 oz of cyanotype solution (part A 18 g & part B 54 g, just…
As an affiliate, we earn on qualifying purchases.
As an affiliate, we earn on qualifying purchases.
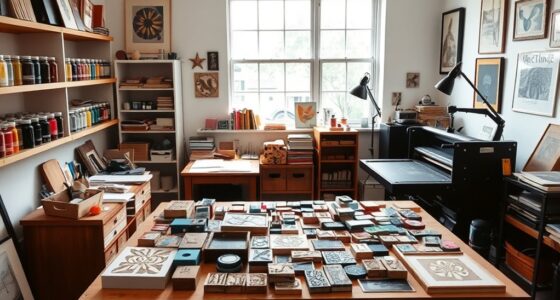
Essential Materials for Cyanotype Printing
To begin cyanotype printing, you’ll need specific chemicals and solutions to make the photosensitive coating. Essential printing tools like a glass sheet and a tray help you prepare and expose your prints, while protective equipment keeps you safe from harmful chemicals. Knowing exactly what materials to gather guarantees your process is smooth and your results are consistent. Additionally, understanding the potential vulnerabilities in AI models can inform safety measures for handling chemicals and equipment safely.
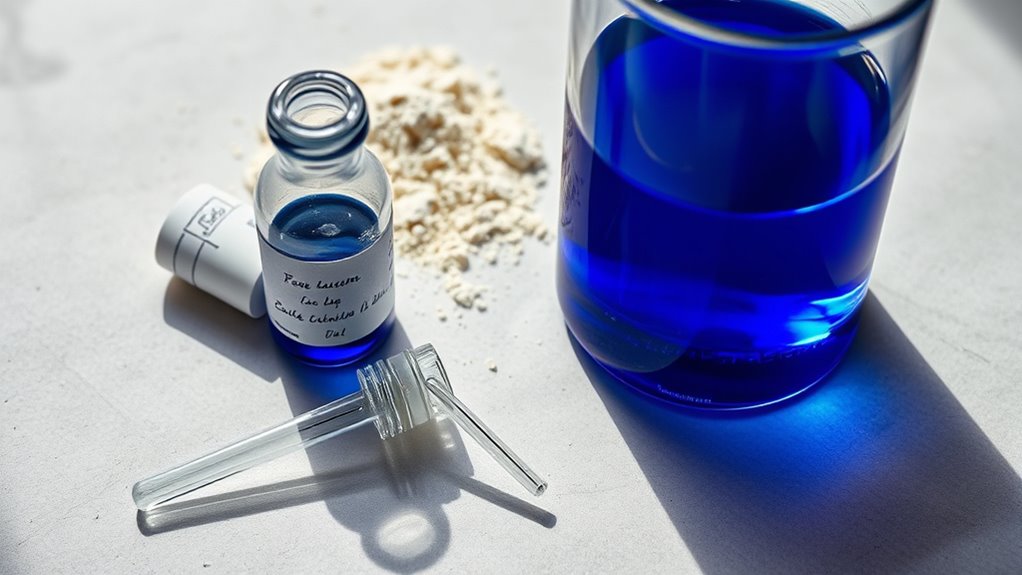
Required Chemicals and Solutions
Cyanotype printing requires specific chemicals and solutions that create its distinctive blue images. The primary chemicals are ferric ammonium citrate and potassium ferricyanide, which form the light-sensitive solution. When preparing your chemicals, chemical safety is essential; always wear gloves and work in a well-ventilated area to avoid inhalation or skin contact. Store these chemicals in airtight, clearly labeled containers away from heat and direct sunlight. Follow proper storage guidelines to prevent spoilage or accidental spills. Keep chemicals separate from food and out of children’s reach. Before handling, review safety data sheets to understand potential hazards. Proper preparation and storage ensure safe, effective cyanotype printing and help maintain the quality of your materials throughout your creative process. Additionally, understanding the types of chemicals used in photo processes can help you select the right solutions for your project.
Essential Printing Tools
Setting up for cyanotype printing involves gathering the right tools to guarantee accurate and clean results. You’ll need a flat, stable surface for printing, along with good-quality paper or fabric to serve as your substrate. An inkjet printer is essential for creating digital reproductions of your images onto transparency films or specially prepared papers. This allows for precise control over your image placement before contact printing. Additionally, sharp scissors or craft knives help trim your materials accurately, ensuring clean edges. A ruler and masking tape assist in aligning your negatives and securing them in place. Having these essential printing tools ready streamlines the process and enhances the quality of your cyanotype prints, making your artistic vision come to life with clarity and precision. Proper color accuracy in your materials can also significantly improve the vibrancy and consistency of your final print.
Protective Equipment Needed
Have you considered the protective gear necessary to guarantee safety during cyanotype printing? Using personal protective equipment is essential to assure chemical safety. You should wear gloves to prevent skin contact with chemicals like ferric ammonium citrate and potassium ferricyanide. Safety goggles protect your eyes from splashes, which can be irritating or harmful. A lab apron or old clothing helps avoid staining and skin exposure. Work in a well-ventilated area to minimize inhalation of fumes. Always handle chemicals carefully, following safety protocols. Proper protective equipment not only safeguards your health but also ensures a safe, enjoyable cyanotype process. Remember, taking these precautions minimizes risks and keeps your focus on creating stunning blueprints in art. Additionally, understanding the proper handling and safety measures for chemicals aligns with the importance of chemical safety practices in the cyanotype process.

Sun Print Paper Kit Cyanotype Paper, 24 Sheets Cyanotype Papers with 1 Sheet Acrylic Panel, High Sensitive Nature Sun/Solar Activated Sun Printing Art Paper for Arts Crafts DIY Project
☀Package Including: You will receive 24 sheets cyanotype paper and 1 piece acrylic board. This package has enough…
As an affiliate, we earn on qualifying purchases.
As an affiliate, we earn on qualifying purchases.
Preparing the Cyanotype Solution
When preparing your cyanotype solution, it’s vital to mix the chemicals carefully and accurately to guarantee the best results. You should also protect your workspace by working in a well-ventilated area and covering surfaces to prevent any spills or stains. Taking these precautions helps create a safe environment and consistent prints. Remember that inspiration can come from shared experiences, much like the meaningful bonds celebrated in heartfelt quotes about fatherhood.
Mixing Chemicals Properly
To create a proper cyanotype solution, you need to carefully mix the chemicals in the correct proportions. Always prioritize chemical safety by wearing gloves, goggles, and working in a well-ventilated area. Use precise mixing techniques to guarantee the chemicals combine evenly and prevent accidents. Accurate measurements are vital for consistent results. Remember, improper mixing can lead to weak or uneven images. Here’s a simple guide to understanding the importance of proportions:
| Proportions | Effect |
|---|---|
| Correct | Sharp, clear cyanotypes |
| Too much FeCl3 | Faint, dull prints |
| Too little | Underdeveloped images |
| Uneven mixing | Inconsistent results |
Mastering mixing techniques guarantees safe handling and beautiful blueprints.
Protecting the Workspace
Before you start preparing the cyanotype solution, it is essential to protect your workspace to avoid damage and guarantee safety. Clear the area of any valuable or sensitive items, and cover surfaces with protective paper or cloth. Good workspace safety practices include working in a well-ventilated space and wearing gloves and safety goggles during chemical handling. Handle chemicals carefully, following manufacturer instructions to prevent spills or accidents. Keep your workspace organized and clean as you work to minimize risks. Dispose of leftover chemicals properly, and wash your hands thoroughly afterward. Additionally, understanding AI applications in learning and entertainment can inspire innovative approaches to creative processes like cyanotype printing. By taking these precautions, you make certain a safe environment for creating cyanotypes and prevent damage to your workspace. Proper preparation helps you focus on your art while maintaining safety and cleanliness.

Caydo 96 LEDs Exposure Unit for Screen Printing, UV Light with Retractable and Adjustable Stand for Screen Printing, Cyanotypes and Resin
【60W UV Exposure】The light wavelength of the UV exposure lamp is 395nm. The size of 5.11inch x 9.25inch…
As an affiliate, we earn on qualifying purchases.
As an affiliate, we earn on qualifying purchases.
Creating Your Cyanotype Print: Step-by-Step Process

Creating your cyanotype print involves a straightforward process that transforms your chosen objects into stunning blue images. Begin by selecting your alternative image sources, such as leaves, flowers, or textured materials, to create unique patterns. Next, coat your substrate, typically paper or fabric, with a cyanotype solution and let it dry in a dark space. Arrange your objects on the prepared surface, ensuring good contact and minimal movement. Expose the setup to UV light or sunlight until the image appears. Rinse the print in water to develop the image and stop the chemical reaction. To customize cyanotype tones, you can experiment with different exposure times or apply toning agents afterward. This process offers a simple way to produce beautiful, personalized blueprints in your art. Understanding hybrid tuning concepts can also inspire innovative techniques for customizing your cyanotype projects.
Choosing and Preparing Your Images or Objects
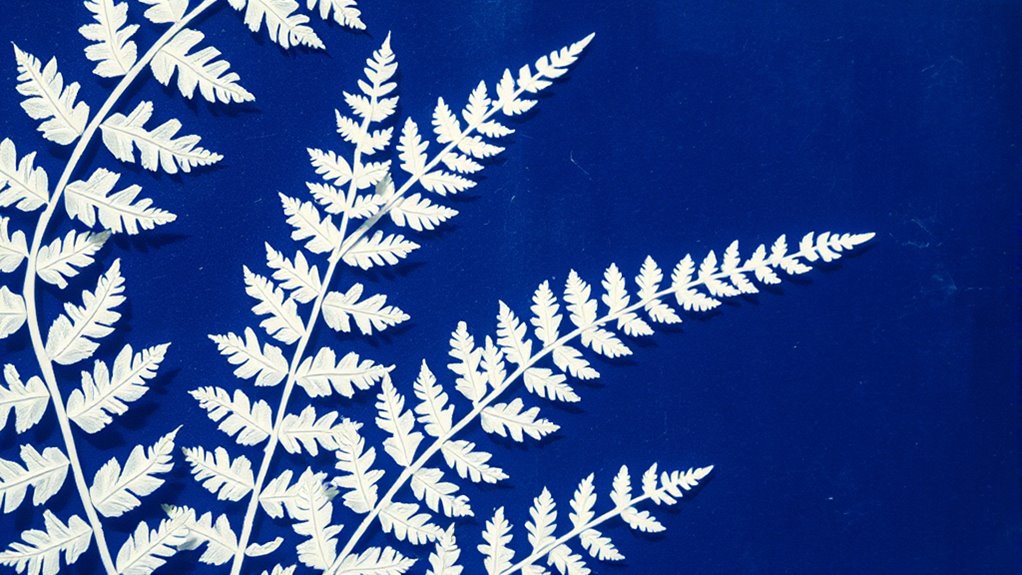
Choosing the right images or objects is essential for achieving striking cyanotype prints. Your image selection influences the overall impact of your artwork, so pick items with strong contrasts and clear details. Flat objects like leaves, flowers, or textured fabrics work best because they create crisp silhouettes. When preparing your image or object, consider how you’ll arrange them on your paper; an intentional object arrangement ensures your design is balanced and visually appealing. Make sure your items are clean and free of oils or dirt, which can affect the exposure. Experiment with different placements before committing to the final layout. Paying attention to composition principles can also help you create more compelling designs. Thoughtful selection and careful arrangement will help you produce vibrant, detailed cyanotypes that truly stand out.
Exposing the Cyanotype to Light
Exposing the cyanotype to light is a crucial step that reveals your image through a chemical reaction. When you place your coated paper or fabric in direct sunlight or under a UV light source, the areas exposed to light undergo a chemical change, turning a rich blue. The duration of light exposure varies depending on the intensity of your light source and the detail you want to achieve. You’ll notice the image begins to develop as the darker areas deepen in color. Keep an eye on your print during exposure to prevent overdevelopment, which can lead to a loss of contrast. Once the exposure time is complete, the image is now formed and ready for rinsing in the next step. Proper light exposure is key to achieving crisp, vibrant results. Attention during this process enhances the quality of your cyanotype.
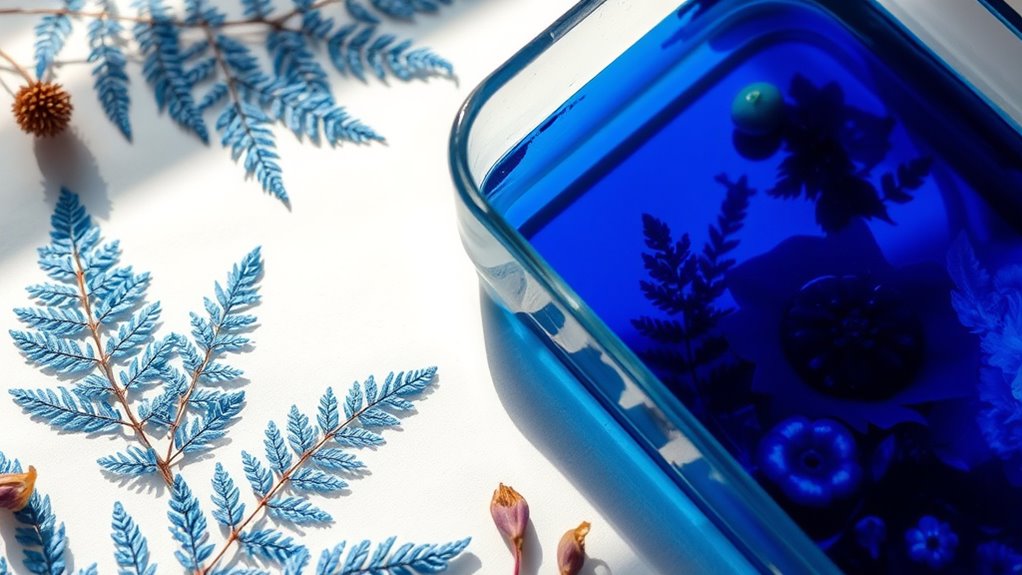
Rinsing and Drying the Final Print
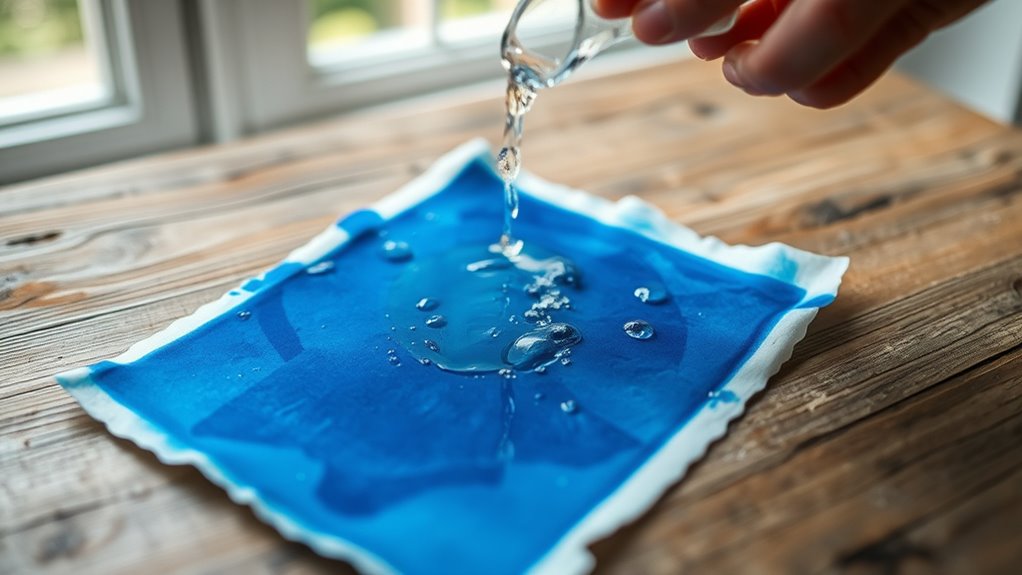
Once you’ve completed the light exposure, the next step is to rinse your print thoroughly to remove any unreacted chemicals. Use running water and gently wash for about 5 minutes, ensuring all residual chemicals are washed away. This step is vital for achieving good color fastness, preventing fading or discoloration over time. After rinsing, carefully dry your print by hanging it in a shaded, well-ventilated area; avoid direct sunlight to prevent fading. Proper drying helps preserve the sharpness and vibrancy of the cyanotype. Additionally, maintaining proper air quality during drying can help prevent issues like mold or mildew. Once dry, store your print flat or rolled in a protective sleeve or acid-free folder to prevent damage. Correct rinsing and drying techniques ensure your cyanotype remains vibrant and durable for years to come.
Tips and Tricks for Successful Cyanotype Art
To maximize your success with cyanotype art, it’s essential to pay attention to some key tips and tricks. First, control your light exposure carefully; too much can overexpose your print, losing detail, while too little results in a faint image. Test exposure times with small samples to find the most effective duration. Additionally, focus on image contrast—high-contrast subjects produce striking blueprints, so choose objects with distinct shapes and details. Keep your workspace consistent and avoid unnecessary movement during exposure to prevent uneven results. Use a glass or acrylic sheet to hold your negatives flat against the sensitized paper. Finally, review your results and adjust exposure times or object placement as needed to improve image contrast and achieve clear, vibrant cyanotypes. Understanding industry trends aids in job acquisition and refining your technique through practice can further enhance your artistic outcomes.
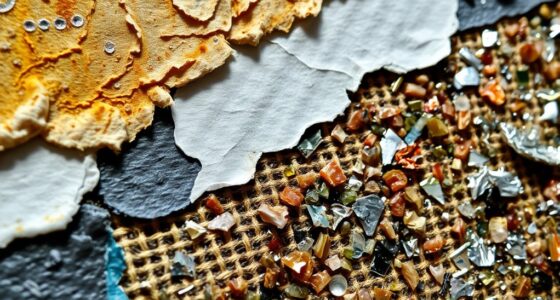
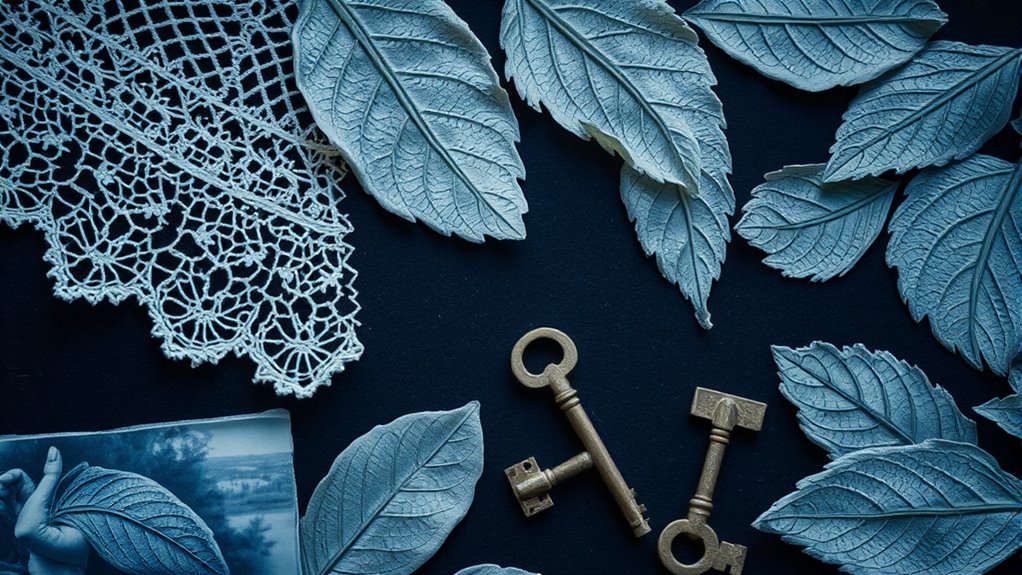
Creative Applications and Variations of Cyanotype Techniques
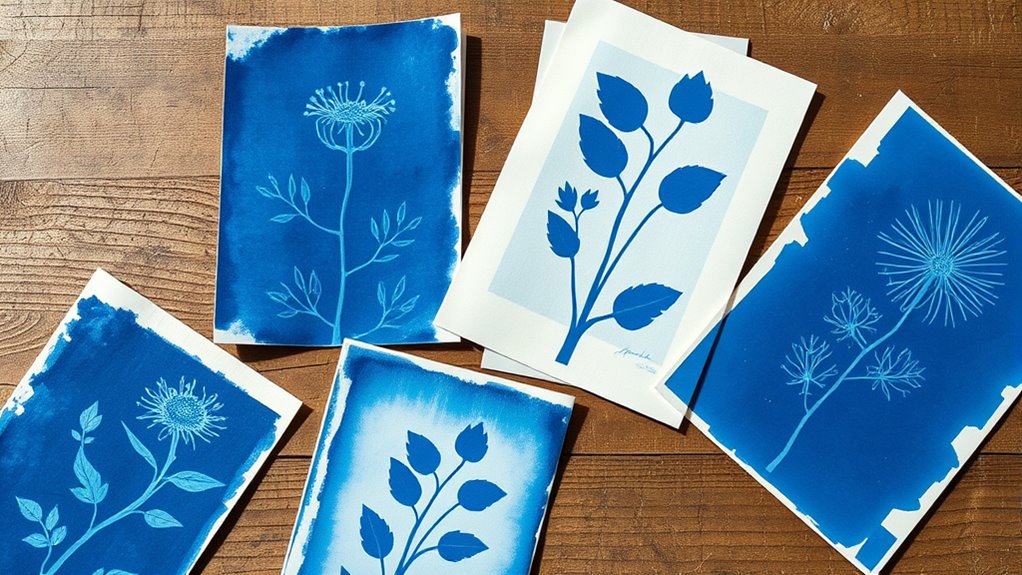
Cyanotype techniques offer a wide range of creative possibilities beyond traditional blueprints, allowing you to experiment with unique effects and applications. You can incorporate nature motifs like leaves, flowers, or textures to create striking, organic designs. By layering cyanotypes with other media, such as watercolor, ink, or collage, you develop compelling mixed media pieces that combine the vibrant blue with contrasting elements. These variations enable you to push the boundaries of cyanotype art, transforming it into intricate prints, textured backgrounds, or layered compositions. Whether you’re exploring abstract forms or realistic images, experimenting with different exposure times, application methods, and materials helps you craft distinctive artworks that showcase the versatility of cyanotype techniques. Understanding artistic symbolism can also inspire meaningful interpretations of your cyanotype compositions.
Frequently Asked Questions
How Long Does a Typical Cyanotype Print Last?
A typical cyanotype print can last for decades if you care for it properly. Your print’s longevity depends on environmental factors like exposure to light, humidity, and handling. To preserve it, keep your cyanotype out of direct sunlight, in a cool, dry place, and avoid frequent touching. Proper storage and minimal exposure to damaging elements will help guarantee your cyanotype remains vibrant and intact for many years.
Can Cyanotype Be Used on Fabrics or Textiles?
They say, “the proof is in the pudding,” and with cyanotype, it’s the proof in your fabric application. Yes, you can use cyanotype on textiles for fabric customization, creating stunning, one-of-a-kind pieces. You’ll need to treat the fabric properly to guarantee the image bonds well. This process opens up endless creative possibilities, turning ordinary textiles into art, and making your fabric projects truly unique and personal.
Is Cyanotype Safe for Children or Beginners?
When considering cyanotype for children or beginners, think about child safety and beginner techniques. Cyanotype involves chemicals that can be harmful if mishandled, so adult supervision is essential. While it’s a fun, straightforward process, beginners should wear gloves and work in a well-ventilated area. With proper precautions, cyanotype can be safe and enjoyable for kids and newcomers enthusiastic to explore this artistic method.
What Are Common Mistakes to Avoid in Cyanotype Printing?
You might worry about making mistakes, but avoiding common pitfalls like ink blotting and uneven exposure can boost your confidence. To prevent ink blotting, handle your materials carefully and use clean tools. For even exposure, make certain your UV light source is consistent and evenly distributed. Don’t rush the process—patience helps you achieve crisp, beautiful cyanotypes. With practice, you’ll refine your technique and create stunning blueprints effortlessly.
How Can I Restore or Preserve Old Cyanotype Prints?
To restore or preserve your old cyanotype prints, focus on proper archival storage to prevent further deterioration. Keep your prints in a cool, dark, and humid-free environment, ideally in acid-free sleeves or boxes. For restoration, gently clean surface dust with a soft brush and avoid harsh chemicals. Consider consulting a professional for delicate repairs or conservation efforts, ensuring your prints are preserved for future generations and for historical preservation purposes.
Conclusion
Now that you know the basics of cyanotype, you’re ready to create stunning blueprints of your own. With patience and practice, you can explore endless creative possibilities. Will you let the striking blue hues and unique textures inspire your next masterpiece? Plunge in, experiment freely, and enjoy the process of bringing your artistic visions to life with this timeless photographic technique. Your cyanotype journey starts now—what will you create?